If you’re looking for a fun and straightforward woodworking project, you’ve come to the right place. Today, I’m excited to share my easy portable beach chair plans with you. This project is perfect for beginners and seasoned woodworkers alike, using just 2x2s, 1x2s, and 1x4s to create a stylish and comfortable two-piece wooden beach chair. Whether you’re planning a day at the beach or just need a cozy spot in your backyard, these chairs are easy to build and a joy to use. Let’s dive in and get started on crafting your very own beach chair! Take a look over the rest of my woodworking plans, if you want to get more building inspiration. Premium Plans for this project available in the Shop.
For this project, we’re keeping it simple and affordable. You’ll need some basic lumber: 2x2s, 1x2s, and 1x4s. Depending on where you shop, the total cost for the wood should be around $10-$20. Throw in a box of screws and a bit of wood glue, and you’re looking at roughly $10 more. So, all in all, you can expect to spend about $20-$30 for the entire build. If you don’t have the tools yet, you might need to invest in some basics, but otherwise, it’s pretty wallet-friendly!
As for time, this project is perfect for a weekend. You can expect to spend around 4-6 hours from start to finish. That includes cutting, assembling, and finishing your beach chair. It’s a relaxed pace, so you can enjoy the process without feeling rushed.
For this project, I recommend using cedar or hardwood for their durability and natural resistance to the elements. Cedar is a fantastic option because it’s lightweight, rot-resistant, and has a beautiful, rustic look. Hardwood, on the other hand, provides superior strength and longevity, making your project a sturdy and stylish addition to your home.
Projects made from these plans
DIY Easy Beach Chair – Free PDF Download

Building-a-two-piece-beach-chair
Cut and Shopping Lists
A – Legs – 2×6 lumber 41″ long – 2 pieces
B – Legs – 2×6 lumber 21″ long – 2 pieces
C – Seat – 2×6 lumber 24″ long – 2 pieces
D – Legs – 2×6 lumber 15 1/2″ long – 2 pieces
E – Stretcher – 2×4 lumber 21″ long – 1 piece
F – Backrest – 2×6 lumber 24″ long – 2 pieces
G – Armrests – 2×4 lumber 15 1/4″ long – 2 pieces
G – Armrests – 2×4 lumber 6 1/2″ long – 2 pieces
- 1×6 lumber 4 ft – 1 piece
- 1×4 lumber 8 ft – 1 piece
- 1×2 lumber 6 ft – 1 piece
- 2×2 lumber 10 ft – 1 piece
- 1 5/8″ screws – 100 pieces
- 1 1/4″ screws – 20 pieces
- Wood glue – 1 can
- Stain – 1 can
Tools
![]() Hammer, Tape measure, Framing square, Level
Hammer, Tape measure, Framing square, Level
![]() Miter saw, Drill machinery, Screwdriver, Sander
Miter saw, Drill machinery, Screwdriver, Sander
Time
![]() One weekend
One weekend
Related
Pin for Later!

Two Piece Wooden Beach Chair

Backrest legs
First up, let’s cut the legs for the backrest using 2×2 lumber to ensure we make a sturdy chair. Make the decorative cut on one end, following the diagram.
If you’re looking to build a lighter version of the chair, you can substitute the 2×2 legs with 1x2s for a more portable option.

Backrest—under-supports
Next up, we need to assemble the backrest frame by attaching the 1×2 supports. Start by securing the supports to the back face, making sure to align them with the cut on the legs.
Align the supports flush with the legs, measure their placement, then drill pilot holes. Use 1 5/8″ screws to lock everything tightly in place, using two screws for each joint to ensure a secure hold.

Backrest—top-support
Now, attach the 1×2 support to the other side of the frame. Align it carefully and secure it in place. Make sure everything is square and tight before moving on to the next step.

Backrest-slats
Now it’s time to attach the boards to the backrest. Cut the slats from 1×4 lumber and secure them with 1 5/8″ screws, making sure to drill pilot holes first. Use two screws for each joint and align the edges flush for a clean finish. The top board has a special design—I’ll explain more about that in the next step.

Handle-board
For the top board, use 1×6 lumber. This piece will serve as the handle for the two-piece chair, making it easy to move around. Cut curved edges at the top of the board to add some style.
Additionally, we’ll need to cut out a hole using a jigsaw, following the pattern in the diagram for accuracy. Smooth the edges with sandpaper or use a router with a round-over bit for a nice, finished look.
Building the Seat Frame for the Portable Chairs

Seat-legs
Now, let’s assemble the seat for the easy beach chair. Start by cutting the legs using the specified dimensions. Add some decorative cuts to the base of the legs to match the design of the backrest.

Assembling-the-seat-frame
Use 1×2 lumber for the supports. Drill pilot holes at both ends of the slats, then secure them to the legs with 1 1/4″ screws. Make sure to use two screws for each joint and check that the corners are square to keep everything aligned.
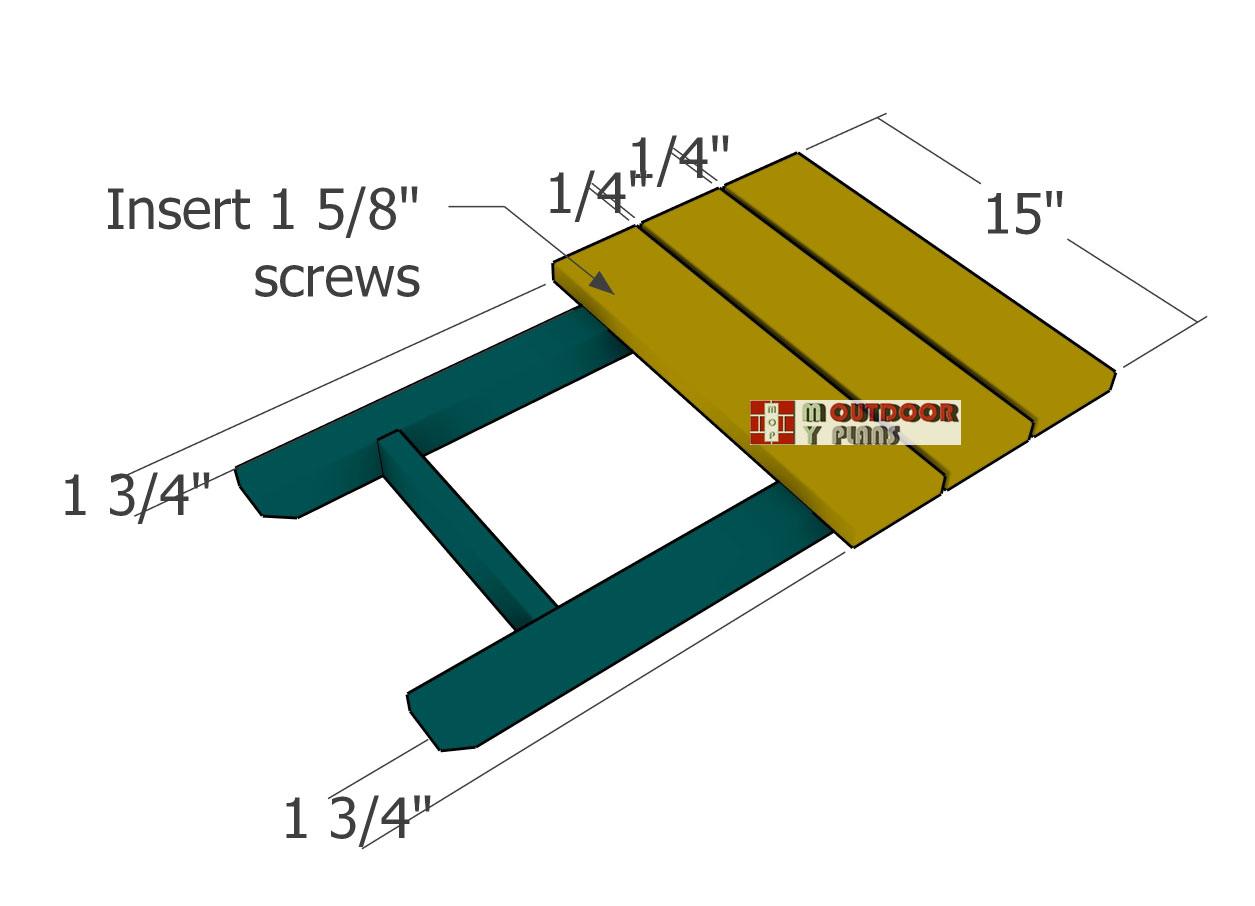
Seat-slats
Next up, we need to attach the 1×4 boards to the frame. Make sure to leave 1 3/4″ overhangs on both sides of each board. Start by aligning the first board flush with the frame.
Use 1/4″ spacers between the boards to keep the gaps consistent. Drill pilot holes and secure the boards to the seat frame with 1 5/8″ screws.

Two-piece-chair
Why settle for store-bought when you can make something even better? My DIY wooden beach chairs offer quality and personalization that flimsy store-bought ones just can’t match. Built with sturdy lumber, these chairs are reliable and comfortable, perfect for countless sunny days by the shore. Plus, there’s a special satisfaction in using a chair you’ve crafted yourself—it’s a unique and stylish addition to your beach setup!
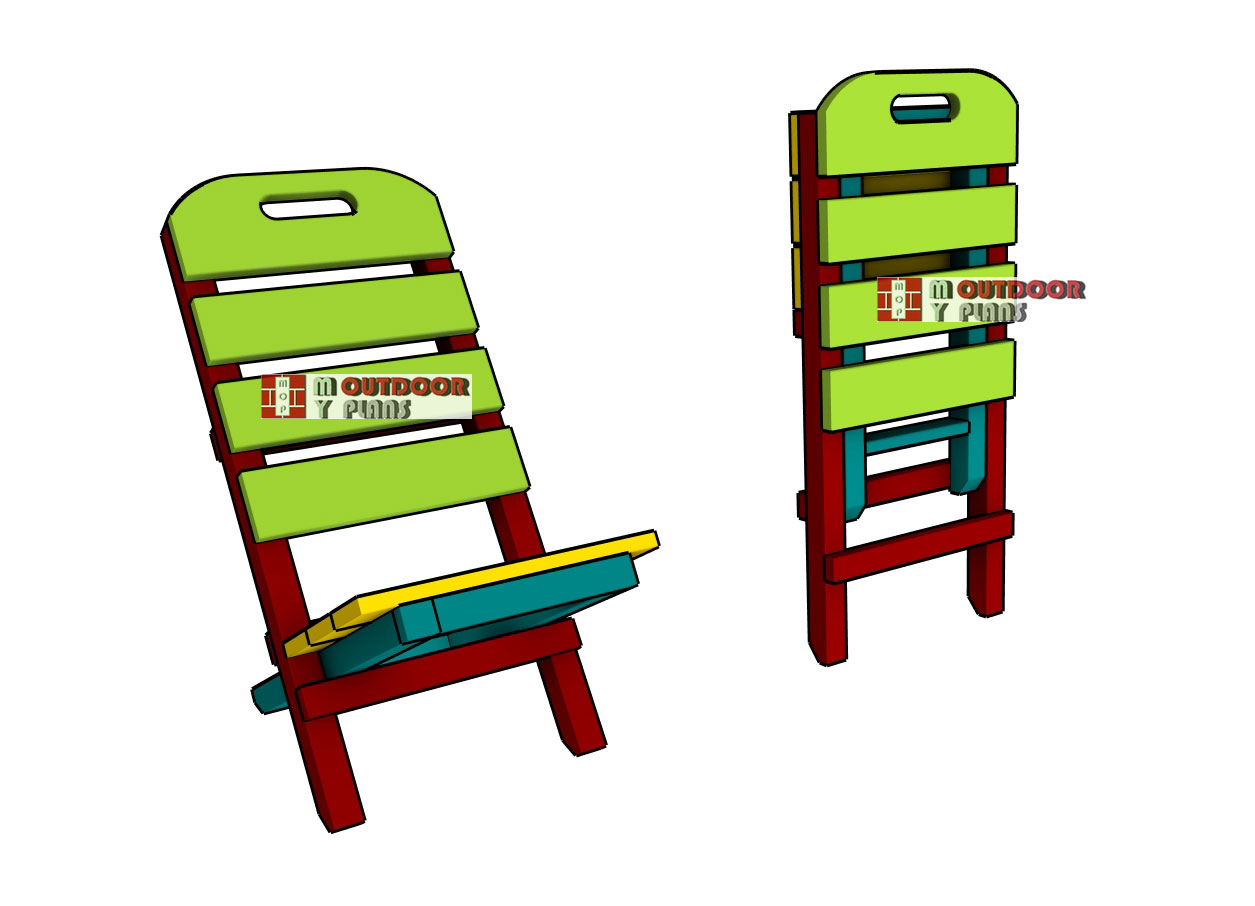
Easy-foldable-chair-plans
Finishing touches – Easy Wood Beach Chairs

Dimensions-for-easy-beach-chair
Last but not least, let’s focus on the finishing touches. Fill any holes with wood putty and smooth the surface using 120-220 grit sandpaper. Then, apply a few coats of stain or paint to enhance the look and protect the wood from the elements.

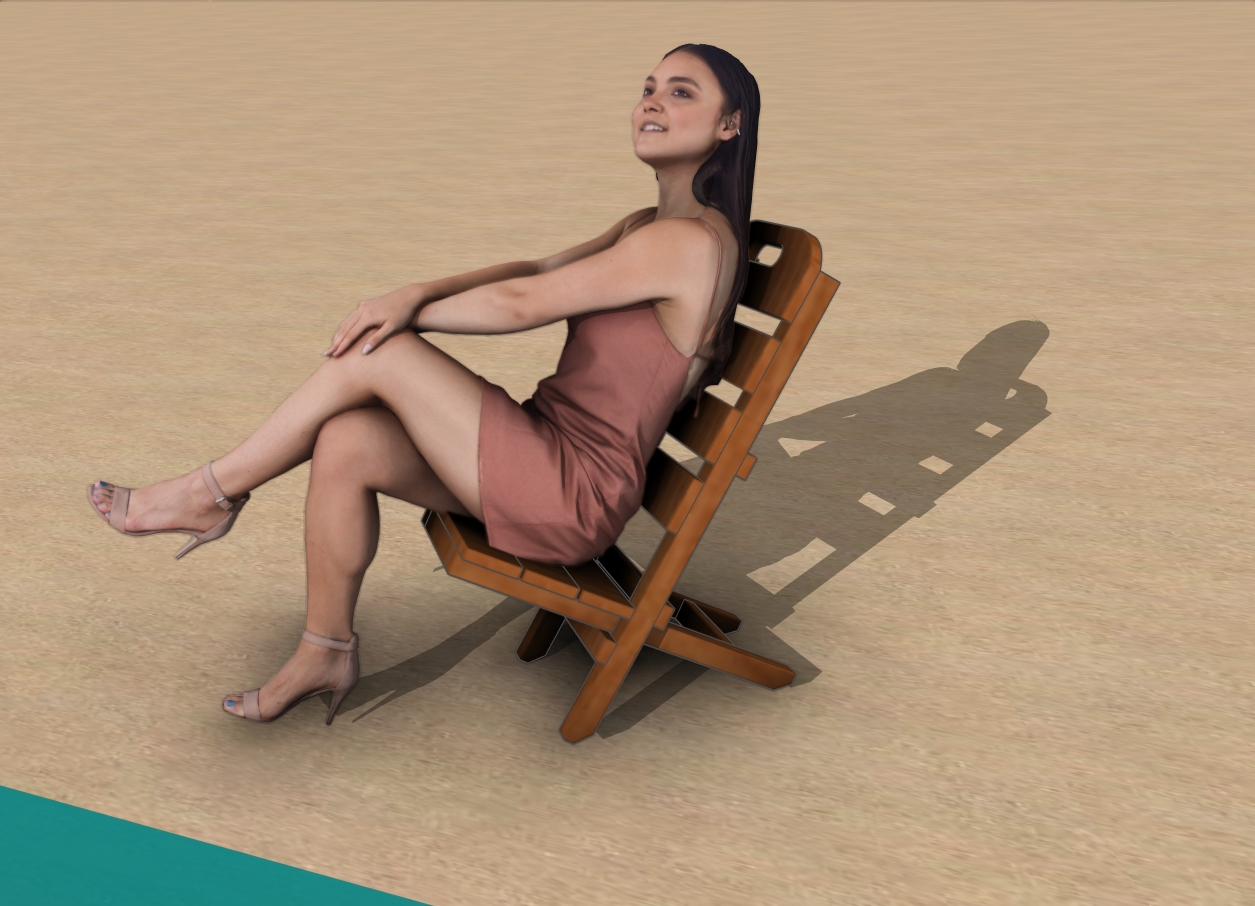
Simple beach chair plans

Wood Chair for beach
Imagine this: you’ve got a sunny day, the perfect beach spot picked out, and your favorite person by your side. You pop open the trunk, grab the two folded chairs we just made, and in seconds, they’re set up and ready to go. It’s that easy!
Now, you’re both sitting back, toes in the sand, with a cool drink in hand, enjoying the ocean breeze and soaking up every moment together. It’s the perfect blend of DIY convenience and beachside bliss!
Easy beach chair – diy plans
My easy wood beach chair isn’t just a practical project; it adds a chic, handmade touch to your outdoor spaces. The compact, two-piece design makes it super portable and perfect for any beach day or backyard gathering. Plus, the sturdy build using 2x2s, 1x2s, and 1x4s ensures durability and comfort, making it a great investment for countless summers to come. I hope you enjoy lounging in your new DIY creation as much as me!
If you want to get the Premium plans with all the extras, just press the GET PREMIUM PLANS button bellow. If you want to get the free plans, just read the blog FAQs.

This woodworking project was about DIY easy two piece beach chairs plans. If you want to see more outdoor plans, check out the rest of our step by step projects and follow the instructions to obtain a professional result.