DIY Folding TV Tray
From Bren,
My mother had been after me for some time to make her new TV trays. I was checking out several trays and they all seemed above my skill level and none had good instructions. Finally, I came across https://www.youtube.com/watch?v=hKcmbJXBpV0 which was the first in a three part series on how to build a TV tray.
If you look through the videos, one of the key items missing is a list of materials, at some points dimensions are provided but simple things like…. What size wood is he using is never directly addressed. After reviewing the videos multiple times I figured the legs and other pieces were all 1×2 so I went with that. Now I knew this was going to be a challenge because of the exact measurements that would be required to make everything work out right.
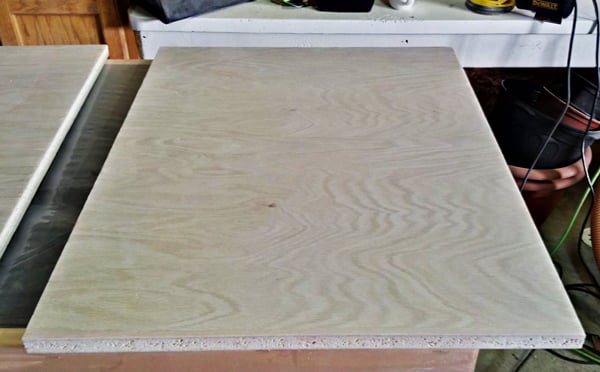
The first challenge was to get a good piece of oak plywood for the tray top. I ventured out to my local building supply store in search of a 2×4 sheet of oak plywood. The table top in the video was 19×24 so I could get two nice tops from a 2×4 sheet of plywood. Here comes lesson learned #1…. A 2×4 sheet of oak plywood costs about ½ as much as a 4×8 sheet of oak plywood, of course you only get ¼ of a 4x sheet from a 2×4 sheet. What you get for the premium is a nicely cut edge on the smaller piece but here’s the catch. Once you give that nicely edged 2×4 sheet to a local building supply guy to cut you two 19” pieces you end up with two jagged edged 19” pieces so the premium edging is gone. In retrospect, buying a full sheet (not sure how I would transport it) is the much better idea. Even if I had gotten them to cut a full sheet in half I would have had ½ sheet of extra plywood to work with at a later date, so don’t bother with the smaller bits unless you have transport issues.
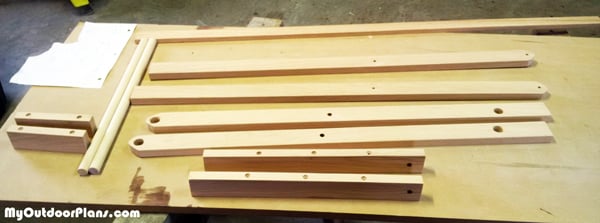
As I mentioned the videos did not provide a material list but here is my list:
Piece: Material Dimensions Qty
Legs: 1×2 Oak 30” 4
Top: 3/4” Oak Plywood 19 X 24 1
Top trim: 3/4” Oak Trim 96” 1
Base leg connections: 1×2 Oak 16” 2
Leg Stops: 1×2 Oak 6” 6
Leg dowels: 3/4“ dowel 18.5 “ 2
Leg Stop Support: 1/2″x2 Oak 16” 1
Leg support: 1×2 Oak 16.5 “ 1
On top of those materials you will need 4 – 1 ¾” Allen key 1/4” bolts and couplers and 12 washers. The original plan in the video calls for 8 washers but when I screwed everything together the bolts were a bit loose so I added an extra washer to each joint. I would describe the entire assembly process but the videos run over 30 minutes in total and do a much better job than I could doing a step by step. Instead I am filling in the missing information.
Here are a few other tips I figured out along the way:
• Make sure you get straight pieces of oak, bend pieces don’t make for straight legs
• I used 2 ½” screws to connect the leg stops and supports, you could see a slight bulge in the top from these screws so 2 ¼” might be best.
• When screwing the ¾ holes for the dowels I split a couple of legs, I figured that by leaving an extra couple of inches on the legs, then drilling the ¾“ holes and trimming the extra from the legs it worked much better. If I had a drill press instead of a drill it probably would have worked better as well.
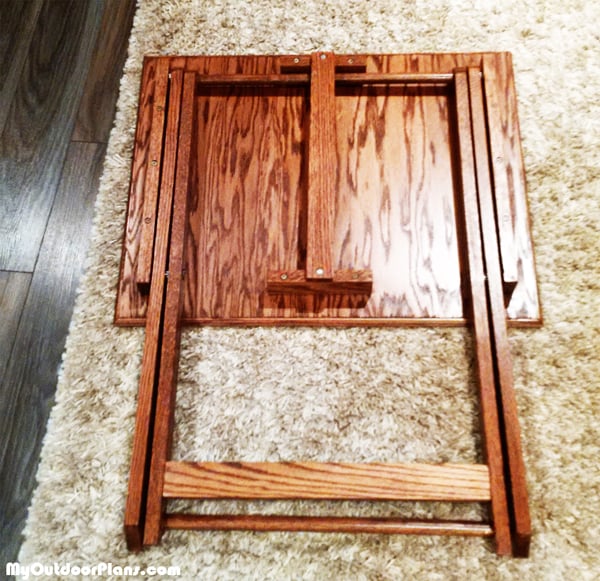
• The dowels alone did not provide enough leg support, I ended up putting an extra brace of 1X2 on the bottom of the legs for extra support. In retrospect just omitting the bottom dowel and using the 1X2 brace would have worked just as well and saved me a lot of trouble with the ¾” hole drilling and dowels set up for the leg bottoms.
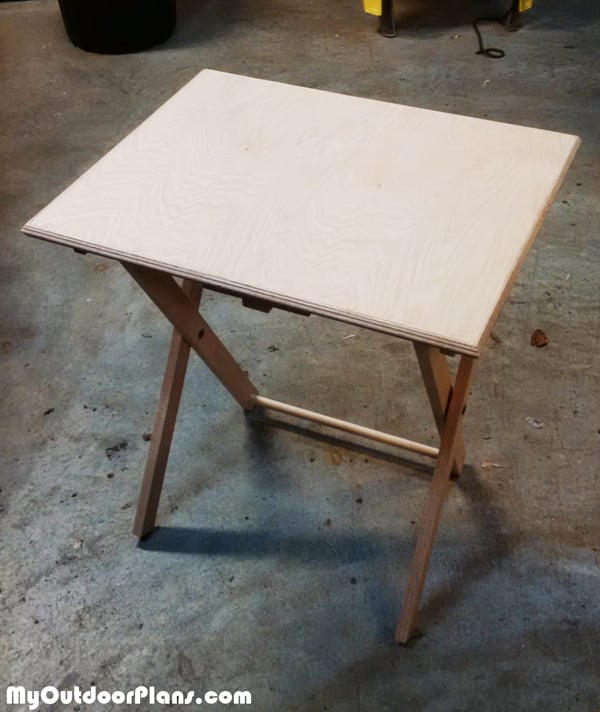
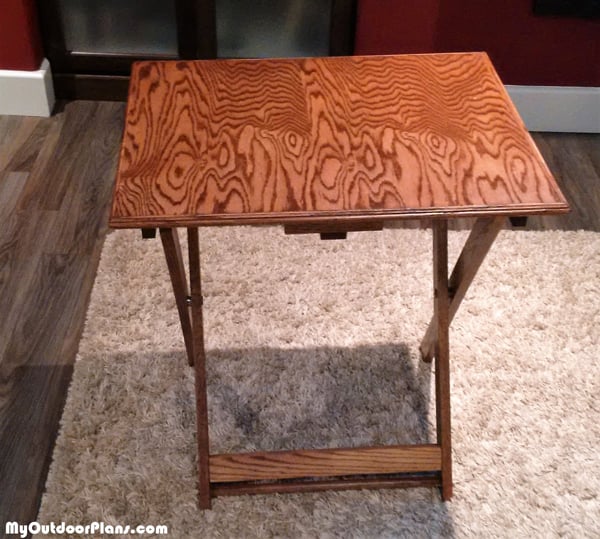
Overall the project worked out very nicely but there was some significant work involved and attention to detail is very important. After a lot of sanding, I finished it with one coat of stain and two coats of polyurethane.
Happy Birthday Mom!
- EXPLORE MORE IDEAS FOR -
 |
 |
 |
 |
2 comments
how do i get the plans for this?
This is a brag project sent by Bren, a reader of this blog. So there are no plans for this, except for the awesome instructions Bren sent.