DIY 16×16 Pavilion
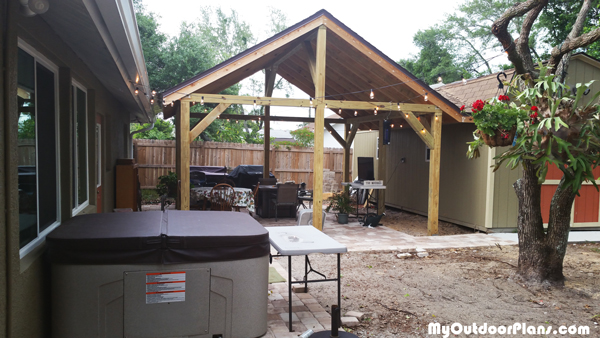
From Russell Mahan,
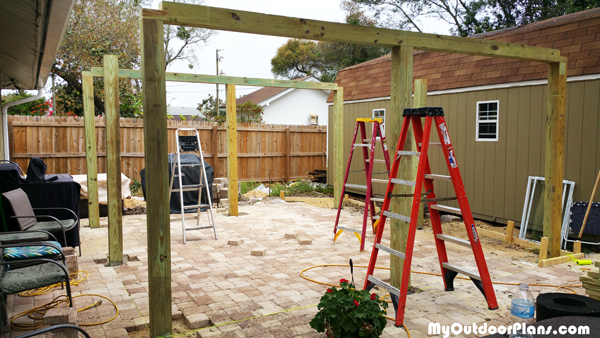
I followed the material list that was provided with the project but added drip edge, timberlok screws and used cedar for my 1″ X 8″ trim pieces. I did use the pocket screws. I poured footers and used 5/8″ X 6″ “red heads” to anchor the 6″ X 6 posts. When anchoring the top rails the directions say to put 5 6″ screws…but 6″ screws were not on the list and it does not specifically say where to put them.
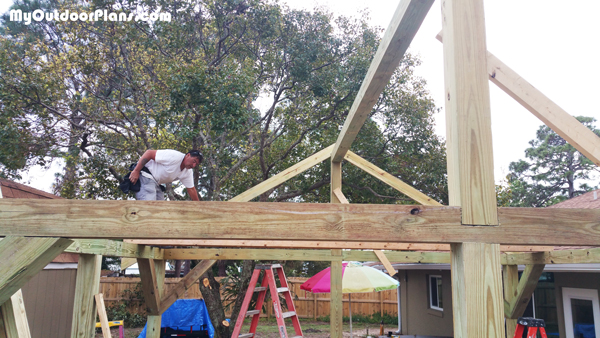
I ended up using 4 6″tiberlok screws in a box pattern and when I attached the top rail I used a 10″ timberlok screw in the center on each post. On the braces for the top beam, I made them 59 and a 1/4″ so that they gave more support for the middle of the top beam. When making the rafters, the instructions say to cut ends at 30 degrees in one place and then 60 in another.
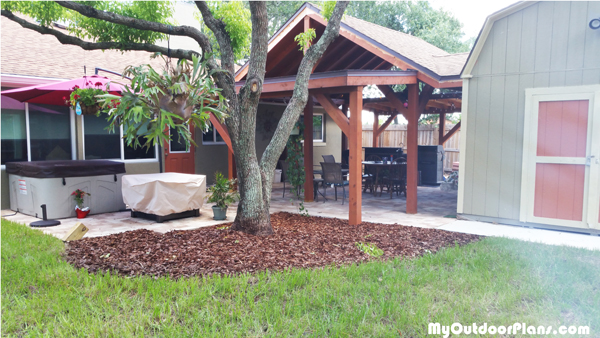
I used the 30 degree cut. I also used 8″ timberlok screws to hold down the rafters and did not use rafter ties. I also added a lean to at both ends to extend the pavilion on both sides. I spent about $3000 dollars on material. We poured the footers one week-end, built the structure the next week-end and finished the main structure the next week-end.
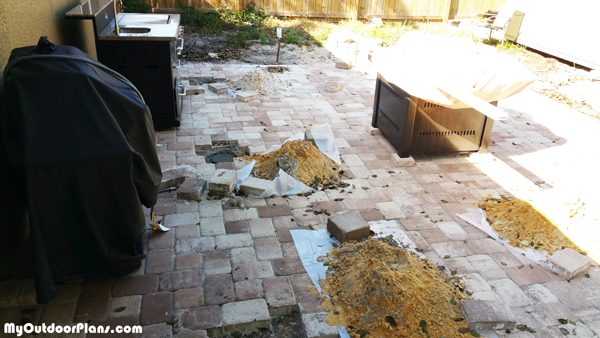
The two lean to sections took another two week-ends. We also tied the roof into my barn shed and used flashing to tie into the gutter on the house side to prevent water running off of the roof onto the patio. I also put in pavers and a gas fireplace which is not included in the cost for the pavilion of course.

1 comment
Congrats for the project and thank you for sharing! Your pavilion turned out awesome and I love all the modifications you made to my plans!
Regarding the rafters, I want to say that in the article it says “make 30 degree cuts at both ends” and “cut the ends at 60 degree”, which in fact is the same thing. So there is nothing wrong with the plans.