This step by step diy woodworking project is about simple strawberry planter plans. I have designed this basic 4ft long planter box so you can grow strawberries in your own garden, without much effort. If you have a drill, a saw and a sander, you can build a few of these planters in just a few hours. Check out all my planter plans HERE. If you enjoy my design, don’t forget to take a look over the rest of my free plans HERE.
There are so many designs and materials to choose from, that we really recommend you to spend some time researching the most suitable plans for your needs. If you still haven’t found what you are looking for, we strongly recommend you to pay attention to these instructions and to check out the related projects, if you want to get more ideas and potential projects for your home and garden. See all my Premium Plans HERE.
Projects made from these plans
Simple Strawberry Planter Plans
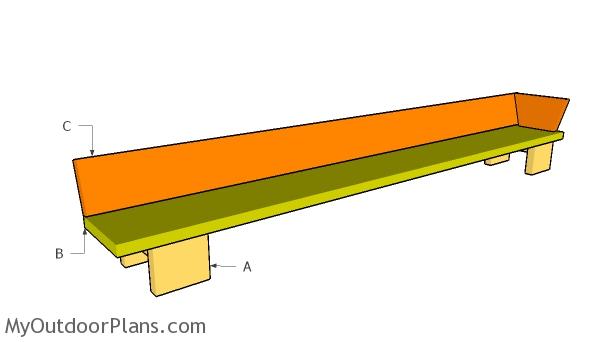
Building a strawberry planter
Cut & Shopping Lists
- A – 2 pieces of 1×4 lumber – 3″ long, 1 piece – 4″ long 2xLEG
- B – 1 piece of 1×6 lumber – 48″ long BOTTOM
- C – 2 pieces of 1×4 lumber – 48″ long, 2 pieces – 5 3/4″ long SLATS
- 2 pieces of 1×4 lumber – 8′
- 1 piece of 1×6 lumber – 4′
- 1 5/8″ screws, 2″ nails
- wood filler , wood glue, stain
Tools
![]() Kreg Jig
Kreg Jig
![]() Hammer, Tape measure, Framing square, Level
Hammer, Tape measure, Framing square, Level
![]() Miter saw, Drill machinery, Screwdriver, Sander
Miter saw, Drill machinery, Screwdriver, Sander
![]() Post hole digger, Concrete mixer
Post hole digger, Concrete mixer
Time
Related
How to build a basic strawberry planter
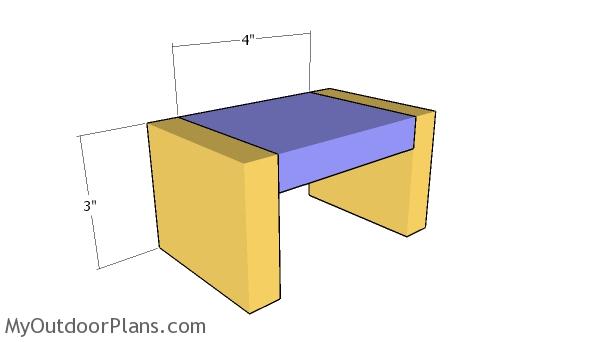
Building the legs
The first step of the project is to build the legs for the strawberry planter. Cuts the components at the right dimensions and then lock them together with 1 5/8″ screws. Drill pilot holes through the side slats and insert 1 5/8″ screws, after making sure the corners are square.
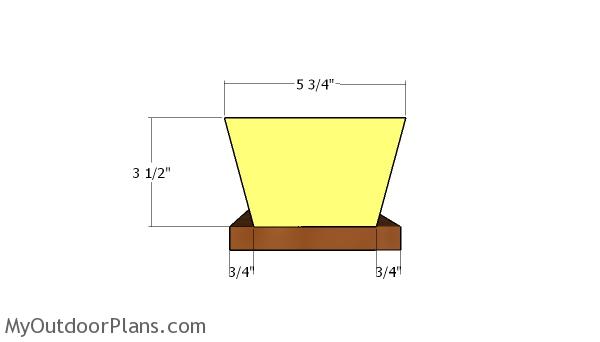
Fitting the ends
Use 1×4 lumber for the end components. Use a circular saw to make the angle cuts to the end slats. Smooth the edges with sandpaper.
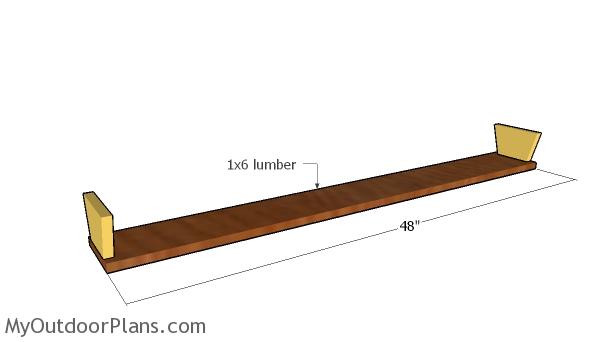
Bottom slat
Use 1×6 lumber for the bottom component. Drill pilot holes through the bottom slat and insert 1 5/8″ screws into the end components. Make sure the corners are square.
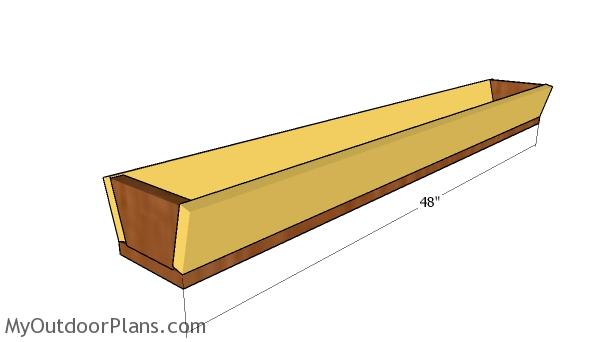
Fitting the side slats
Fit the 1×4 slats to the sides of the planter box. Use glue and 2″ nails to secure the slats into place tightly.
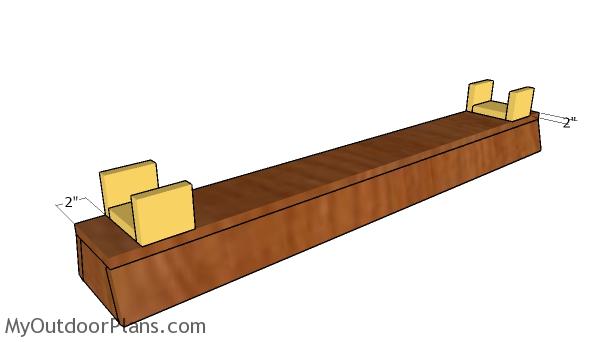
Fitting the legs
Attach the legs to the planter box. Drill pilot holes through the legs and insert 1 15/8″ screws into the planter. Make sure you align the edges with attention before inserting the screws.
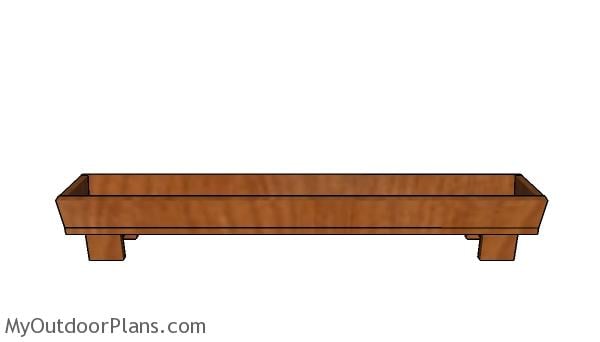
Simple Strawberry Planter Plans – Front view
Considering the wood planter will be exposed to the elements, you should use a weather resistant wood, such as cedar or redwood.
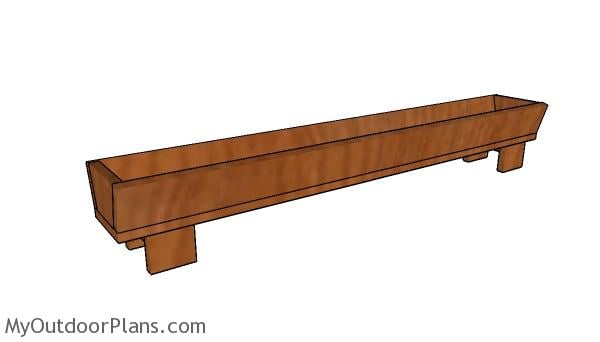
Simple Strawberry Planter Plans
This is a simple woodworking project, so any person with basic diy skills can get the job done in a few hours. check out all my strawberry planters HERE, for even more building inspiration.
If you like my project, I recommend you to take a look over the rest of my woodworking plans HERE. Choose from thousands of free designs and fill your life with DIY joy!
This woodworking project was about simple strawberry planter plans. If you want to see more outdoor plans, we recommend you to check out the rest of my step by step projects. LIKE us on Facebook and Google + to be the first that gets out latest projects.
