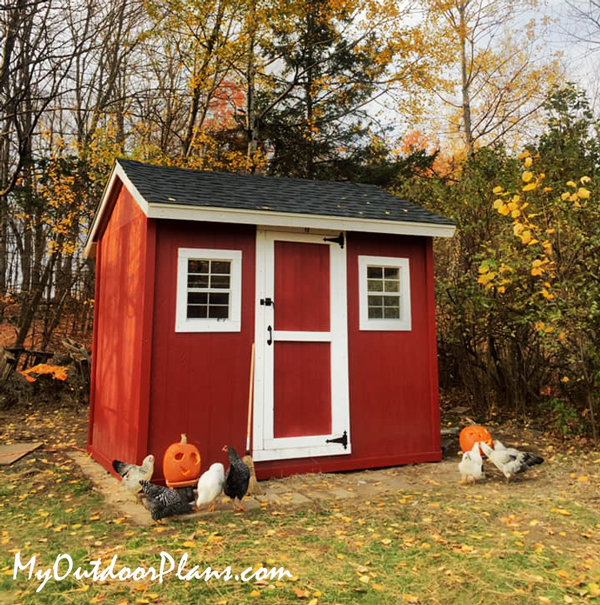
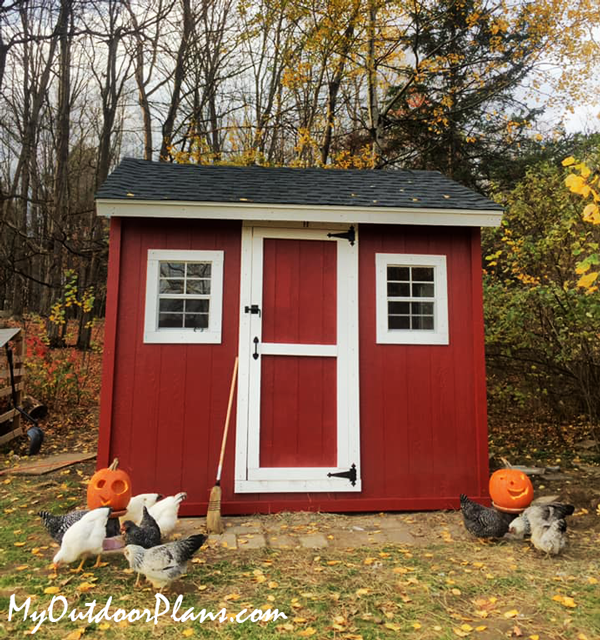
DIY 8×10 Gable Chicken Coop
From Tony Morielli,
Firstly thank you for providing such good plans. Super helpful and made a complete novice like me have some confidence that the project was achievable.
UK project build £86 for the wood from a local timber merchant. Probably took about 6 hours overall. All hand cut. Had to cut the full length 2400mm board down the middle by hand. 30 mins. Used a length of wood screwed to it as a guide. Put 4 No. 2×4 each side under it to give me the gap to saw.
Cut 1 – 2 x 2400mm 2×4, each cut to 1830mm(72″) & 2 x offcuts cut to 535mm(21″).
Cut 2 – 2 x 2400mm 2×4, each cut to 1753mm(69″) & 2 x offcuts cut to 535mm(21″).
Cut 3 – 2 x 2400mm 2×4, each cut to 795mm(31 1/4″) 6 pieces.
Cut 4 – 1 x 2400mm 2×4, cut to 535mm(21″) 4 pieces & 1 x offcut cut to 153mm(6″).
Cut 5 – 1 x 2400mm 2×4, cut to 153mm(6″) 5 pieces & 1 x offcut cut to 465mm(18 1/4″).
Cut 6 – 1 x 2400mm 2×4, cut to 465mm(18 1/4″) 5 pieces.
1. Frame made as instructed, used an offcut as an right angle guide, using 16 No. 60mm(2 1/2″) screws.
2. 153mm(6″) screwed to 795mm(31 1/4″) using 2 No. 60mm(2 1/2″) screws.
3. 1753mm(69″) screwed to 795mm(31 1/4″) using 6 No. 60mm(2 1/2″) screws.
4. 465mm(18 1/4″)screwed to 795mm(31 1/4″) using 4 No. 60mm(2 1/2″) screws.
5. Fixed 4 No. temporary plates to ends of the 535mm(21″) pieces to make it easier to screw to the legs.
6. Cut the two lengths of plywood down to 1830mm(72″) & 1753mm(69″)
7. Double checked the measurement of the gap of the bottom frame for the notches and mine was smaller than the instructions so well worth a double check here.
8. Marked the notches and cut the straight lines, then used an inch wood drill to cut holes to enable small saw blade to cut along the horizontal of the notch.
9. Fitted the lower panel and screwed it down using 22 No. 40mm(1 5/8″) screws.
10. Fitted top frame using 12 No. 60mm(2 1/2″) screws.
11. Fitted the top panel and screwed it down using 16 No. 40mm(1 5/8″) screws.
12. Fitted four small caster wheels that I had spare but will replace these with six better ones.
13. Sanded rough edges & gave a couple coats of stain to the top and top frame. 14. Took about my old broken workbench and fixed to the end of the bench to use as a vice. I am so pleased and my wife and sons can’t believe the result. Many many thanks.
EXPLORE MORE IDEAS FOR:
 |
 |
 |
 |