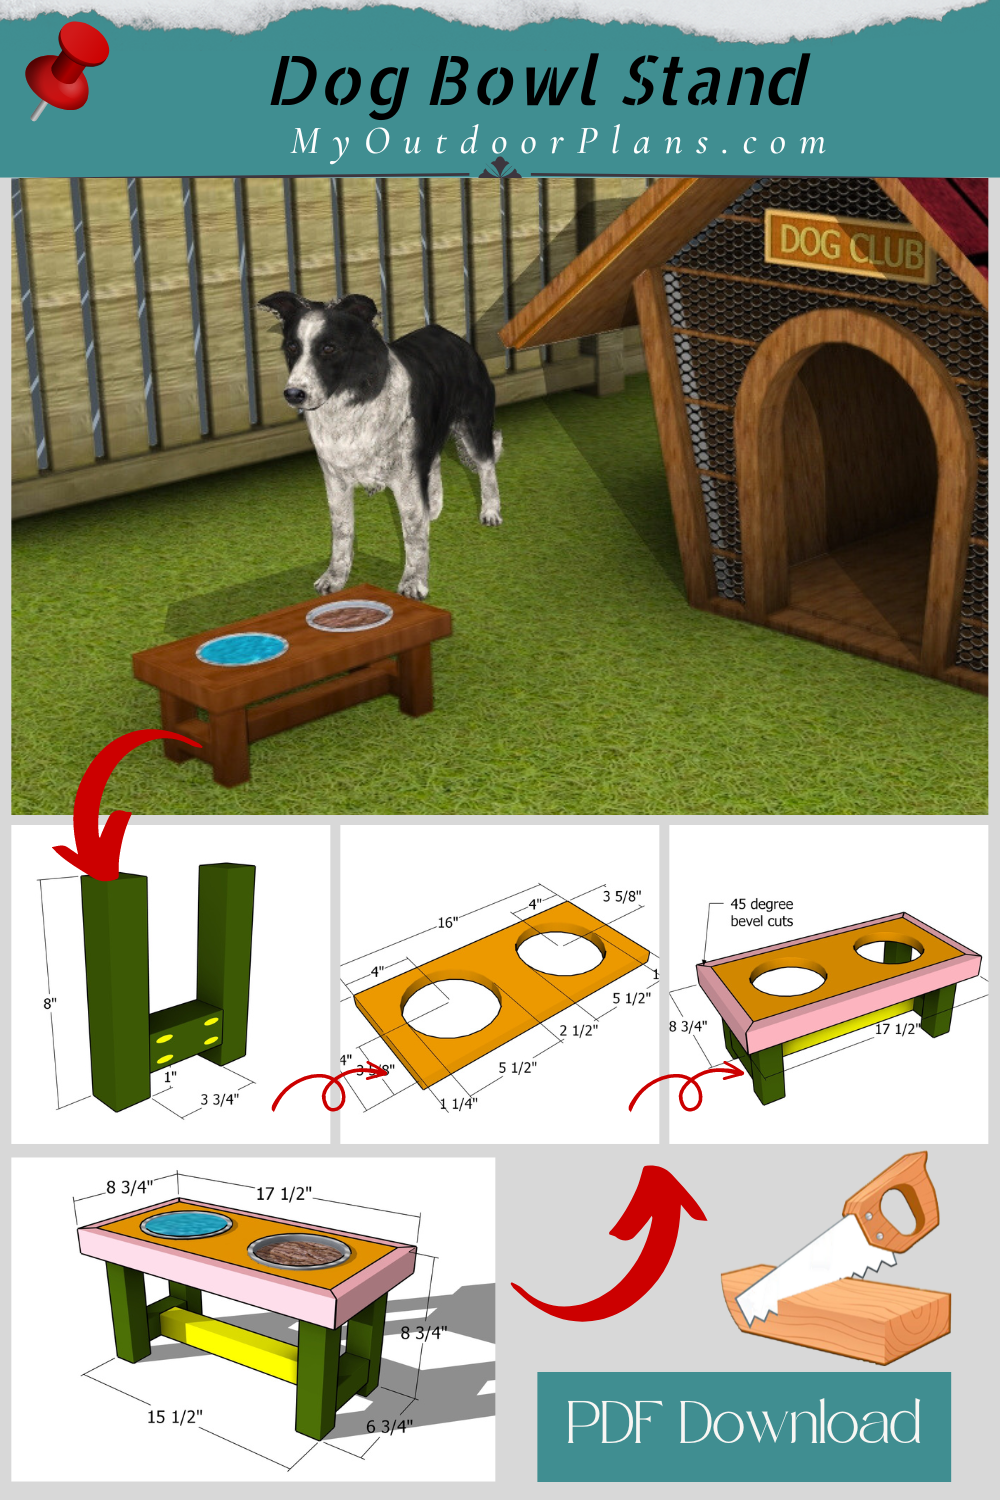
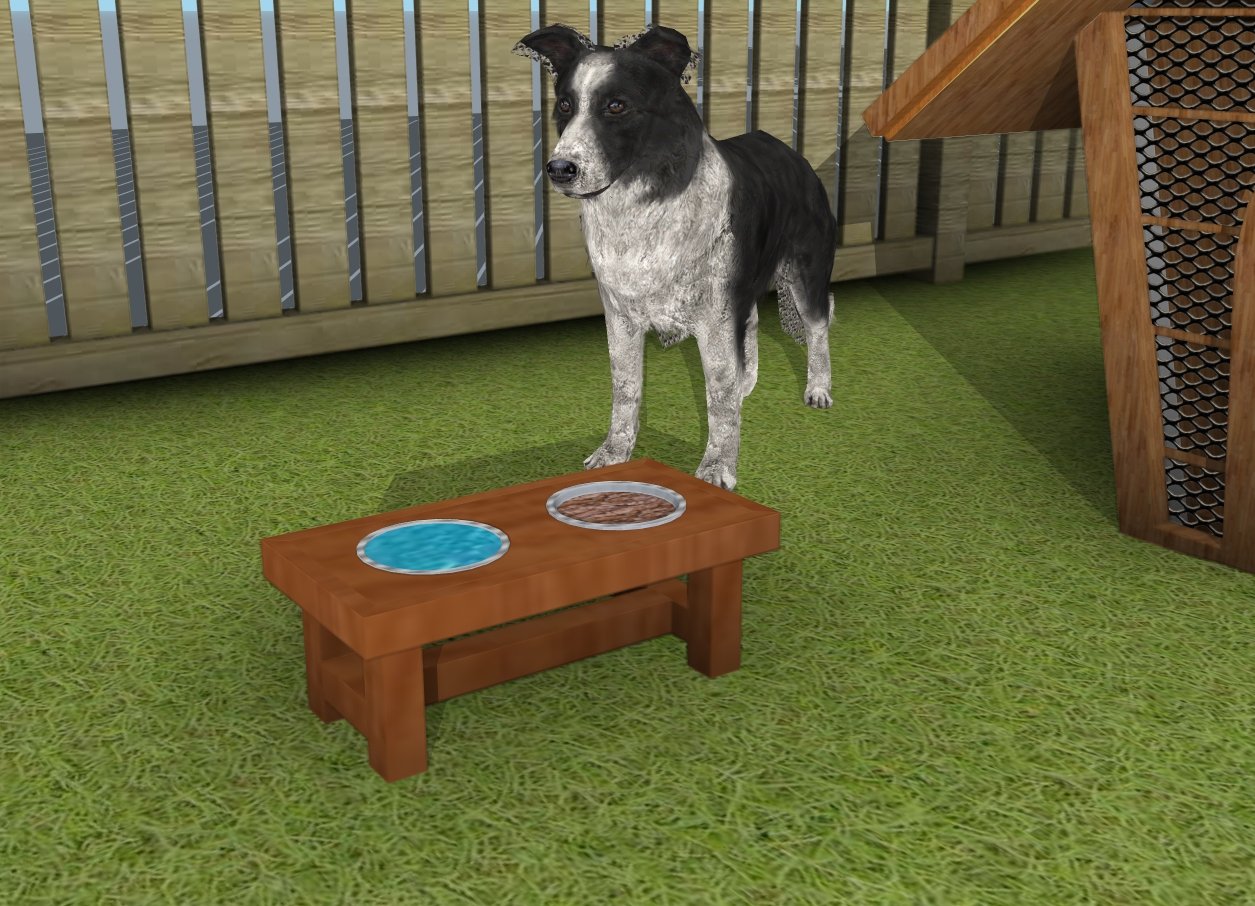
If you’re looking for a fun and practical DIY project for your furry friends, building a custom double dog bowl stand is the way to go! This stand is designed specifically for medium-sized dogs, keeping their food and water bowls elevated to a comfortable height for better digestion and less mess. Whether you’re tired of bowls sliding around the floor or just want a stylish, personalized piece for your home, this project is simple enough for any DIYer to tackle. In this guide, I’ll walk you through the steps to build a sturdy and sleek dog bowl stand that both you and your pups will love.
The cost to build a double dog bowl stand for medium-sized dogs typically ranges from $20 to $40, depending on materials like lumber, bowls, and finishes. The project can be completed in 4 to 6 hours, including cutting, assembly, and finishing, with additional time for drying. Lumber and hardware will be your main costs, while optional finishes like stain or paint can add a personal touch. It’s a great weekend project that’s affordable and practical for your pets! Take a look over the rest of my woodworking plans, if you want to get more building inspiration. Premium Plans for this project available in the Shop.
For this project, I recommend using cedar or hardwood for their durability and natural resistance to the elements. Cedar is a fantastic option because it’s lightweight, rot-resistant, and has a beautiful, rustic look. Hardwood, on the other hand, provides superior strength and longevity, making your mailbox stand a sturdy and stylish addition to your home.
Projects made from these plans
Dog Bowl Stand – Free Plans
Building a double bowl stand
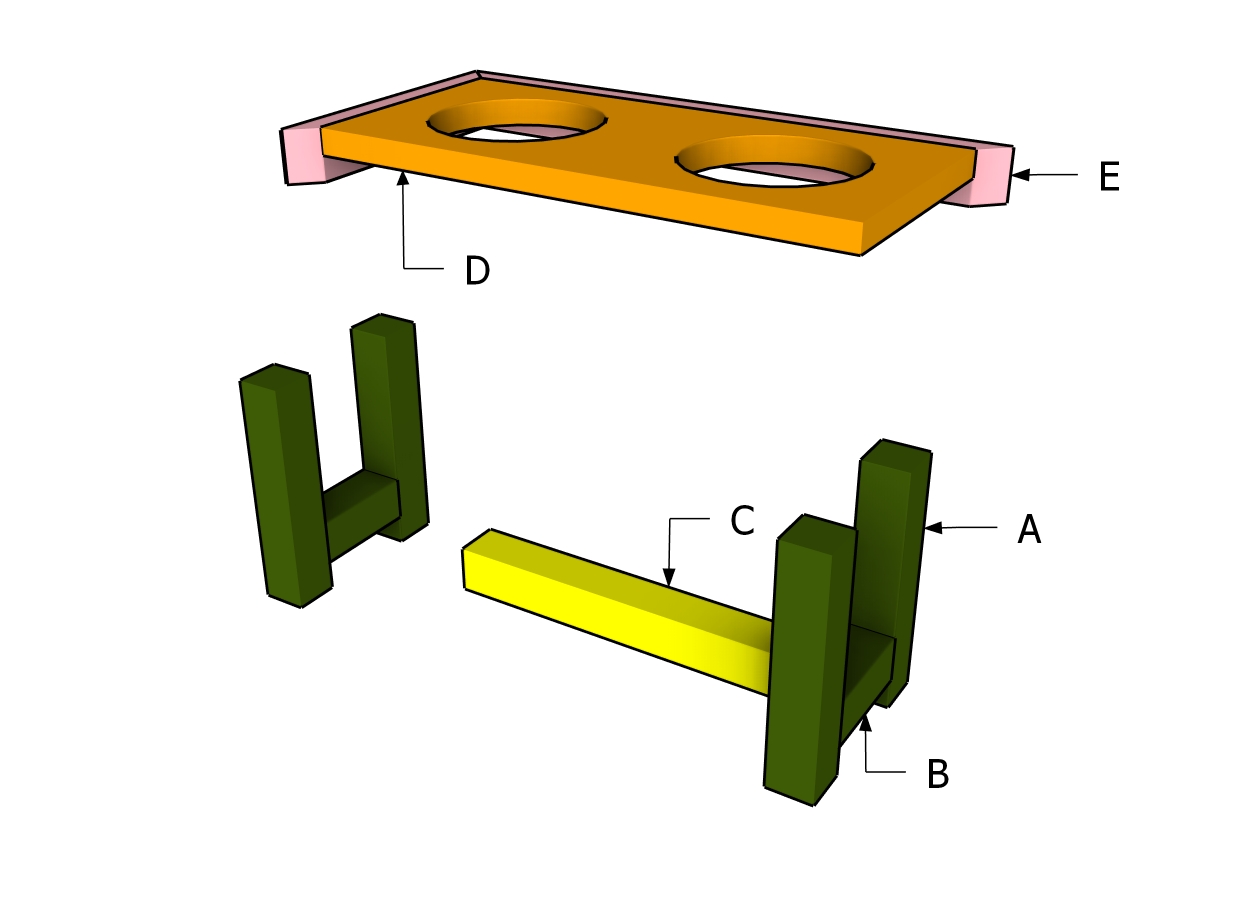
Cut and Shopping Lists
A – Legs – 2×2 lumber 8″ long – 4 pieces
B – Supports – 2×2 lumber 3 3/4″ long – 2 pieces
C – Stretcher – 2×2 lumber 12 1/2″ long – 1 piece
D – Top – 1×8 lumber 16″ long – 1 piece
E – Trims – 1×2 lumber 8 3/4″ long – 2 pieces
E – Trims – 2×6 lumber 17 1/2″ long – 2 pieces
- 1×2 lumber 6 ft – 1 piece
- 2×2 lumber 6 ft – 1 piece
- 1×8 lumber 2 ft – 1 piece
- 2 1/2″ screws – 40 pieces
- 2″ finish nails – 10 pieces
- Wood glue – 1 can
- Stain / Paint – 1 can
- 6″ dog bowl – 2 pieces
Tools
![]() Hammer, Tape measure, Framing square, Level
Hammer, Tape measure, Framing square, Level
![]() Miter saw, Drill machinery, Screwdriver, Sander
Miter saw, Drill machinery, Screwdriver, Sander
![]() Safety Gloves, Safety Glasses
Safety Gloves, Safety Glasses
Time
![]() One weekend
One weekend
Related
Pin for Later!
Building the frame of the stand

Building-the-side-frames
The first step in building your dog bowl stand is to start with the side frames. Cut the pieces from 2×2 lumber, then drill pocket holes at both ends of the horizontal supports. Make sure everything is lined up properly before inserting 2 1/2″ screws to secure the frames. Take your time here to ensure a solid, square assembly—this will be the foundation for the rest of the build.
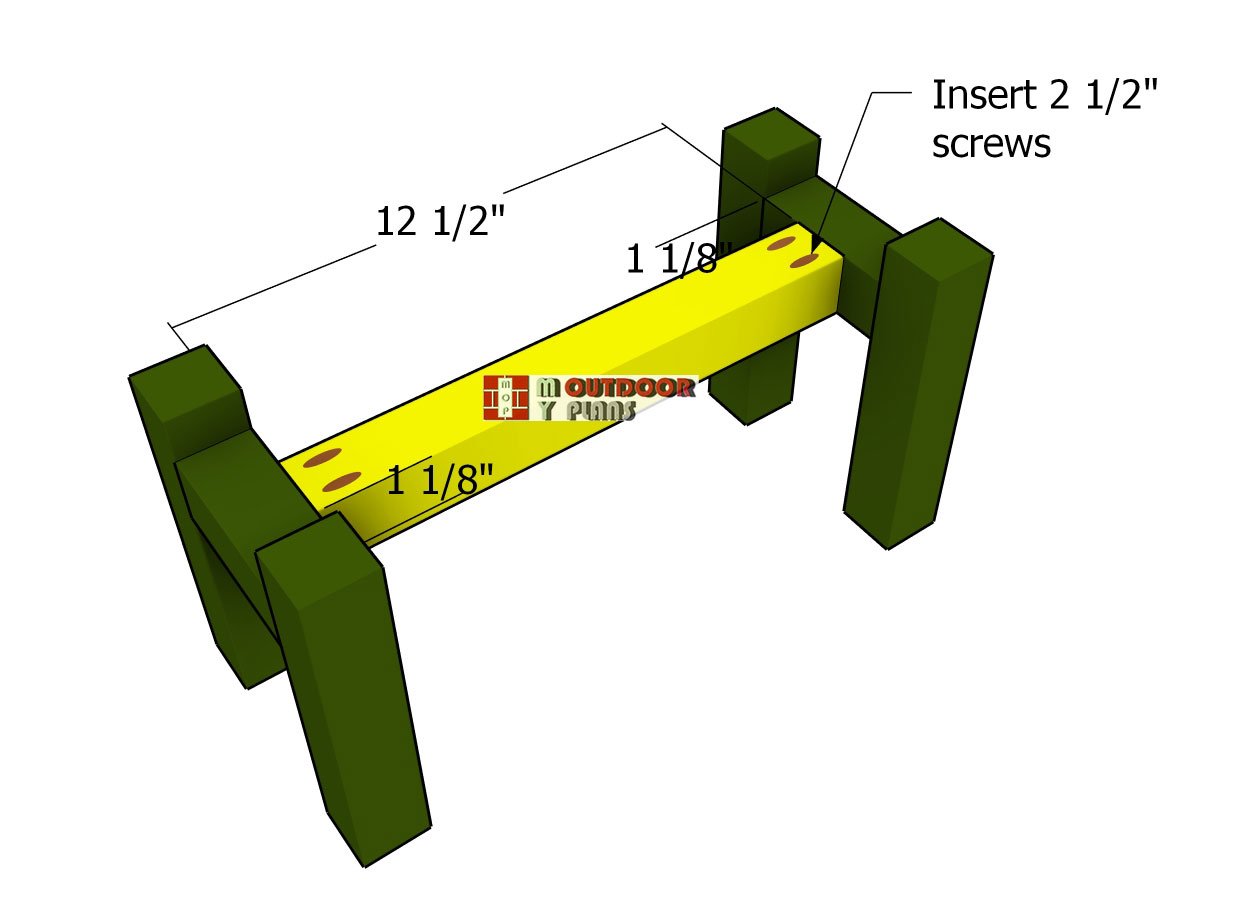
Fitting-the-stretcher
Next, it’s time to join the two side frames by attaching the 2×2 stretcher. Drill pocket holes at both ends of the stretcher and use 2 1/2″ screws to secure it firmly to the side frames.
Be sure to align the edges and double-check that the corners are square. This step is key to making the stand stable and sturdy, so take a moment to ensure everything is locked in tight!
Building the top
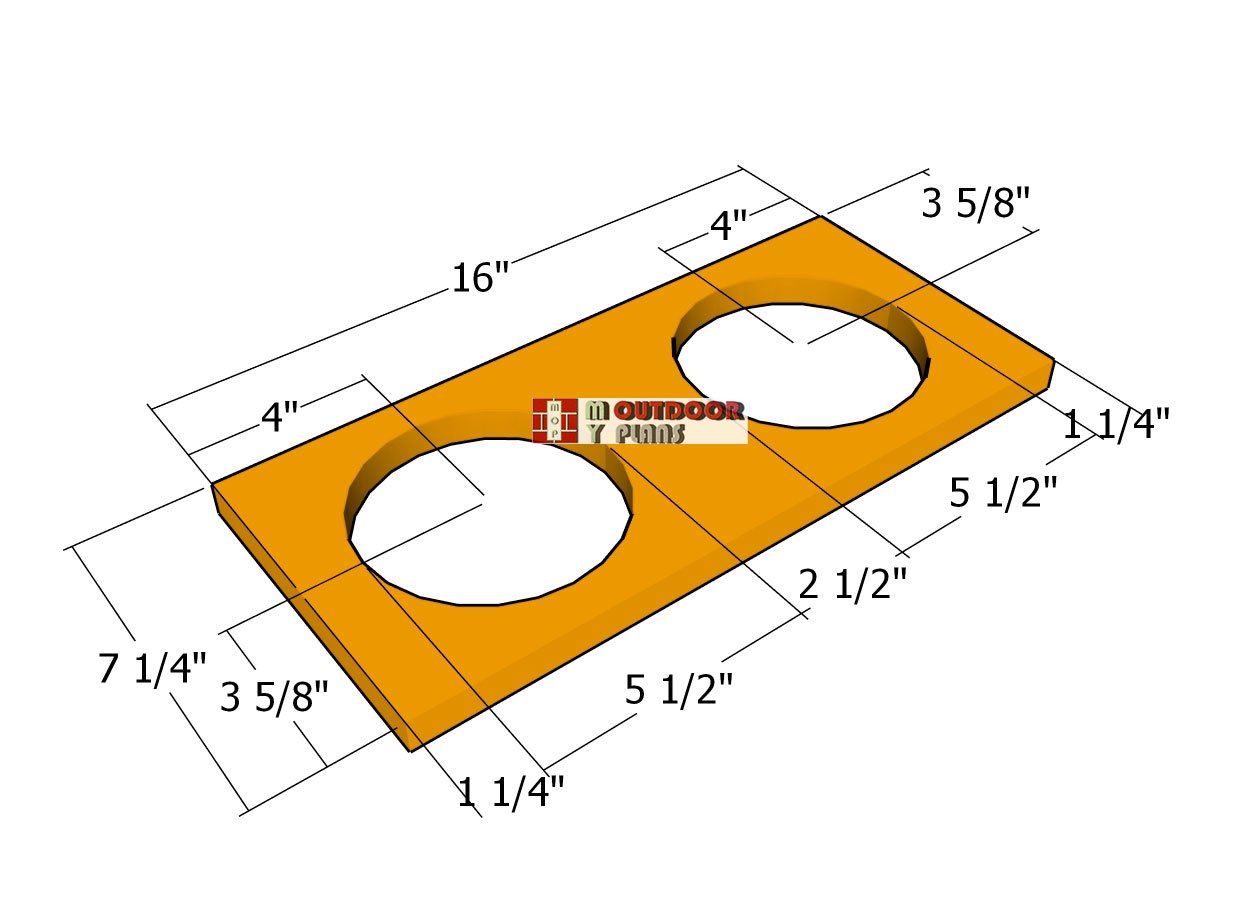
Cutting-out-the-top-board
For the top board of the bowl stand, grab a piece of 1×8 lumber. Start by marking the spots where the bowl holes will go, and then cut them out using a jigsaw. Be sure to adjust the hole size to fit the bowls you’re using—this way, they’ll sit snugly in place.
It’s important to accurately mark the center of each hole using the measurements from the diagram. Once the holes are cut, smooth the edges with sandpaper for a clean, polished finish.
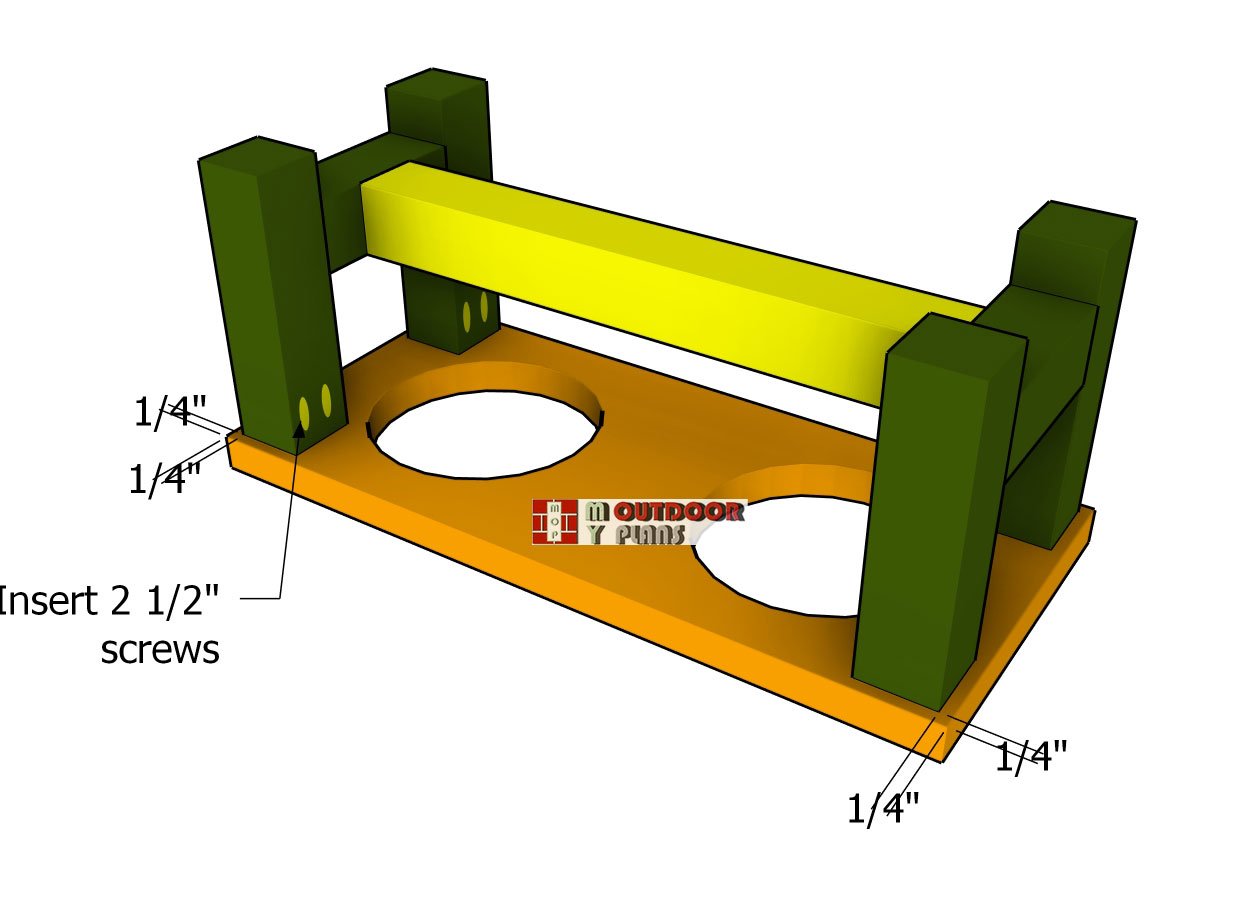
Assembling-the-dog-stand
Fit the frame of the stand to the top board, ensuring there’s a 1/4″ overhang on all sides for a balanced look. Once everything is aligned, insert 2 1/2″ screws through the pocket holes to secure the posts to the board. Double-check your alignment as you go to make sure everything stays square and sturdy for the final assembly.
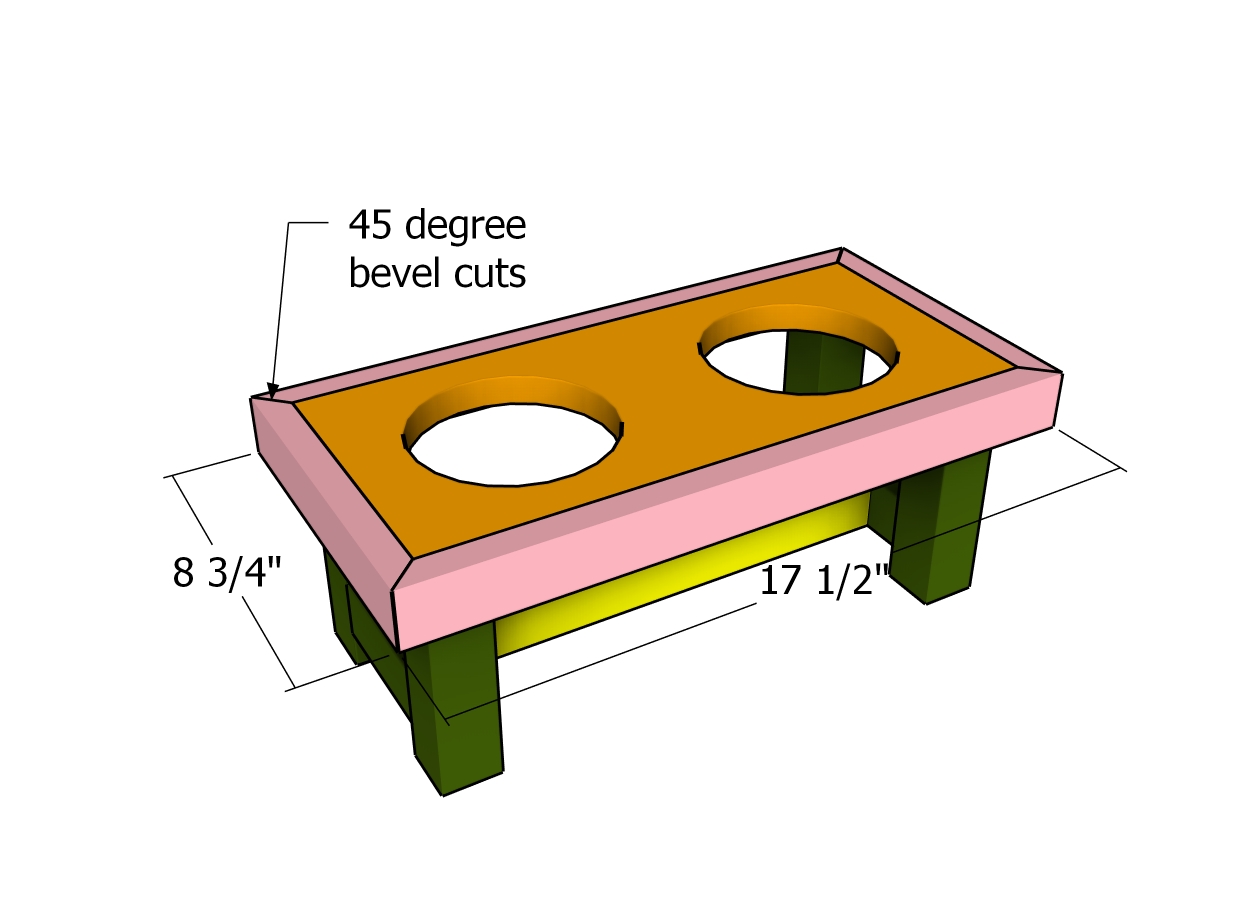
Trims
Finally, it’s time to attach the 1×2 trims to the exterior of the dog bowl stand for a clean, finished look. Cut the ends of the trims at 45-degree angles for a seamless fit, then secure them in place with 2″ finish nails and wood glue. Make sure the edges are perfectly flush and leave no gaps between the trims. This step adds the perfect finishing touch, giving the stand a polished, professional appearance!
Finishing touches
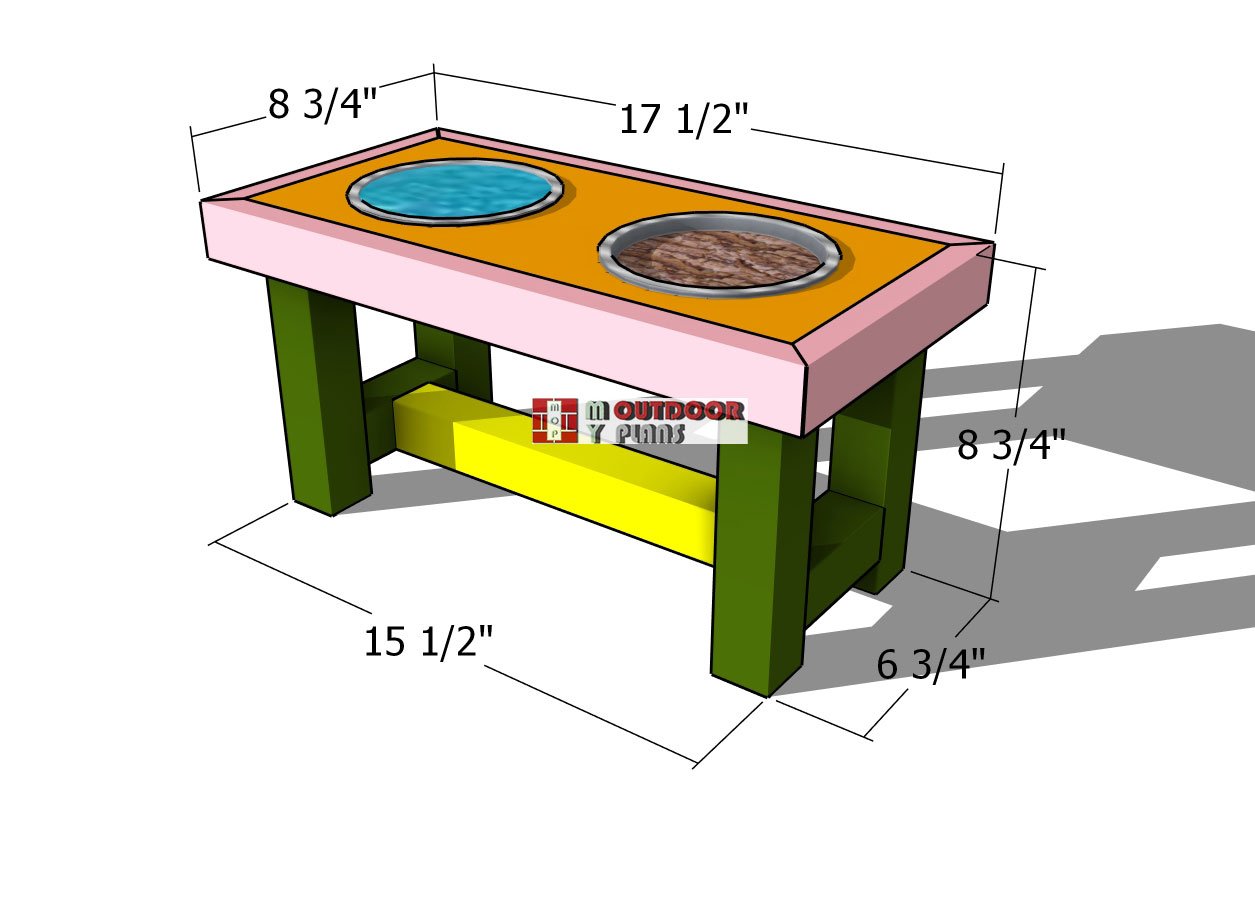
Medium dog stand – dimensions
Now that the stand is built, it’s time to focus on the finishing touches to make it both functional and polished. Start by sanding down all the surfaces and edges to ensure everything is smooth and safe for your furry friends. Once sanded, you can apply a stain or paint that matches your home’s décor, or keep it natural with a clear coat to protect the wood from water spills.
Dog bowl stand plans
Make sure the bowls fit snugly into their slots, and for added protection, consider adding a waterproof sealer to the inside of the bowl openings. Once everything is dry and set, your custom dog bowl stand is ready for action—practical, stylish, and ready to keep your pets’ feeding area neat and tidy!
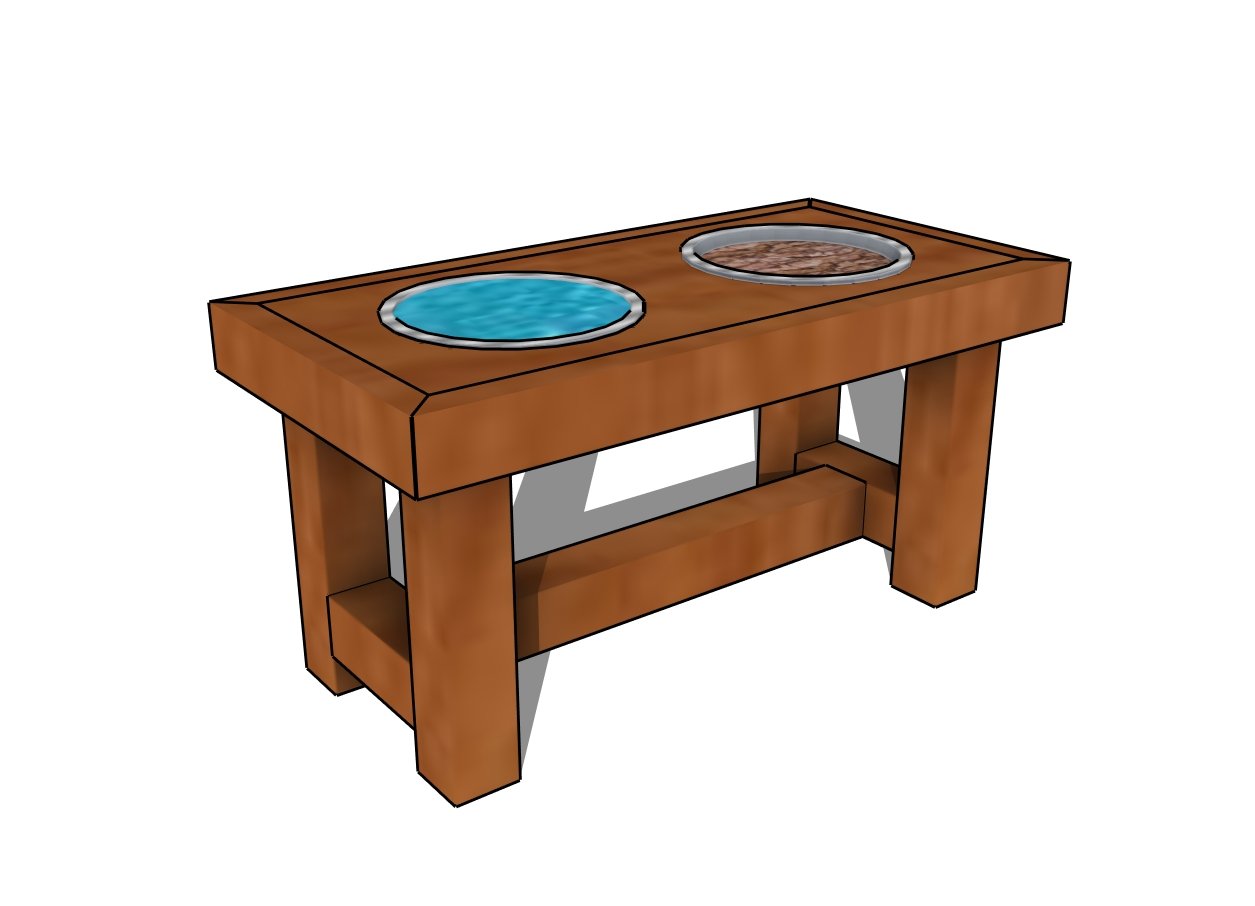
How to build a dog bowl stand
And just like that, your double dog bowl stand is complete! Not only does it keep your pups’ food and water at the perfect height for comfortable eating, but it also adds a stylish, homemade touch to your space. With its sturdy build and sleek design, this stand is built to handle daily use while keeping everything neat and tidy.
Dog bowl stand – free plans
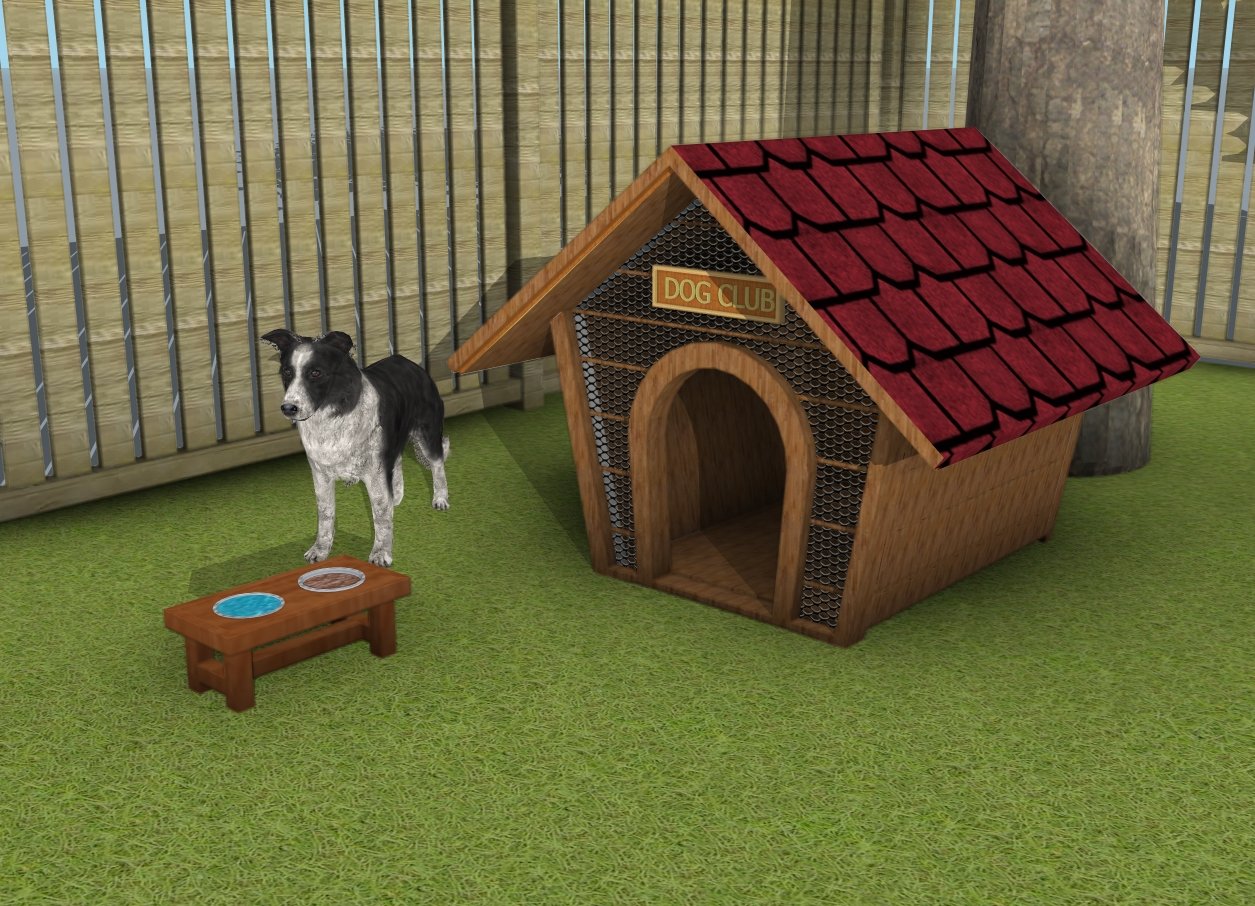
Your medium-sized dogs will love it, and you can feel proud knowing you crafted something that’s both functional and beautiful. Ready to watch those tails wag at mealtime? Enjoy your new DIY creation!
If you want to get the Premium plans with all the extras, just press the GET PREMIUM PLANS button bellow. These plans are free to download.

This woodworking project was about DIY dog bowl stand plans. If you want to see more outdoor plans, check out the rest of our step by step projects and follow the instructions to obtain a professional result.