How to Build a Double Chair Bench

Building the seat frame
I started the double chair bench with table by assembling the seat frame. I used quick clamps to hold the frame together while inserting the screws. I used pocket holes to lock the components together. You learn more how to use pocket holes here.
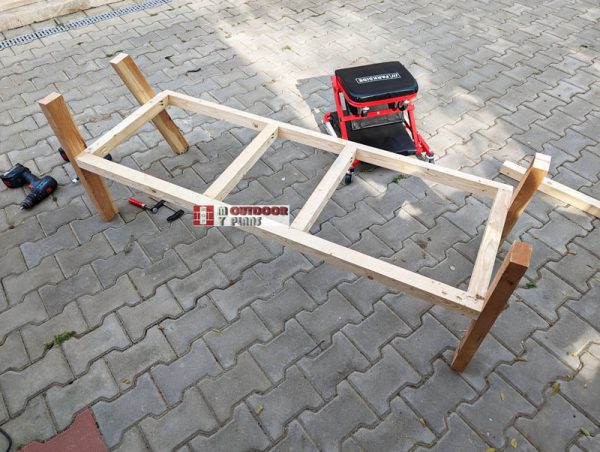
Attaching-the-legs-to-the-bench
The next step was to cut and attach the legs to the seat frame. For this step it’s best to have another person help you align the legs and hold them into place while inserting the screws.
My friend was holding the frame vertically, while I aligned the legs and inserted the screws. After attaching the legs you need to check if the bench is level and make adjustments, if needed.
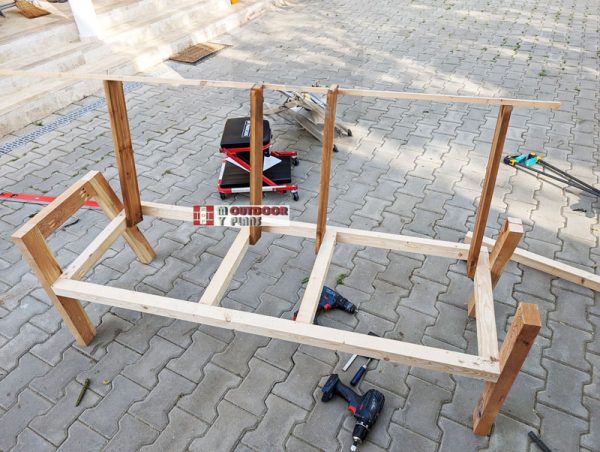
Fitting-the-backrest-supports
I attached the backrest supports to the bench frame. As you can see in the image, I used a slat to the top of the supports to make sure they are horizontal.

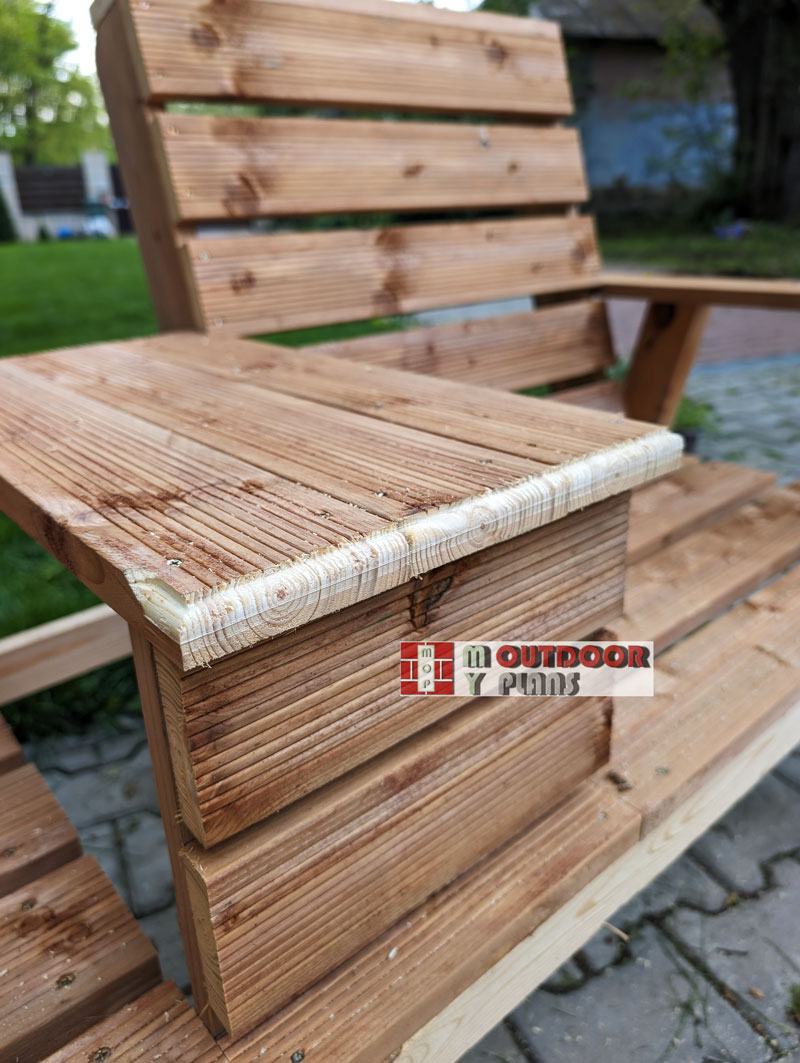
Attaching-the-seat-slats
Next, I cut and attached the boards to the seat and to the backrest. I used decking boards for my project, since they look better and I had them in the garage as leftovers from another project.
I placed spacers (small wood blocks) between the boards, to create even gaps. I also drilled pilot holes before inserting the screws, to prevent the wood from splitting.

Framing-the-table
One of the last steps was to frame the table for the bench.

Detail—pocket-hole
Notice the pocket holes used to secure the support into place.

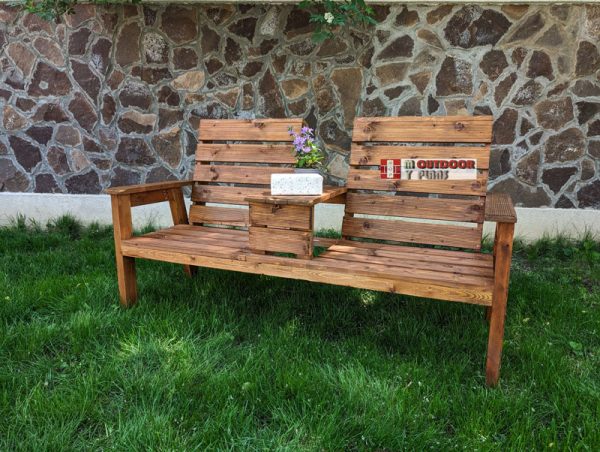
Bench-assembled
The bench is assembled and ready for the finishing touches.
Round-over-bit
I used a router to round the edges of the table and for the armrests.
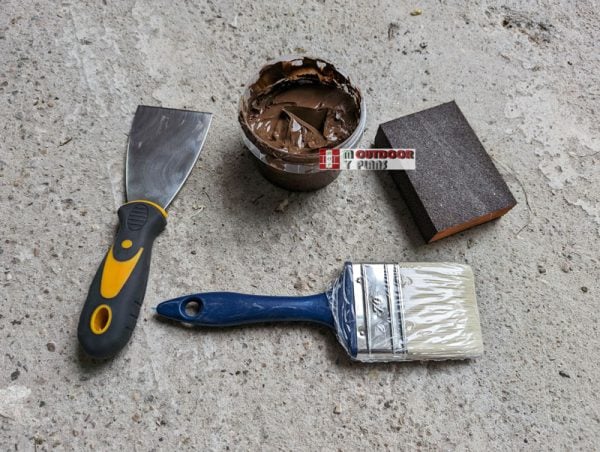
Finishing-touches-tools
I filled the holes with wood putty. After a few hours I sanded everything with 120-220 grit sandpaper. I applied one coat of stain to enhance the look of the bench and to protect the wood from the elements.
How-to-build-a-double-chair-bench
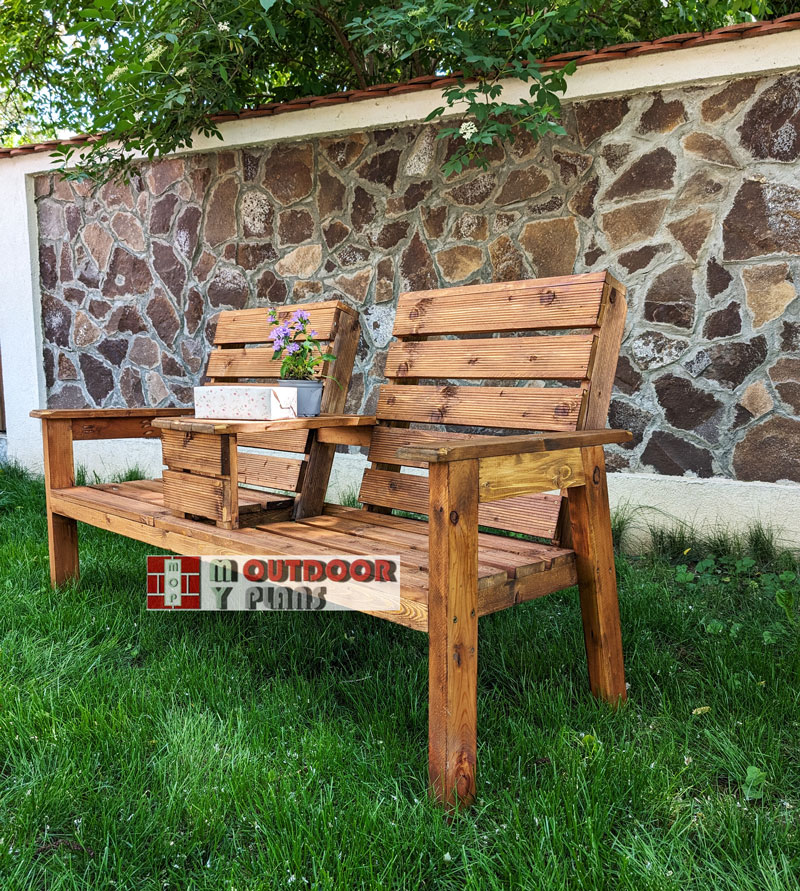
How-to-build-a-jack-and-jill-bench
My garden bench came out pretty nice and I cannot wait to relax in my garden. It was a successful project and I managed to complete it using lumber I already had in my garage. I built the bench in one afternoon and then I spend another day to sand and stain it.
It might seam a lot of time, but I really built it on my own pace, enjoying the process and trying to do my best. There are many variations for his Jack and Jill bench, but I wanted to keep things simple and opted for proven methods.
I followed mostly my plans with a few changes for my own entertainment. After using the double chair bench for a few weeks, I can state with all honesty that it is super sturdy, comfortable and really useful. Moreover, it steals a lot of looks and compliments, since it simply looks great.
EXPLORE MORE IDEAS FOR:
 |
 |
 |
 |