DIY Shaker Inspired Side Chair
From Bren,
I was looking for a chair plan to make a computer chair for my wife for her birthday. I’m not exactly an expert woodworker so it had to be relatively straight forward but still look unique. After searching all over the internet I went back to one of my go-to woodworking project books, “I can do that! Woodworking Projects” and decided on a shaker style side chair.
There were three major challenges for me with the chair. Firstly, the back and all supporting pieces attached to it had to be cut at 5 degree angles to ensure the chair would be comfortable, any cuts not exactly 5 degrees would not fit. Secondly, the seat was made from woven 1” shaker tape, I didn’t have any idea how to do this or where to even find the material when I started. After some searching I found a dealer in Canada for the material, and I also found a couple of online videos showing how to weave the seat. Thirdly, I had to drill 1” holes for the seat dowels, since the wood was only 1.5” thick I was concerned about splitting or the holes not lining up properly.
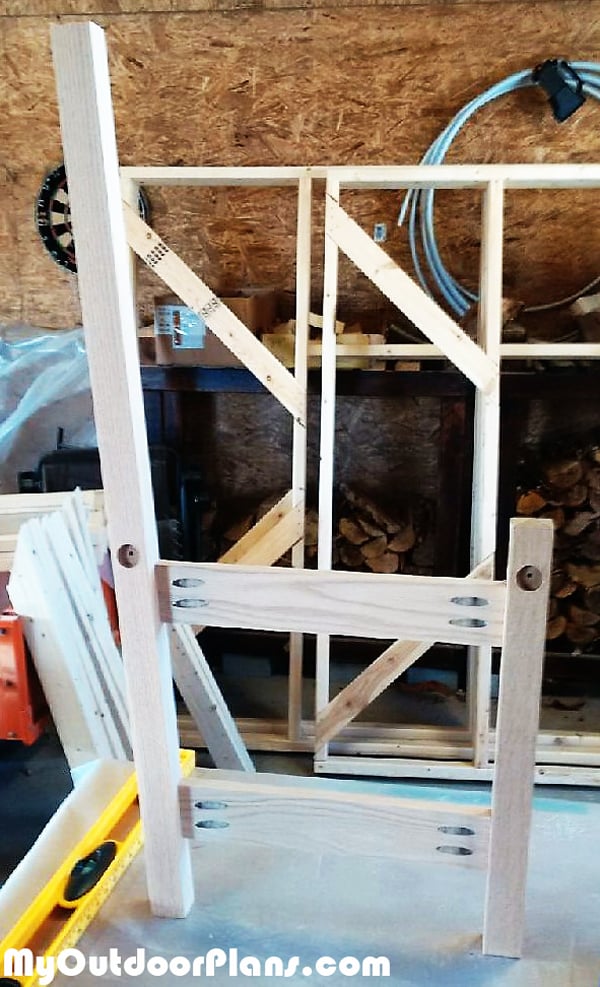
I decided to make the chair from oak, while expensive it is very sturdy and holds up well to all types of finishes. The total cost for the chair materials was about $300, but hardwood prices are very high here in Newfoundland. The construction was done using pocket screws which I find great to work with and easy to fabricate using the Kreg pocket hole jig kit. I do not like using glue because normally it just ends up causing problems for me with the finish.
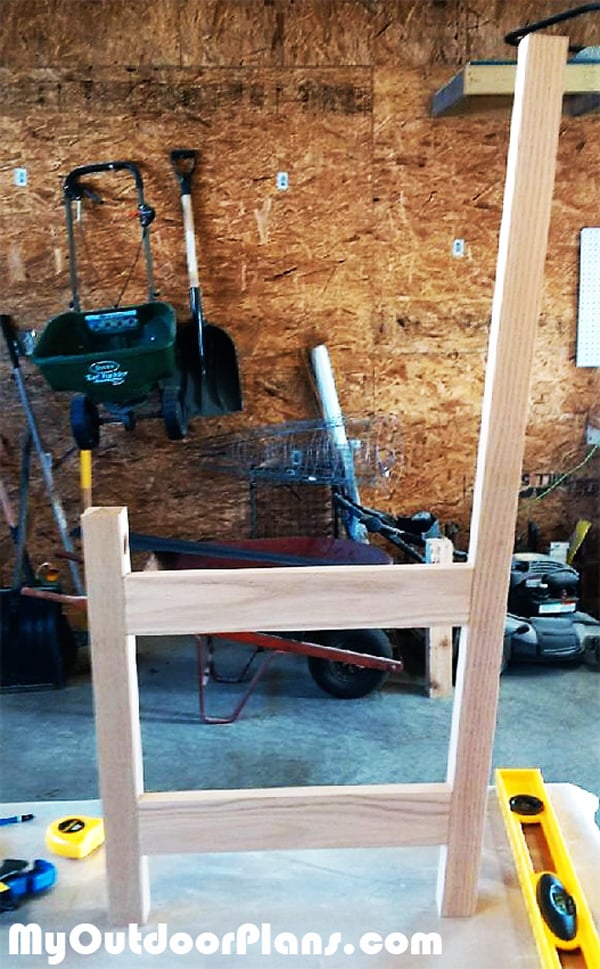
The legs had to be cut with pyramid shapes for the top so I set my mitre saw at 15 degrees, put a stop in place to make sure each cut was made at the same length and rotated the leg and made four cuts. The back legs had to be cut at 5 degrees angles at the bottom, I also used the mitre saw for those cuts. The rest of the piece cuts were straight forward except for where the sides met the legs since they also had to be cut at 5 degrees. Since the legs were already at 5 degrees the bottom sides would have to be 7/8” shorter than the top sides. Once I had all the cuts made I did some mirroring of both sides to make sure they would line up, I needed to make one small adjustment and they were all good. It’s always a good idea to do a dry fit before joining the pieces together and finding out at that point something is not correctly cut.
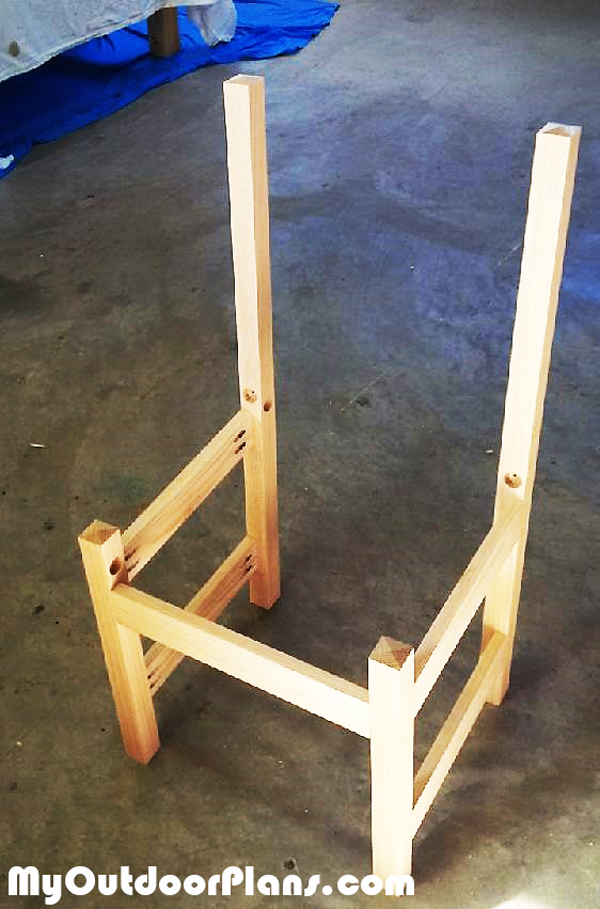
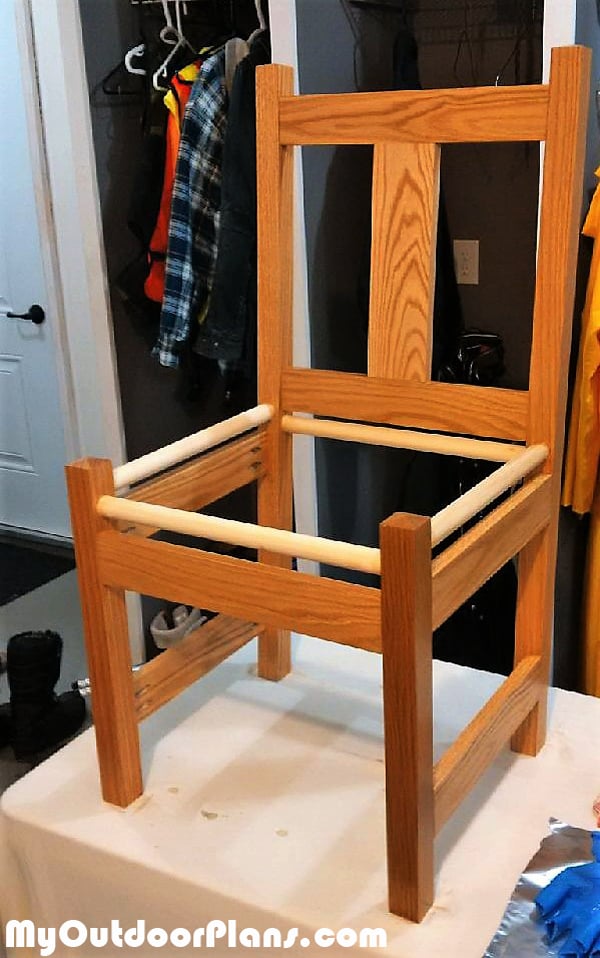
Next step was to sand everything down. I went with my regular 120 / 150 / 220 random orbit sander routine which I find works well to get a nice smooth even finish. Once sanded I had to drill the holes in the legs for the dowels. The front legs holes were easier than the back. The 5 degree angle in the back legs meant the dowel holes also had to be cut at 5 degrees. I used my drill press and a 1” Forstner bit to drill the holes. The holes for the side dowels were ½” higher than the holes for the front dowels. Since the holes were designed to be ½” deep I was concerned about the holes overlapping slightly since they were made on adjacent sides of the leg. Sure enough there was a small bit of overlap but in the end this didn’t cause any problems. I could drill the holes for the back dowel in the rear legs but in order to ensure even 5 degree holes for the side dowels in the rear legs I needed to put the chair together then use the top side rail as a guide for my drill. It all worked out well but you really need to pay attention to every step of the plan or all the parts will never fit together. Eventually I got everything assembled using only pocket screws and was very happy with the results. My wife didn’t want the chair stained so I just used 3 coats of oil modified polyurethane with light sanding between coats.
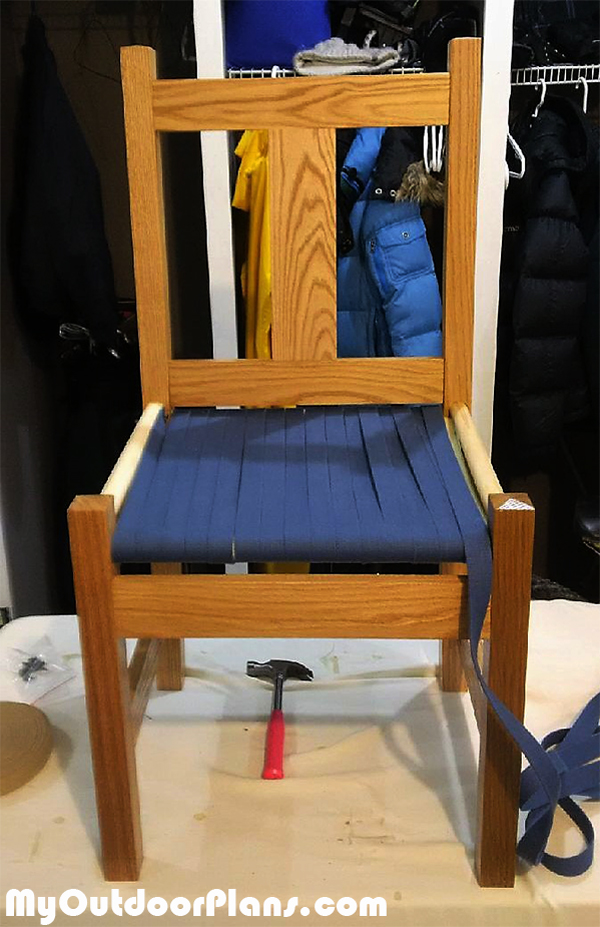
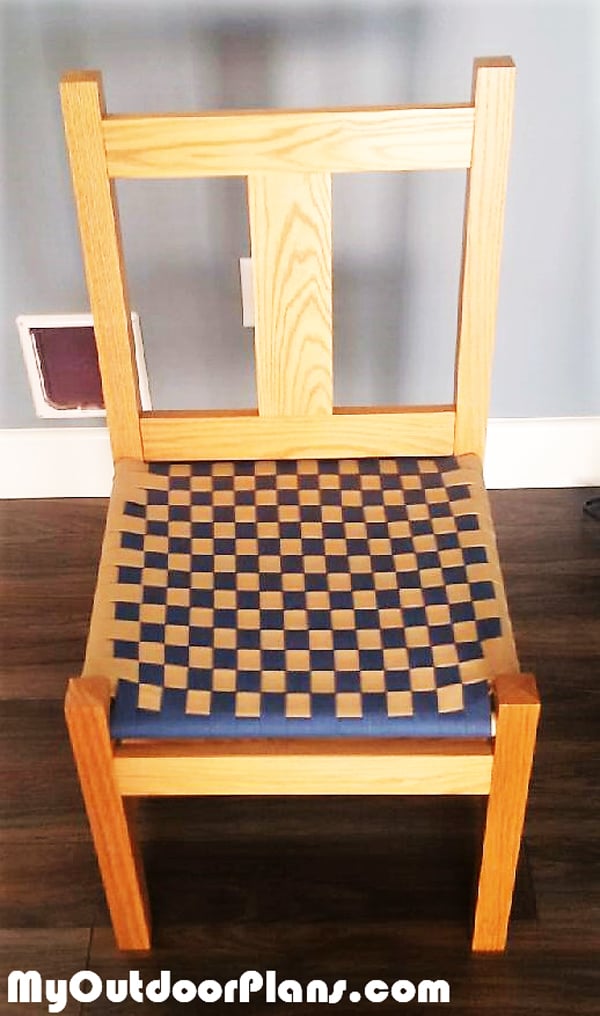
The final part of this project was to weave the seat using the shaker tape. First I did the front and back wrap using blue material which was easy enough, half way through I put a piece of 1” foam in between for added comfort. The cross hatch with the cream color material was a bit more difficult as I had to alternate over and under for both the top and bottom of the seat. You need to constantly push the tape up to make nice looking squares as you go along. The last two rows were very tight but I managed to get a nice 14” X 15” pattern, I just used a staple gun to secure the ends of the tape.
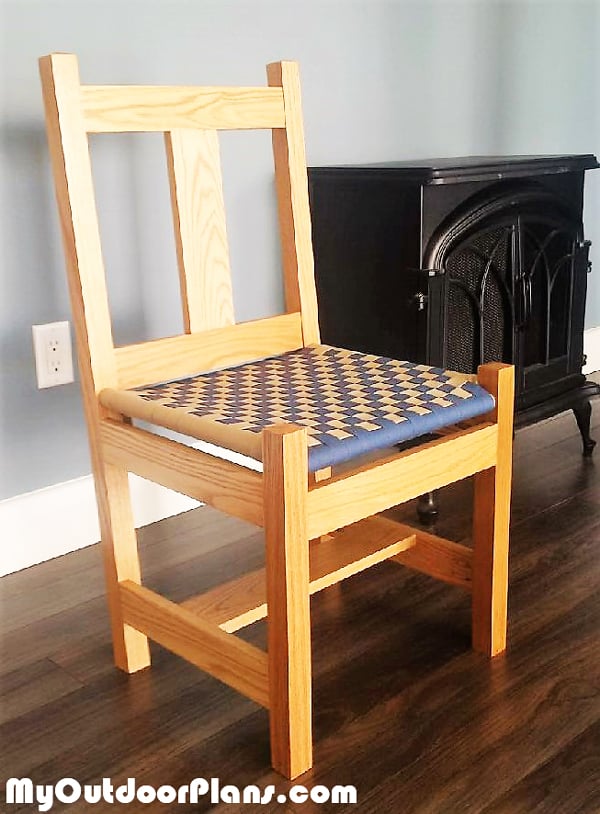
I am very pleased with how the chair ended up and more importantly I’m sure my wife will like it. It should last forever and is a one of a kind for sure!
EXPLORE MORE IDEAS FOR:
 |
 |
 |
 |