DIY Dining Table – Boulangerie

From Bren,
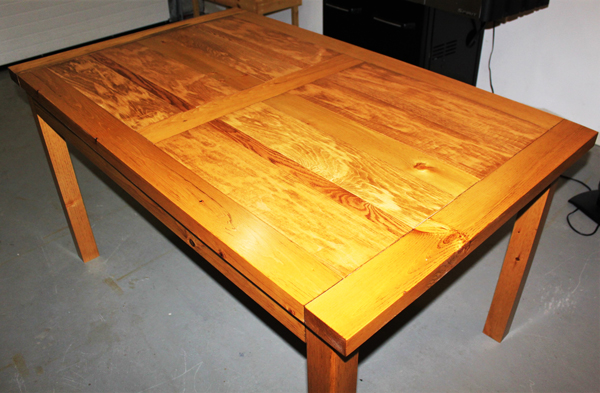
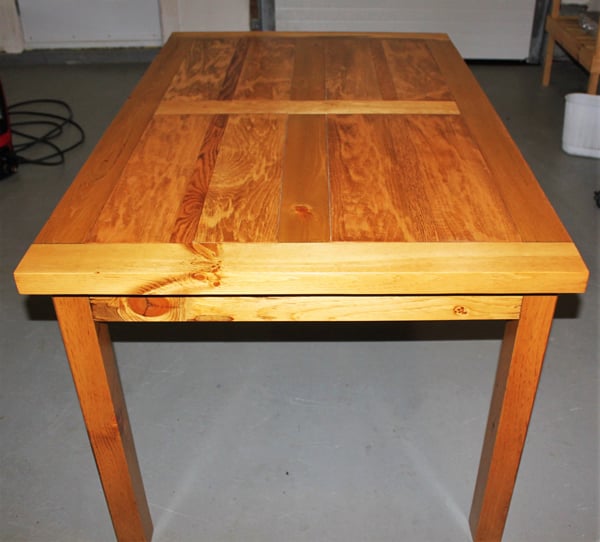
I was searching high and low for plans for a small dining room table for my mother’s kitchen. I finally stumbled upon an awesome looking table at thedesignconfidential.com. It was a plan for a 1900’s inspired boulangerie table. I had no idea what boulangerie meant but after looking it up it refers to a 1900’s French bakery table. The thing that drew me to it was that you could inlay any type of wood into the frame for a nice contrast of wood types, rather than the run of the mill same old.
Once I had the type of table figured out, I had to determine the best size to fit my mother’s kitchen. Her kitchen is relatively small, her current table with no leaf measures 48” X 36” and with the leaf in it goes to about 58”. The maximum width was definitely going to be 36” since that is the width of the space where the kitchen table is normally stored. The final dimensions I went with for the top were 35.5” X 57.5”.
From that I worked backwards to the frame dimensions since I wanted the frame to just come to about an inch inside the 2X4 top aprons. I’ll do the math on that shortly but first I had to find legs for my table. I went to the local home improvement stores and either the legs were too cheap and poorly made, not the correct size or they cost $50 each. I decided to go it alone and make my own legs, with 2.5” being the size I settled on.
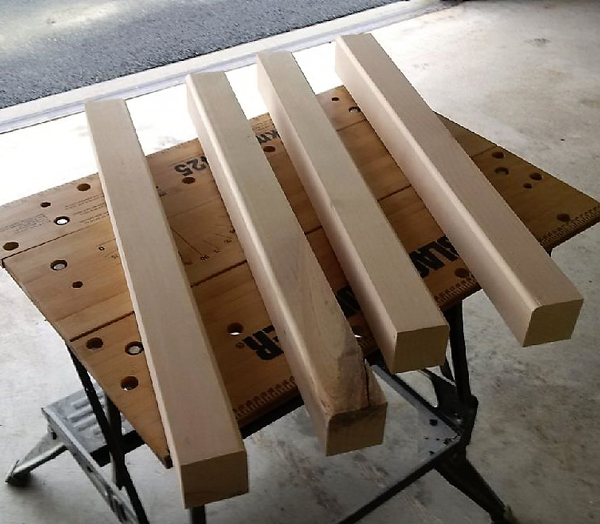
After some research, using 4” (post size) lumber was too big and I wanted to be sure the legs would support whatever was on the table. I found a really nice piece of 3” X8” X6’ solid pine at the only local home improvement store that carries large pieces of finished pine. Using my table saw I managed to cut 4 beautiful square 28.5” long legs, total cost was just over $40. I rounded off the outside edge using my 3/8” rounded router bit and the legs were complete. Now back to the frame dimensions, after some thought I decided I wanted the frame to come about 2” inside on the length and 1” inside on the width so there was a reasonable overhang on the table.
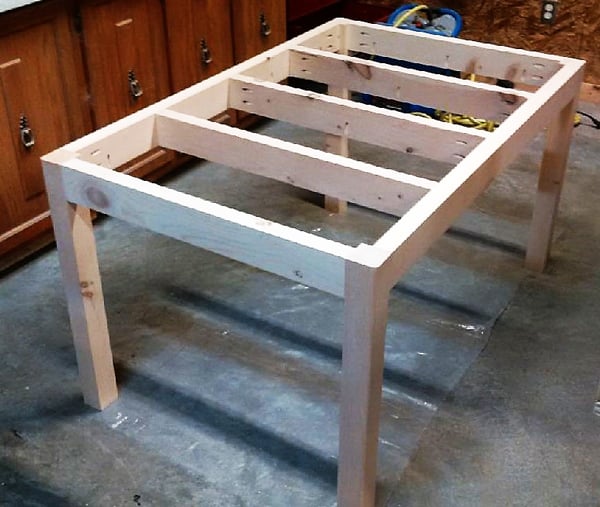
Since the top was 57.5 X 35.5 the total frame would have to be 53.5” X 33.5”, allowing 2” overhang on the ends and 1” on the sides. The legs themselves were 2.5” square so the frame pieces would be 48.5” and 28.5” respectively. Now I had the dimensions all figured out! My table plan now looked good on a piece of paper but there were a lot of things to figure out before it turned into a dining room table. My first basic decision was what wood to use for the frame and aprons. I wanted to use 2 X 4 pine for the frames but I didn’t want to use the construction grade stuff, I soon came to find out the finished pine was much more expensive and difficult to find than the construction grade material.
There was only one home improvement store in our entire city that sold finished 2X4 pine, and it wasn’t a big box store. 2” X 4” X 8’ finished pine sells for about $15 a piece here and I needed 7 for this project to build the frame and aprons. It took me about 16 hours to build the frame and legs for the table. I did learn a good lesson about sanding along the way. I was doing some research on sanding techniques and heard a lot of 120 / 150 / 220 grit progressions. To be honest up to now I only used 120 grit for most projects and figured it was good enough. Well let me tell you, the 120 / 150 / 220 works wonders for making beautifully smooth finished products.
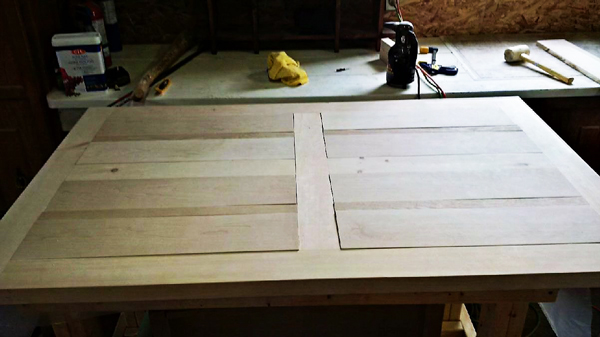
The table ended up super smooth and I couldn’t be happier with the results. You only have to do a few passes with each grit and it makes a huge difference in the finished product. At this point I was pleased with the frame and legs but knew the top was going to be a major challenge. Firstly, I had to figure out what type of wood I was going to use for the top. After thinking it over for a while I decided on maple with an oak strip down the middle.
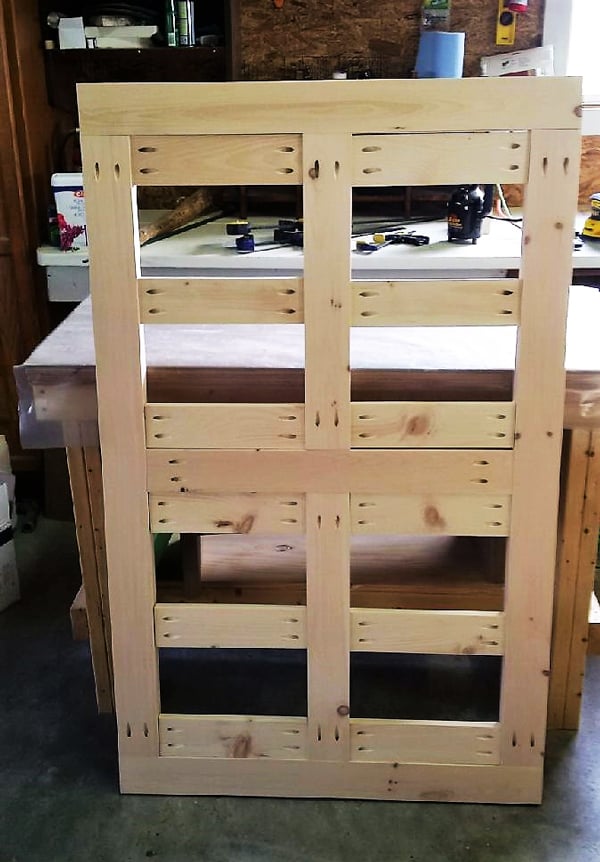
Originally I had no plans to stain the oak or maple but once I had everything put together it dawned on me that staining the pine but not the maple or oak was going to be a major problem since it was all so tightly joined. Now that wood type and finish was decided on, the only thing left was to construct the top and finish the table. As it turns out the finished pine I bought for the aprons was not cut to standard size. Usually you get 2 X 4 and its 1.5 X 3.5. Well this pine was 1 5/8” thick. Usually that would not be a problem but my table top called for 1” X 3” supports between the aprons on top of which you would put 1 X whatever wood of your choice inlayed to fill out the table top.
The supports and inlayed wood was only going to be 1.5” thick so I was going to need to work from the top down as opposed putting the supports in and then the top pieces. There was a LOT of piece trimming and recutting to make everything fit well, this was by far the most frustrating part of the build. For the finish I went with 2 coats of Puritan Pine Minwax stain and 3 coats of Minwax Polyurethane. I wasn’t thrilled with how the maple turned out with the stain but it gives it character if nothing else. This project took me almost 30 hours and cost about $400. I’m hoping my mother will like it since it is her combined birthday / Christmas gift.
