Backyard DIY Arbor with Trellis & Planters – DIY Project


From Ryan C.,
Total Time: A few short afternoons (after work), and a nice long weekend.
Materials: (4) – 4″x4″x10′ pt gc posts. (4) – 4″x4″x4′ pt gc posts. (4) – 2″x6″x8′ lumber. (3) – 2″x4″x8′ lumber. (18) – 1″x2″x10′. (4) – 1″x6″x6″ cedar fence picket. (32) 1/2″x5″x5′ cedar pickets. (16) 1/2″x5″x10′ furring strips. (2) – 1″x3″x8′ furring strips. (2) 1″x4″x8′ furring strips.
Whatever scrap wood you can scrounge for the inside of the planter boxes. Roughly 3’x20′ of either filter fabric or poly sheeting.
I reviewed a few different free plans on myoutdoorplans.com and sort of combined them to create my own.
Total costs: roughly $500,00 (as of 6/15/23).
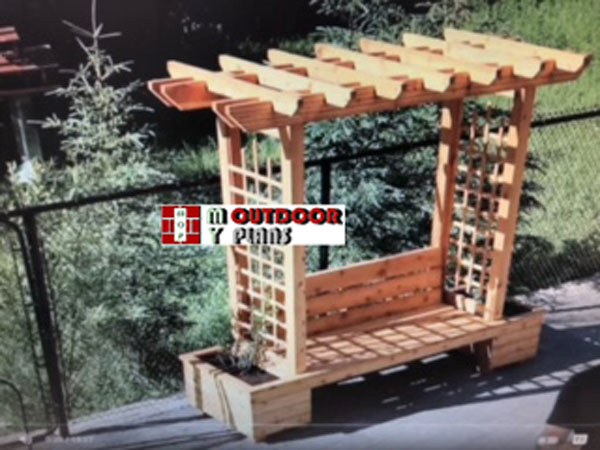
Located in south Louisiana with minimal frost line. Set posts at depth of about 24″. Arbor is roughly 6’x 3′. Planter box’s on each side are roughly 18″xw30″lx25″h.
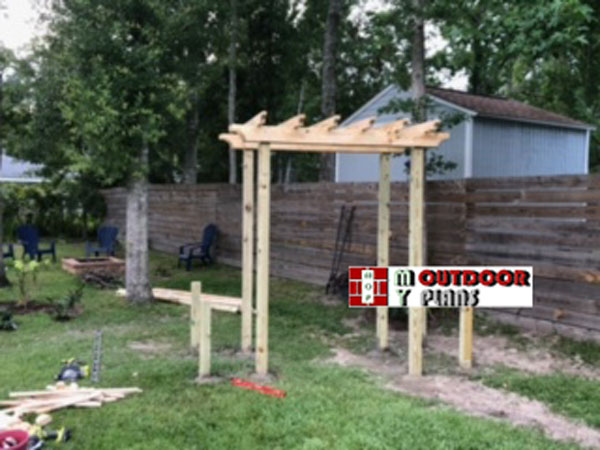
First day, I dug the footings and repurposed the good sod chunks to other struggling areas in yard. 4x4x10 posts were placed in four inside footings. 4x4x4 posts were placed in outside footings. Dry poured concrete in footings with posts, while adding in water, and thoroughly mixed throughout. Left a small crown in the concrete at ground level, above the grass line, to help divert/push water away from posts. Double checked posts were level/plumb after adding concrete and braced everything up using scrap wood & screws.
Next day, started with the arbor frame. An old flower pot was used to make outline of what I wanted to cut off the (4) 2x6x8 ends as a trim detail. Used a Jig Saw to make cut. Attached the (4) 2x6x8 along the top of the posts, inside and outside of each post, at about 7 feet from ground and checked for level. Used a Sawzall to trim the inside posts flush with my 2x6x8 boards. Cut the (3) – 2x4x8 boards in half. Used a refreshing adult beverage can (16-ounce size) to make outline of what I wanted to cut off all (6) 2x4x4 boards. Used Jig saw to cut and attach with preferred fasteners.
Next day, removed all the bracing and started building the planter boxes. Used the 1/2x5x5 cedar pickets and wrapped the posts creating a box on each end at about 20″ tall. Fastened the cedar pickets to the 4×4 posts. Used the 1×3 and 1×4 furring strips along the seams/edges of the cedar pickets to give it a ‘finished’ edge. I used scrap wood to give some support to interior of box and brace for top ledge of planter. It looked rough but it didn’t have to be pretty, just strong. Essentially making a box within a box. Used the (4) 1x6x8 cedar pickets along the top of planter box and secured. They were the thickest, strongest, and best-looking pickets to give better look for the final result.
*Note* Bare in mind that the wood on the inside of the planter box will support the weight of the plants, dirt, etc.; especially when wet. So, if you plan on using filter fabric or mesh material you want pressure treated lumber or pre-stain your box before you button everything up to prolong its life and delay any eventual moisture related issues.
*Another Note* I initially planned on purchasing pre-built lattice from a big box store but after inspecting I couldn’t do it. The lattice types they were selling appeared cheap and flimsy. I knew it wouldn’t last.
Next step was working on the lattice. I measured the inside dimensions of the posts and used staples to create a ‘picture frame’ out of the 1×2 furring strips. I was able to secure the pre-assembled picture frame in place, between the posts, and secure them in place with staples. Then measured the distance between the outside edge of my picture frame and divided by five. Cut remaining 1×2 furring strips to fit and attached every 4″ vertically and 5″ horizontally.
Finally, a buddy had a fancy air sprayer I was able to borrow and used it to apply stain. 2-1 stain, natural cedar color, was used. Turned out great on cedar boards, looked good on furring strips and other untreated lumber, but looked “meh” on pressure treated posts. Had to lightly sand and apply second coat to pressure treated posts for a better look.
