Adirondack Table
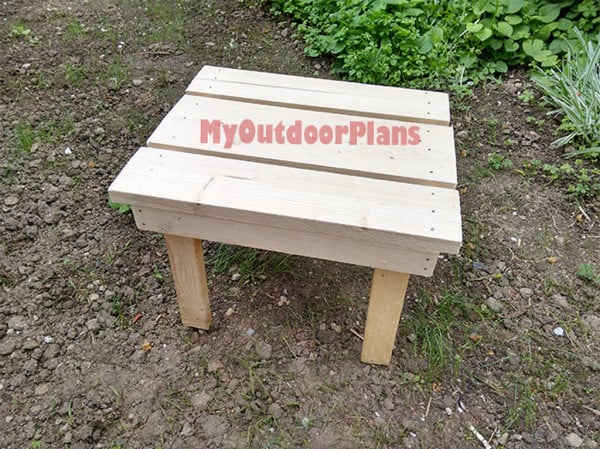
I started by assembling the frame of the table out of 1×2 lumber. Then I have attached the 1×4 slats to the frame, making sure they overhang for 3/4″. I cut four pieces of 1×2 lumber for the legs and secured them into place using screws. Make sure the corners are square before inserting the screws. Add waterproof glu e to the joints for a professional result.
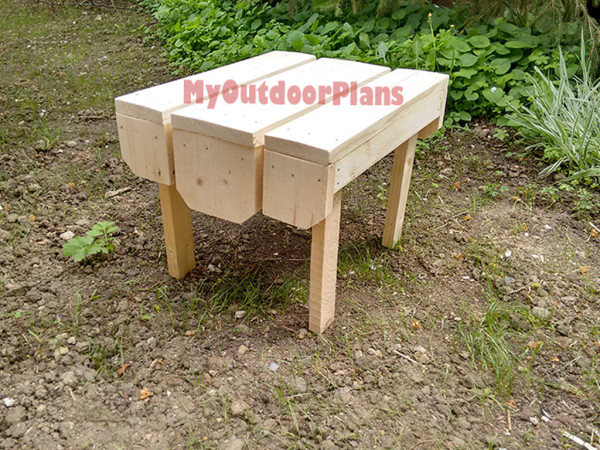
Next, I attached the front and back trims to the adirondack table. I used my miter saw to make 45 degree cuts to the corners of the components. I attached the trims to the frame using glue and brad nails. I then sanded the edges and the components thoroughly, using fine and medium grit sandpaper.
From Jack Sander
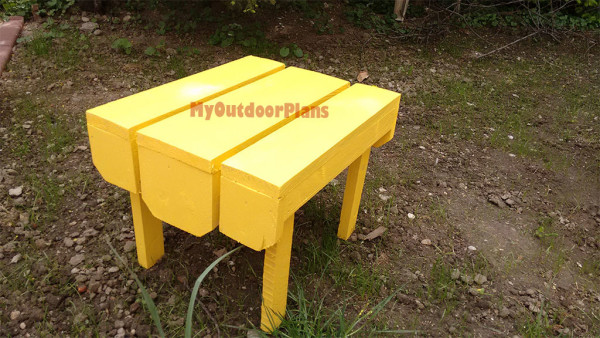
Adirondack side table I built for my mom. First project I built using plans from here, since our collaboration begun. This small table is perfect for her patio. I love the simple but unique design, although I built different legs. I sanded the components with 120 grit, but I like the rough aspect. Afterwards, I applied a few coats of water-based paint. There are other projects on your site that I look forward to building.Thank you!!
EXPLORE MORE IDEAS FOR:
 |
 |
 |
 |