Simple Adirondack Chair
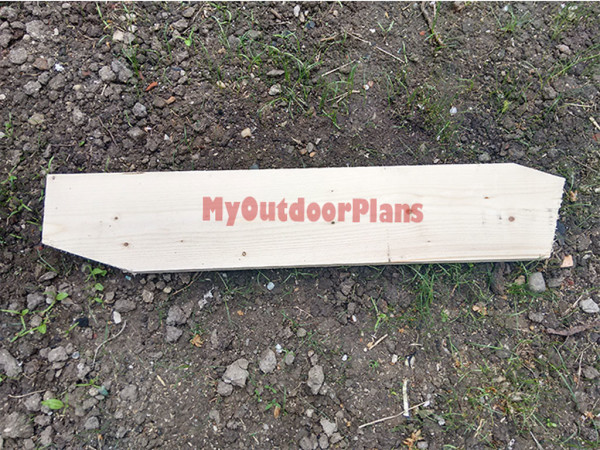
The first step of the project was to build the back legs for the adirondack chair. I followed the plans and made the angle cuts for the two legs.
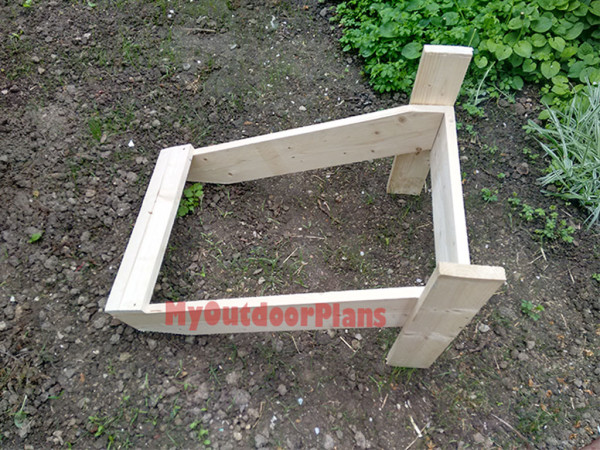
The next step was to assemble the seat frame for the adirondack chair. In order to get a professional result I aligned everything with attention. I drilled pilot holes through the front stretcher and inserted 1 1/4″ screws into the back legs. I then attached the front legs to the frame using 1 1/4″ screws. I used a temporary support to lock the back legs together.
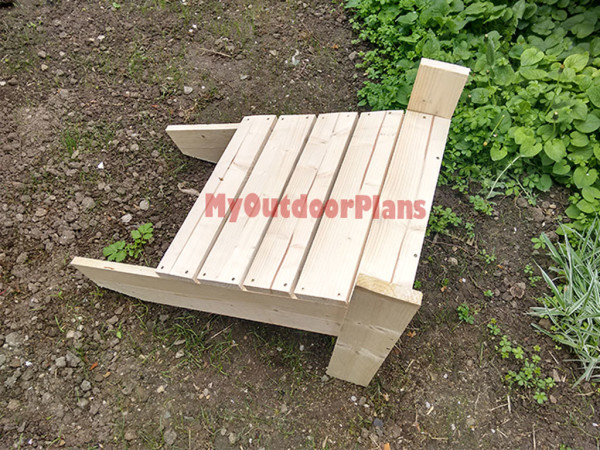
Next, I attached the seat slats. I placed a 1/2″ wood block between the slats to get even gaps. I used 1 1/4″ self tapping screws to lock the seat slats to the frame.
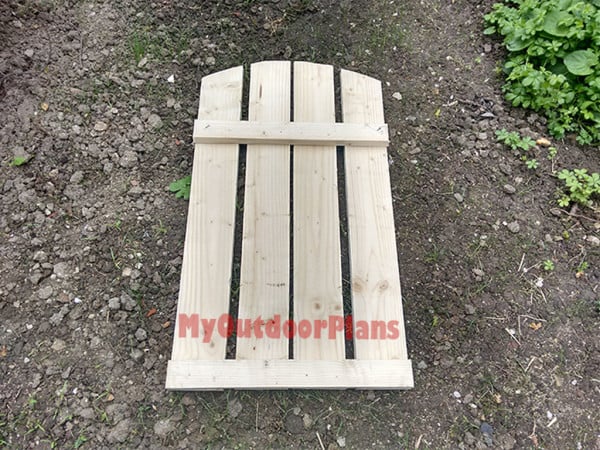
Assembling the backrest of the adirondack chair was a straight-forward process. I used 1×2 lumber for the supports and 1×4 lumber for the vertical slats. I used my jigsaw to round the top of the backrest. Afterwards, I sanded everything thoroughly to get smooth edges.

I attached the backrest to the frame of the adirondack chair by using 1×2 supports. You can adjust the lean of the backrest to suit your own needs. I drilled a few nails through the back legs into the bottom support of the backrest. Make sure the joints are rigid.
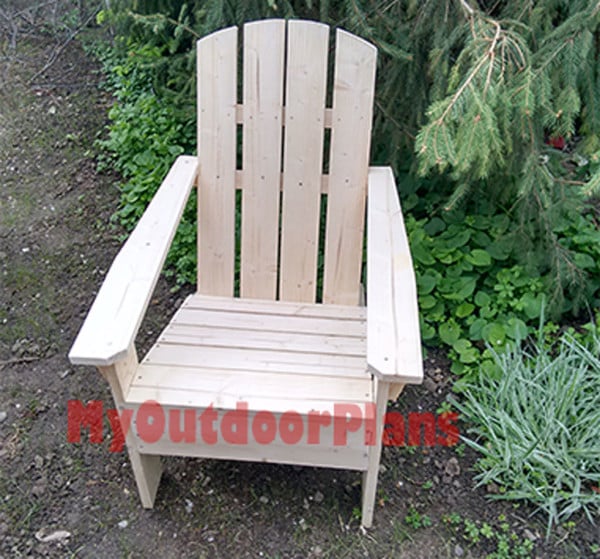
From Jack Sander
I needed a simple adirondack chair for my lawn and your plans fit my needs perfectly. It is the second project I built using your plans. The plans were simple enough for limited woodworking skills. I have also personalized a little the backrest and the armrests to give the chair more character. I am surprised of how comfortable the adirondack chair is and I plan making more. I used pine for the wooden components and decking screws to lock them together.