DIY Contemporary Bookshelf
From Bren,
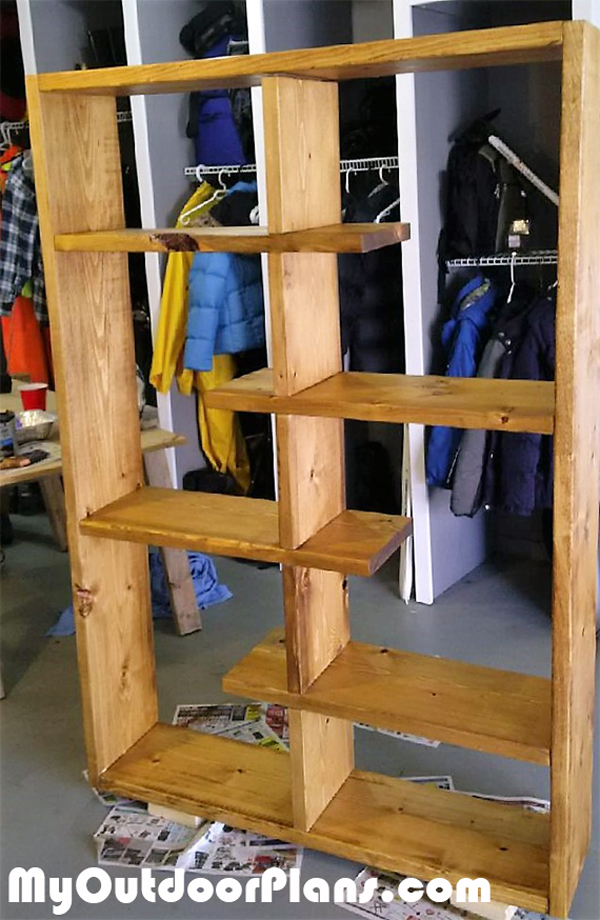
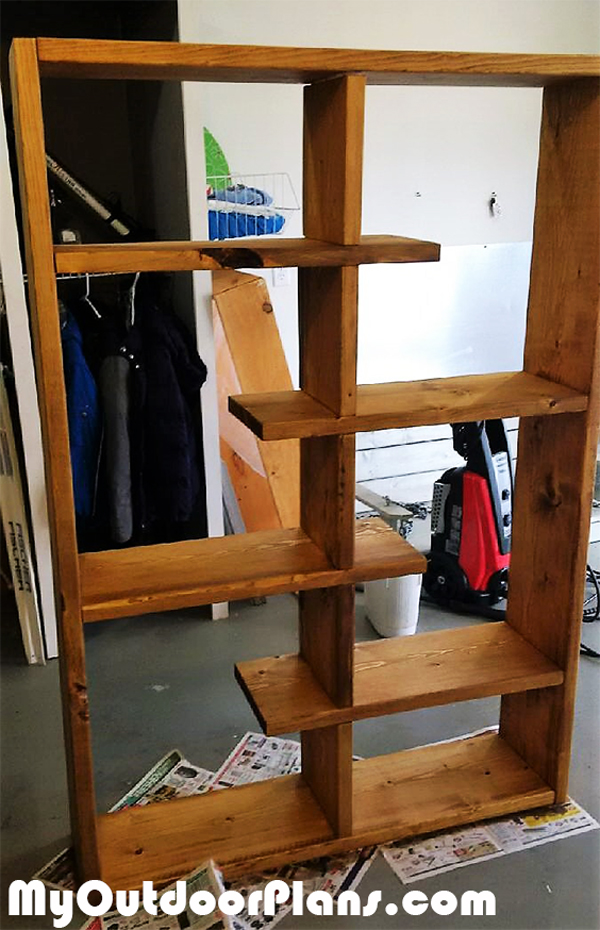
I was browsing through some books and websites trying to find inspiration for a new project to keep me busy for a while. I’ve seen this bookshelf in my “I Can Do That – Woodworking Projects” many times but never really took the time to see how it was built. I figured it would cost a fortune to make due to its size but as it turns out the plan called for 2 X 12 lumber (Spruce/Pine/Fur ((SPF).
I never really thought of making indoor furniture from SPF before, I just figured it wouldn’t look nice in the end since it would be really rough to start with. This particular plan called for 5 pieces of 2 X 12 and that was it along with a bunch of screws. It is almost totally held together with pocket screws as well, which I really like to work with especially in larger pieces of wood that aren’t susceptible to splitting. The cost for the wood and screws was about $120, then another $60 for finishing products like stain, poly, sandpaper, brushes etc. So, for just under $200 you can make a massive bookshelf that can look really nice with a little elbow grease.
By far the most challenging part of this project is the wood selection and resulting sanding. There is no such thing as a nice smooth piece of 2 X 12 lumber. I spent about 4 hours sanding the pieces once I had them cut. I started with 60 grit, moved to 120 and then to 150 on the random orbit sander. Even with all that sanding were still a fair number of rough spots that weren’t apparent until I applied the stain. Doesn’t look too bad though, I think it gives it a bit of character. I especially like the knot on one of the shelves, you wouldn’t get that at a furniture store!
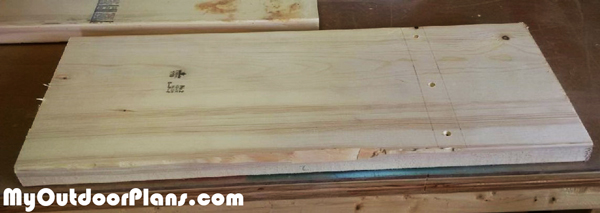
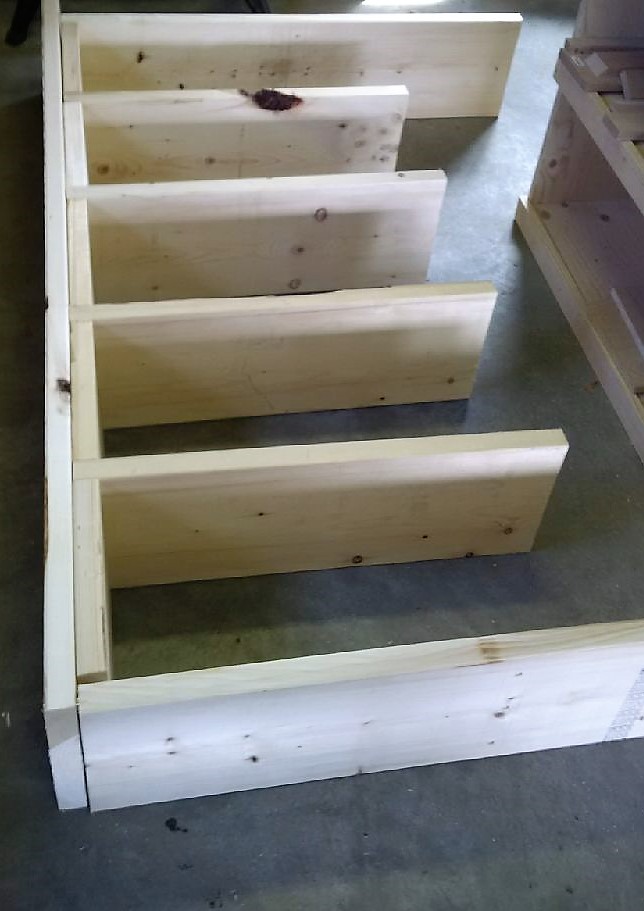
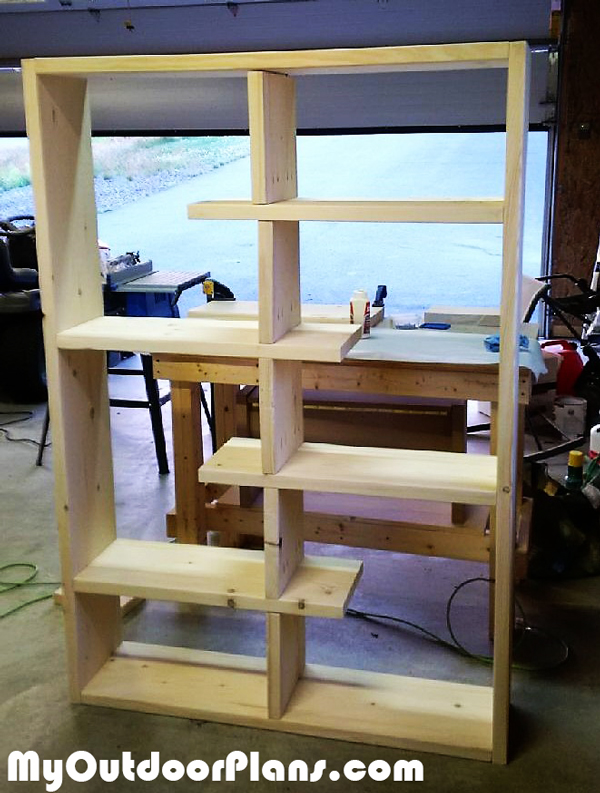
Once the sanding marathon was over it was time for construction. I used pocket screws to build the square frame then built from the bottom up screwing through the bottom into the bottom support piece with 3” deck screws. From there I screwed the first shelf straight down into the bottom support and used pocket screws to screw the shelf to the side of the unit. From there I continued by using pocket screws to attach the support to shelf under it, screw the shelf above straight down into the support and use pocket screws to attach the shelf to the side.
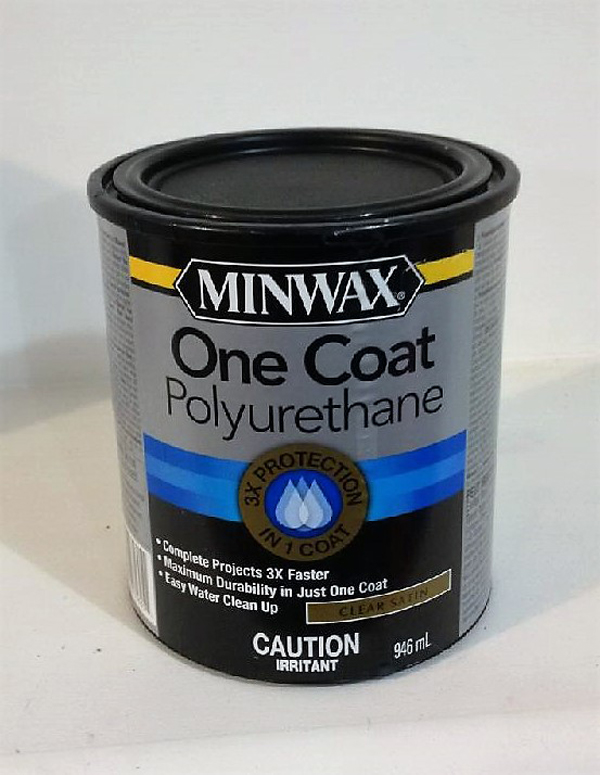
I wasn’t sure if I should stain it or not because I was worried about the uneven application. I could have used some pre-stain conditioner but with so much surface area I decided against it. I used two coats of golden oak stain which basically used up the entire quart. I like to use foam brushes for stain, they seem to work well and I can just throw them away after. Normally I would just go get some Minwax oil based polyurethane as a finish but when I was at the local home improvement store I saw “One Coat” Minwax polyurethane. This stuff claims to do in one coat what the regular stuff does in three coats. Seems to good to be true BUT as much as I love building things I absolutely hate finishing for some reason. It’s just too boring or something, I’m not sure. Few things to consider though if you want to go the lazy route like me 1) This stuff costs almost twice as much as the regular 2) According to the back a quart only covers 50 sqft, compared to over 100 sqft for the normal stuff 3) This is water based. So, for twice the cost you get about half the coverage…. But still I thought I’d give it a try to save me the work of the extra two coats.
This product is VERY thick, I wouldn’t try it with a foam brush, you need a good brush so I bought myself a $30 3” Purdy Made in the USA synthetic bristle brush. Since it is water based the clean up is easy which is a plus. It went on well with the brush but one thing I don’t really like about the water based poly is that it is really difficult to tell if you have good coverage, unlike the oil based in my opinion. Also, each time I opened the jar (even the first time) a film had developed on top which you need to pluck off. I only used half the container so I am wondering if I applied enough or not since the entire shelf would be close to 50 sqft for sure. In any event I am not applying a second coat of the “one coat”. It does look like there is a nice think coating on the shelf so I would believe it is equal to 2 coats of the regular, I’m not sure about 3 though. I still prefer working with the oil based, just not having to put on multiple coats of it.
Overall, I am very pleased with this project, you can build nice interior furniture from lumber it just takes some extra up front effort. If I had made this shelf from oak it would have probably cost close to $1000 for materials alone, even pine would have run me about $400. The only thing I would have done different is some extra sanding with the 60 grit, a belt sander would also have come in handy. Total time on this project was probably around 10 hours at a cost of about $200.

1 comment
Hey. I read this post about your contemporary book shelf made of SPF wood and would love to know the specifics so I can build this shelf myself, for my son.