Wishing Well Planter
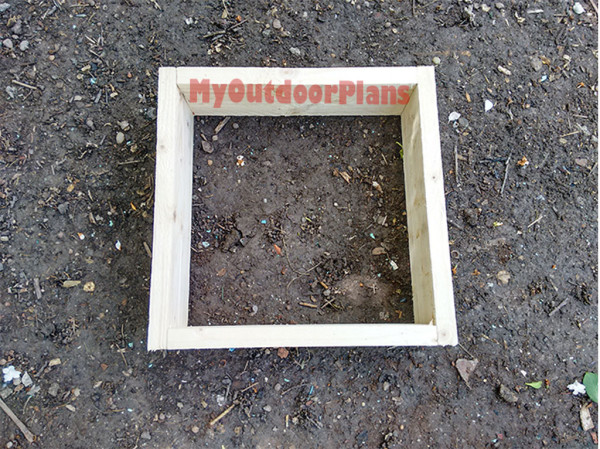
The first step of the project was to assemble the three frames for the base of the planter. I used 1×4 lumber to build the frames. You could drill pocket holes and screws to assemble the components, but I chose to lock them together with nails and waterproof glue.

I used a scrap piece of plywood to build the bottom of the planter. Use a water resistant material, if you will keep the component in rain.
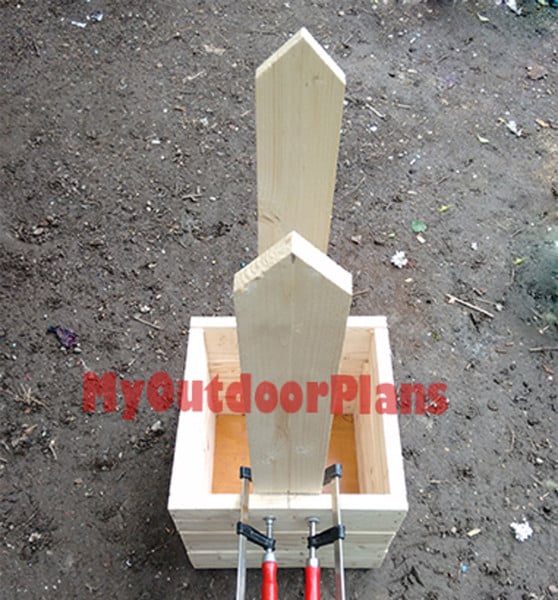
I cut the top of the stakes at 45 degrees, as you can easily notice in the diagram. I clamped the stakes to the base of the planter and used screws to lock them into place tightly.
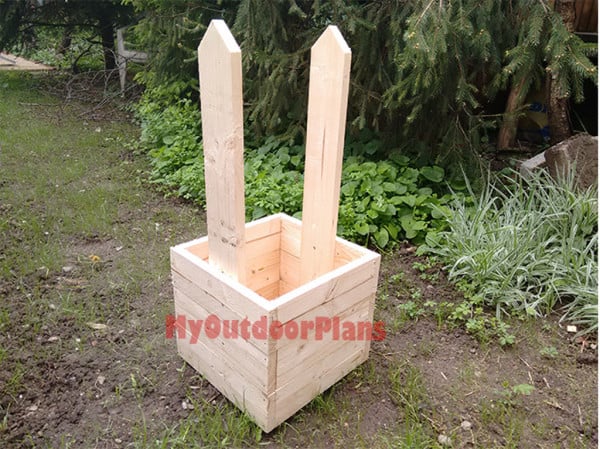
I used a spirit level to make sure the stakes are perfectly vertical.
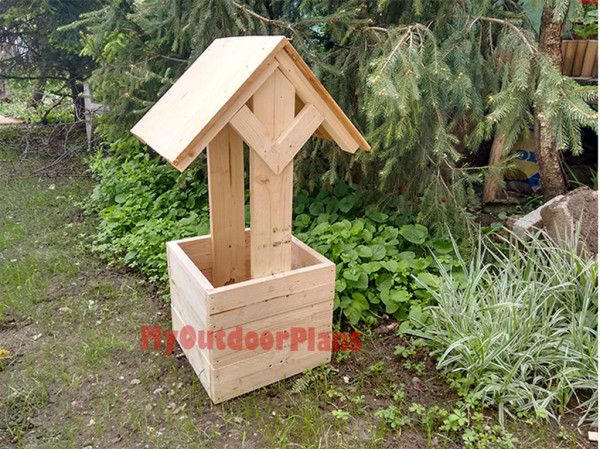
I built the structure of the roof out of 1×2 lumber. I followed the plans and secure them into place with screws. Last but not least, I attached the 1×16 pieces of lumber to the rafters. I applied translucent wood primer to the components.
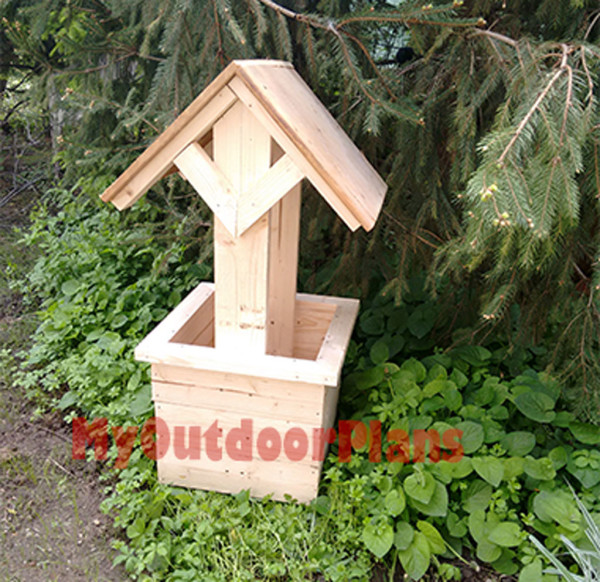
From Jack Sander
Quick project for mother’s day. I modified your otherwise excellent plans to build a wooden wishing well planter. I used 1×4 lumber for the base and stakes, as I wanted to get the job done quickly. The trims and roof structure were made out of 1×2 lumber. I use some 1×16 scrap pieces to build the roof sheets of the planter. Pre-drilled hole, added glue and inserted galvanized screws to lock everything together tightly. I still have to apply a few coats of paint over the components and maybe build the spindle. I think that makes for a perfect gift for my mother and I’m looking forward to seeing her reaction.
