How to build a farmhouse nightstand
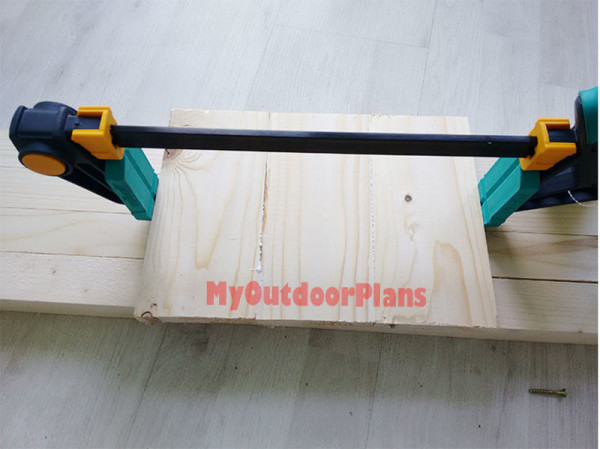
First of all, I built the panels for the sides using 1×4 lumber. I glued them together and then locked with several clamps.
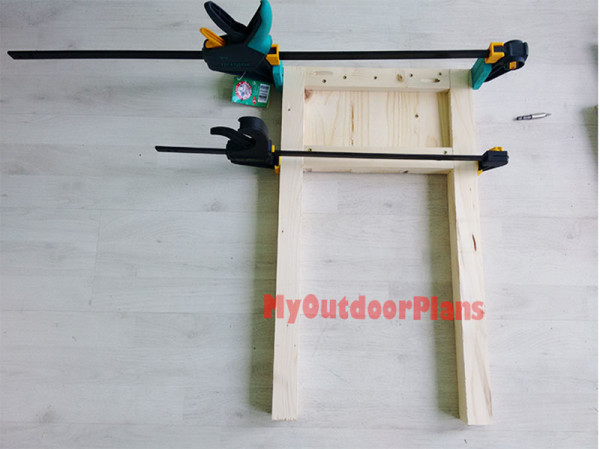
Next, I attached the 1×2 cleats to the panels using 1 1/4″ self taping screws. I added glue to the joints and drilled pocket holes at both ends. I built the legs out of 2×2 lumber and attached the panels using 1 1/4″ screws. Make sure the corners are square and leave no gaps between the components.
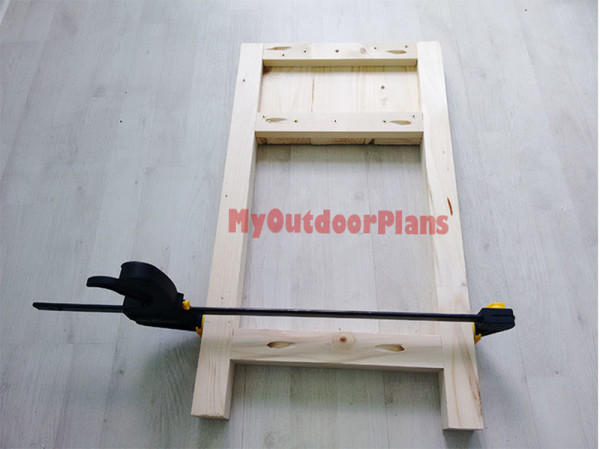
The next step of the indoor woodworking project was to attach the 2×2 supports to the sides. I drilled pocket holes at both ends, added glue and inserted 2 1/2″ screws. Using a clamp makes everything easier.
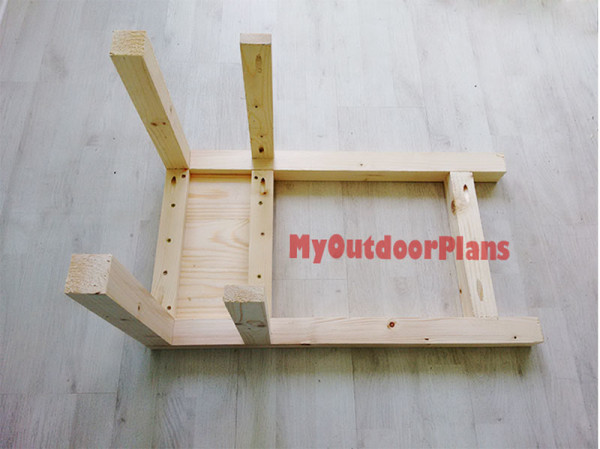
Next, I fitted the supports that join the two sides together. Pocket screws and glue will create strong joints. Just make sure the corners are right angled.
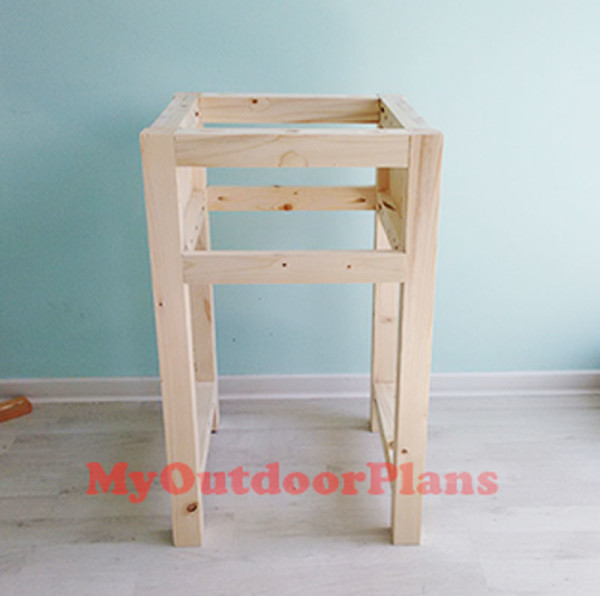
After attaching the other side of the farmhouse nightstand, the structure looked like this.
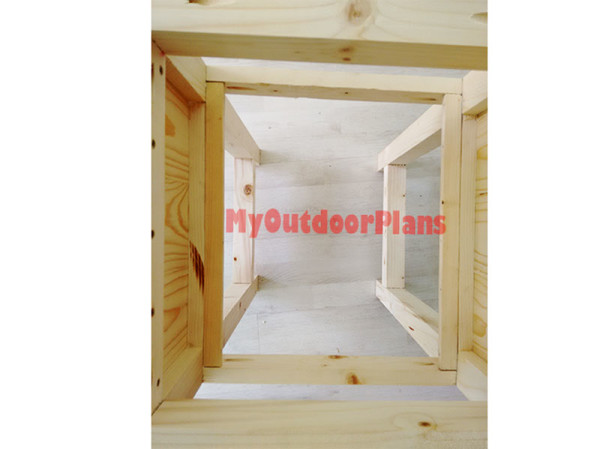
I attached the cleats to the bottom of the frame, to guide the drawer.
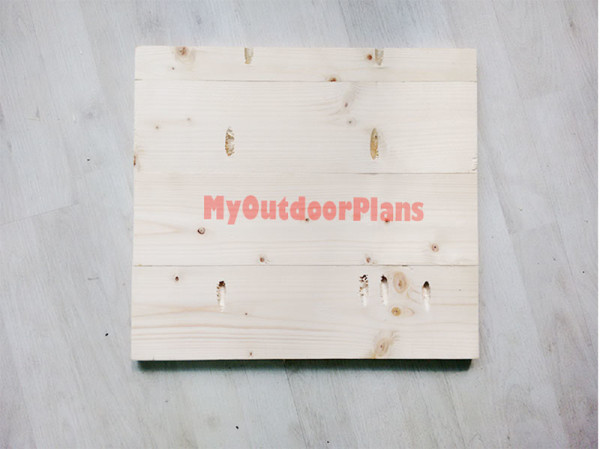
I glued together the slats for the tabletop. In addition, I drilled pilot holes and inserted pocket screws to enhance the bond of the components.
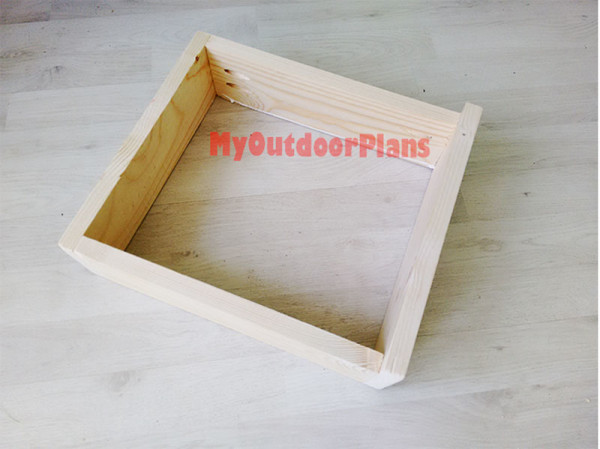
I used 1×4 lumber for the frame of the drawer and 1×6 lumber for the face. I used pocket holes and glue to assemble the drawer.
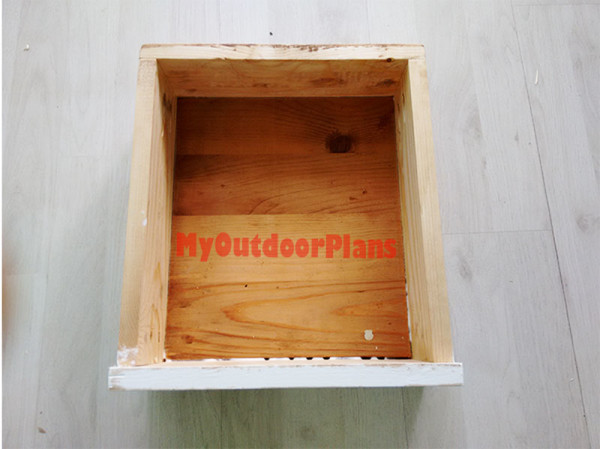
I attached the bottom to the frame of the drawer by using finishing nails and glue.
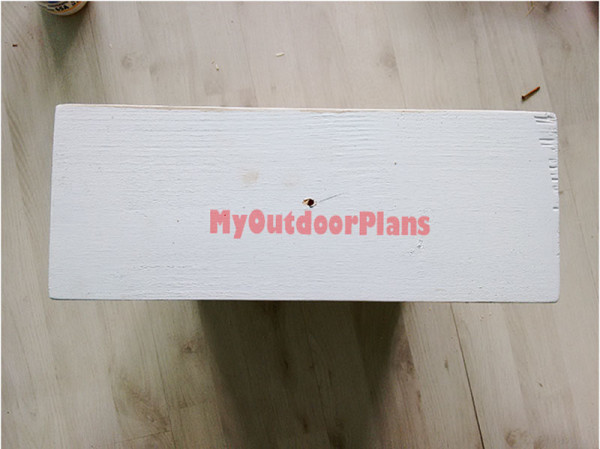
I drilled a pilot holes for the button. Make sure you don’t damage the drawer face.
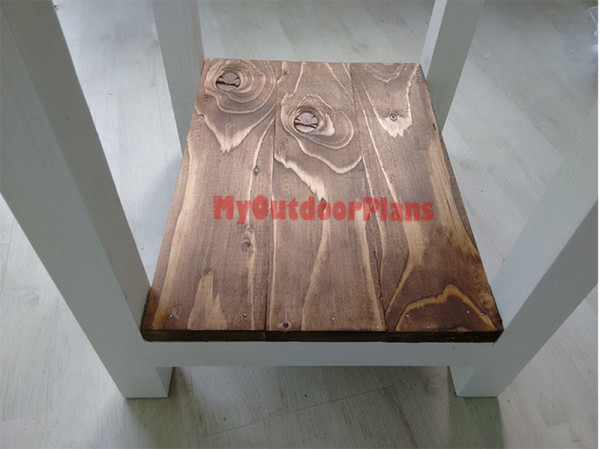
I attached the shelf slats using brad nails. Make sure you glue them together before fitting them into place. In addition, staining the slats before fitting them to the supports saves times.
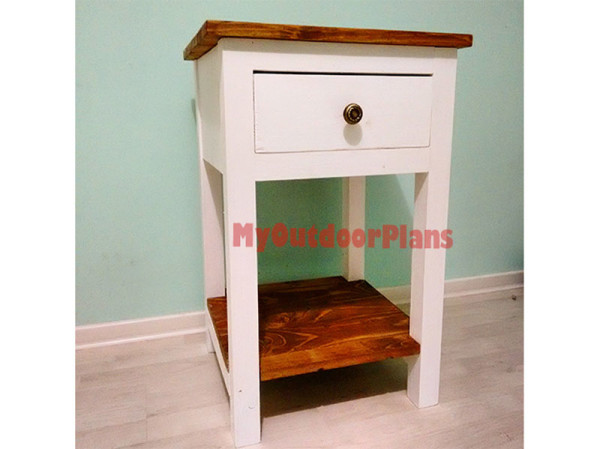
From Jack Sander
My collaboration with MyOutdoorPlans continues with another great project, this time for the home. I used pine to build this rustic farmhouse nightstand. It took me half a day to make the cuts and assemble everything together. You could make modifications to the dimensions of the drawer to suit your needs. I personally built it using 1×6 lumber. I used white water based paint and walnut stain to finish the nightstand. I like how this project turned out and I am happy to report that it is very sturdy. Being a rusting project it doesn’t have to look perfect. I hope this short tutorial will be useful for those trying to build it!
