DIY Wooden Multi Guitar Stand


From Dan,
I don’t keep records of time and costs for projects like this, but I like to take pictures. I started with a painted wood shelf that had been in my kid’s room when we bought the house. The previous owner was a wood worker and I’ve found many hidden treasures while living here, including this true 1 inch thick oak board under the paint. It milled down to 13/16ths of an inch from removing the paint.
Following the basics of this plan – http://myoutdoorplans.com/stand/wooden-guitar-stand-plans/ – I put in some extra effort to increase the durability, knowing that my teenage son is going to put this piece of furniture through years of daily use. I pulled out the dado blade to make lap joints on the sides, and used a forstner drill bit and a gouge as a shortcut around setting up the router for mortise and tenon joints at the ends of the bottom supports.
I also added adjustable feet to level the stand and add stability, as well as 1/2 inch foam padding to the bottom supports.
My pictures might explain more than my words.
Img 1) Right before starting the Red Mahogany stain on the oak. Tabs and grooves are all marked and pre-drilled.
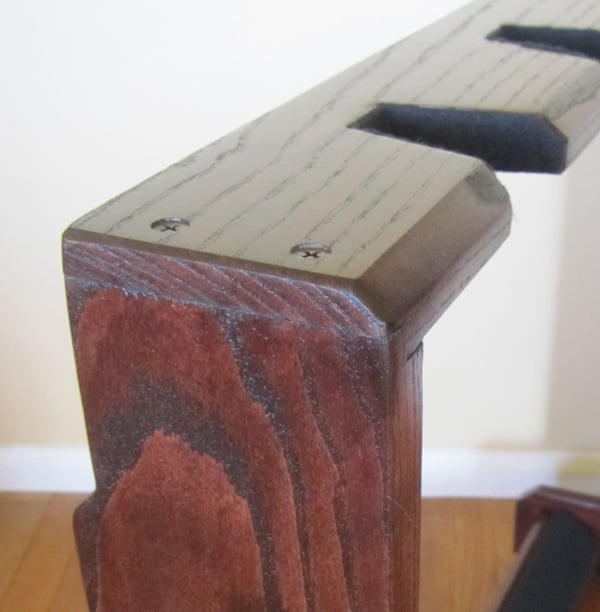
Img 2) The rabbet joint at the end of the top support, and the felt lined neck support grooves.
Img 3) The adjustable feet and antique brass hinge screws add a lot of function and some style.
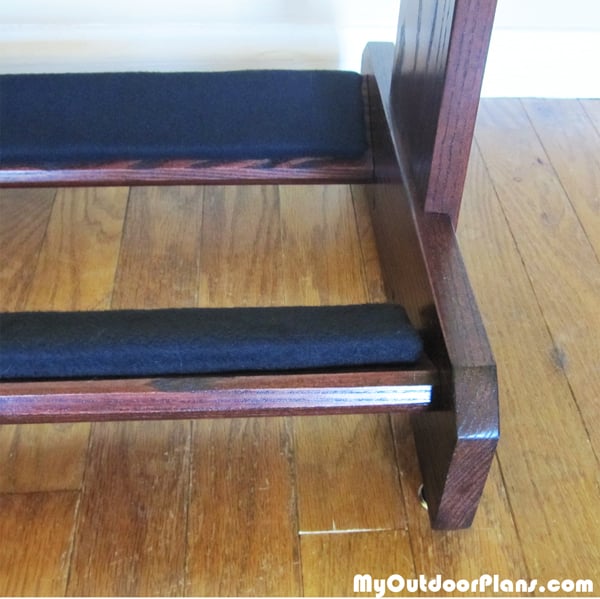
Img 4) 1/2″ foam padding wrapped in black felt and glued to the bottom supports.
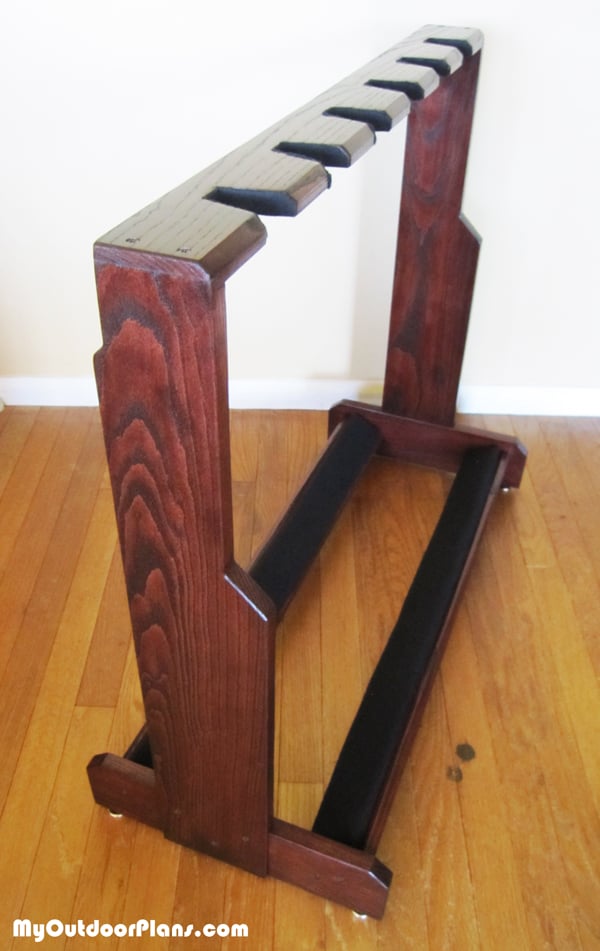
Img 5) Finished and finished. Red Mahogany stain, antique brass screws and black felt were all choices my son made – and his taste made me proud, as well as making it really easy to make this a really good looking final piece.
Thank you so much for these plans!

1 comment
Incredible work!
looks beautiful