DIY Wall Hung Utility Cabinet
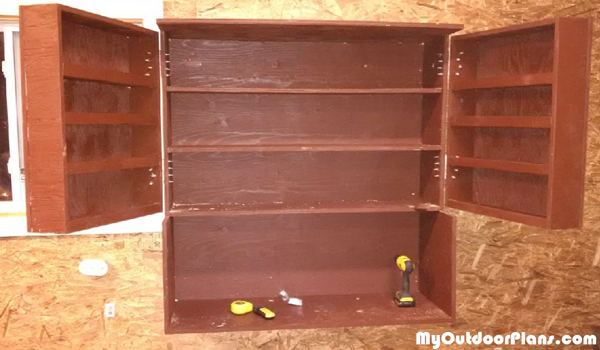
From Bren,
I picked up an excellent woodworking book “The Complete Book of Woodworking” and was trying to figure out my next project. Some of the projects in the book are still far above my skill level but there was a plan for a nice looking wall-hung utility cabinet I figured I would give a try. It required 3 sheets of ¾ plywood with no complex joinery, mostly just glue and screw. The time consuming part of the project would be all the cutting required since there were 32 pieces in total.
The book suggests using a circular saw with a guide for the plywood cuts but I prefer to use a jigsaw, it just seems easier to me. I’ve got an excellent Bosch Jigsaw that makes great cuts and is very easy to use. I positioned my newly constructed work bench a few inches from my permanent tabletop work bench which would catch all the pieces as they were cut.
Every new project normally leaves me with a hard learned lesson, this one was no different. We down sized from our pick-up truck to an SUV. The largest piece of plywood I needed was 4 X 4 so I figured I would buy three full sheets and get them cut in half at the store, since they do cuts for free. When I got to the SUV with the plywood the opening only seemed to be 3’ 11 ½” at its widest point, which was a problem since the wood was 4’ wide. I needed one full 4 X 4 piece though so after some cramming and shoving I got one full size piece in, then I had to go back in and get all the other pieces trimmed. Anyway, apparently compact SUVs are not made to fit sheets of plywood.
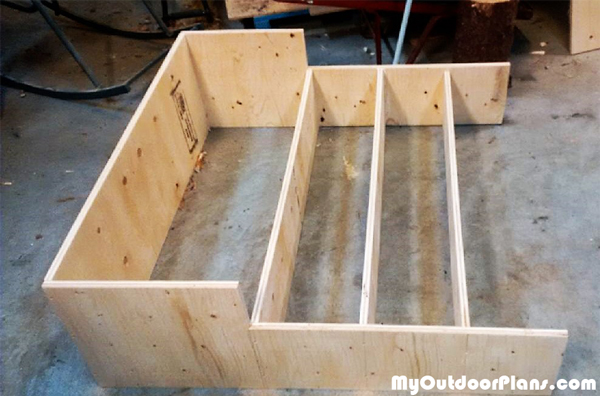
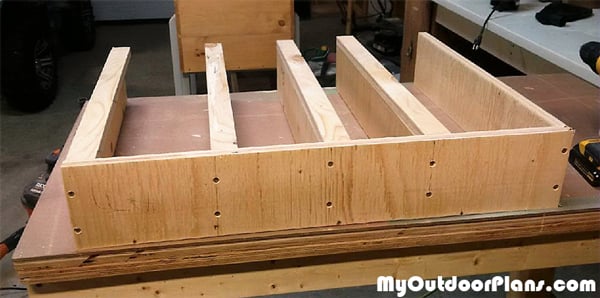
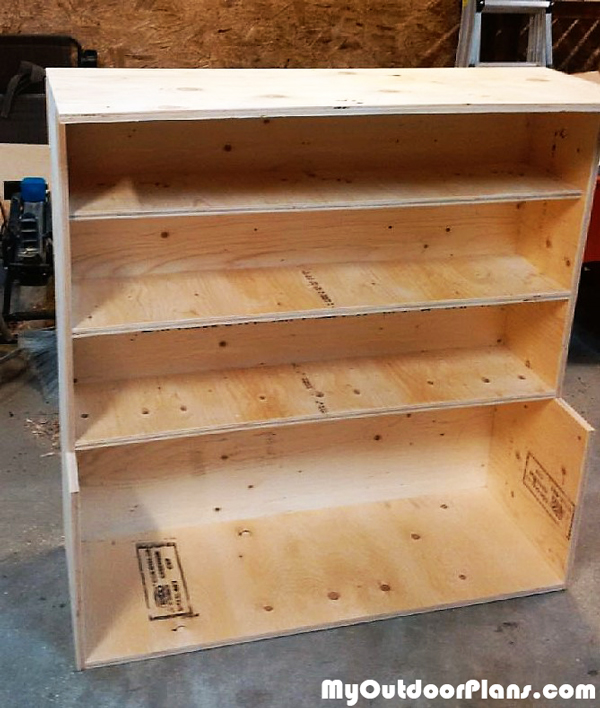
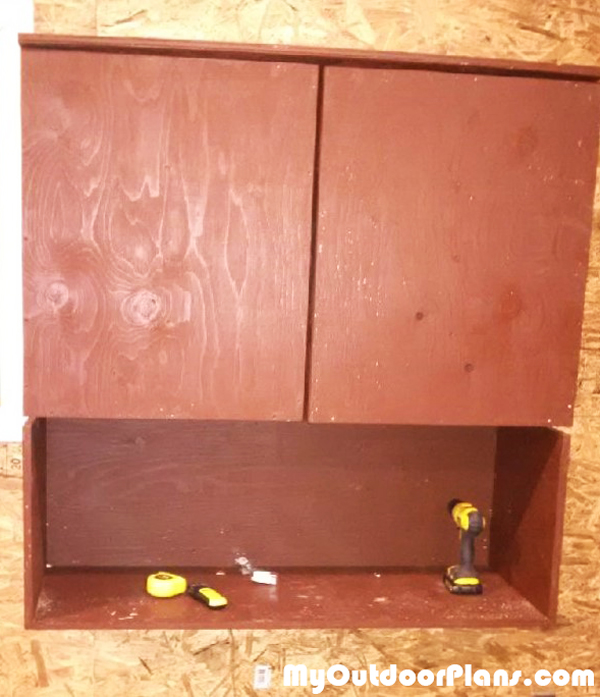
Back to the project. Most of the connections are made with wood glue and 2 ½ “ deck screws, I drilled countersunk pilot holes for the screws, otherwise the plywood will definitely split. When it comes time to mount the unit to the wall you will need some help, it is 3 full sheets of ¾” plywood after all. I mounted mine using 6 – ¼ X 3 ½” lag screws into three wall studs. I installed the doors with 4 – 4” door hinges with 1 ½ machine screws, washers and locking nylon nuts. In retrospect 1 ¼” screws would have done the trick and looked a bit neater.
Overall I’m very pleased with the unit, the total cost including the plywood, paint and all the hardware is about $200. It took me about a week but it could easily be done in a weekend if you plan the glue up of the shelves properly and had a few large clamps to help you along…. I didn’t. You could glue one long strip for the shelves and cut after but I cut first then glued. With only 4 clamps I was limited in how many I could do at a time.
Check it out and let me know what you think.

1 comment
That’s a really cool project, Bren. I like it a lot, both the idea and the execution. Very neat idea and I see it ideal for saving space in a small workshop. I might design something similar.