16×20 Gambrel Shed – DIY Project
From Kevin Briggs,
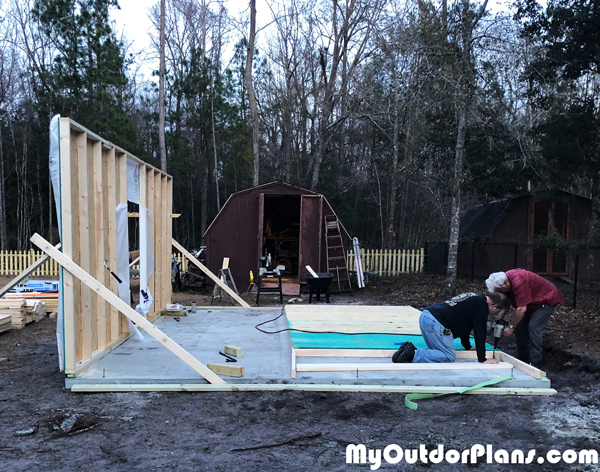
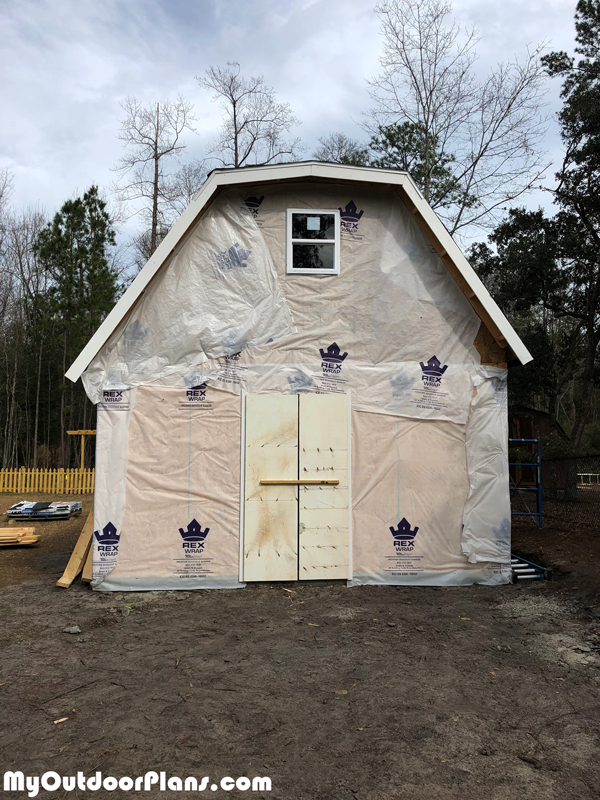
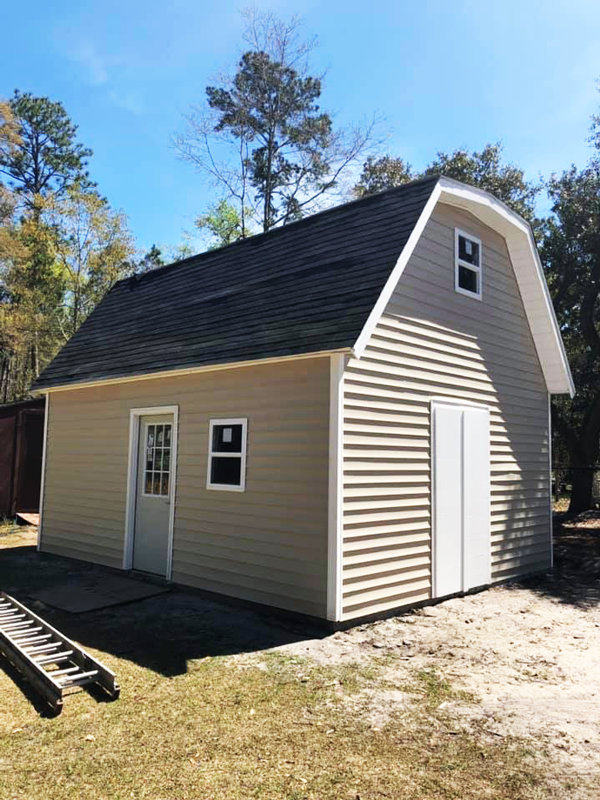
This project took approximately 2 months of part-time labor from start to finish at a cost of between $6000 and $7000 – a bargain as a similar sheds at Home Depot run around $12,000. I have to thank My Outdoor Plans as their plan and material list was a tremendous help in the creation and building of this project. I used their 16 x 20 gambrel shed plan and modified the plan and list to fit what I wanted to build. There were a few changes that I made along they way when I was getting ready to build:
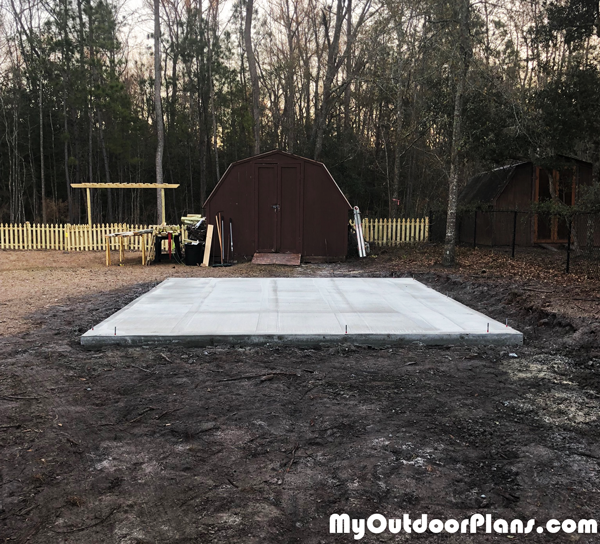
1. I wanted this to be a permanent structure so it was built on a concrete slab.
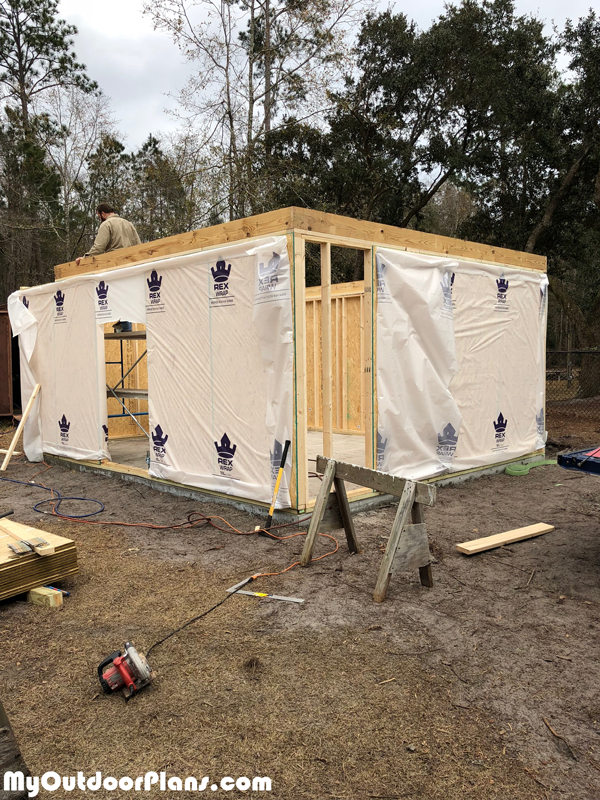
2. I wanted the building to have vinyl siding to match the main house, so it was sheathed with particle board and sided rather than using T-111.
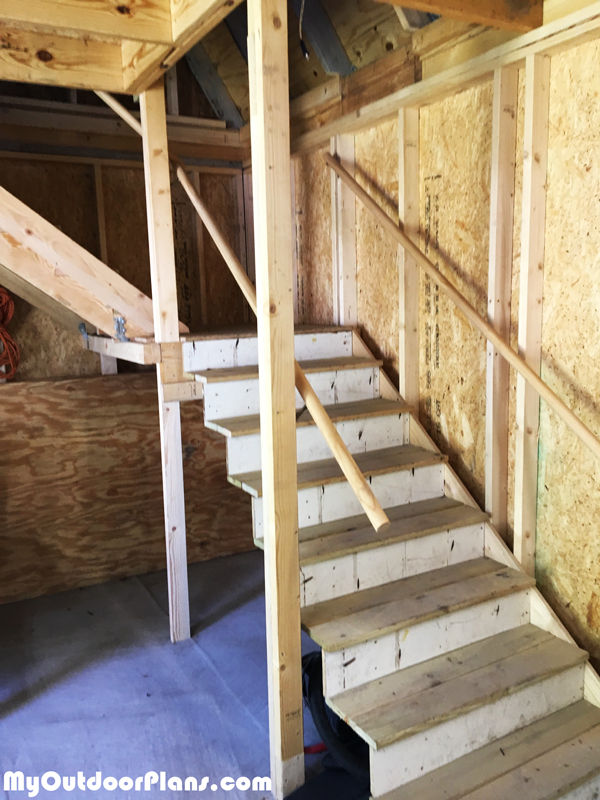
3. In order to maximize floor space I made a 2 level staircase with a landing to decrease the distance the stairs took up on the ground floor.
4. The second story loft is slightly higher than in the original plan as I wanted the option to make this a “man cave” with a place for my recording equipment.
Just a few helpful tips I discovered along the way. Create a full, comprehensive materials list, (from walls to shingles to nails to windows and doors) and shop it around. Suppliers often offer a discount when you are buying in quantity and you will be surprised the difference in the total cost from supplier to supplier. One of our smaller building supply stores beat larger “big box” stores, like Home Depot and Lowe’s, by a few hundred dollars. Make sure you have everything organized and ready before you begin you day. There is nothing worse than running out of something like 2” nails and bringing your day to a grinding halt when you have limited time to work on the project.
Ensure that you have researched and your local building codes and file your permit accordingly. I had an inspector hand me a “stop work” slip 3/4 of the way through the project because he said I had not filed the proper permit for a permanent structure (I had) but I lost a day running to the county building office to straighten it out. Take time to consider any possible future changes or alternative uses that you may want for your structure. For instance, I thought perhaps that I might want to add an over hang roof and an outdoor kitchen as the building face my fire pit. So I might want to add a bathroom in the future. To make this easier, I planted a flush flange and a 2” conduit in the slab to make it easy to hook up sewer and water if I decide want a sink and flush in the future.Have fun and happy building.

2 comments
Nice work Kevin. Does your total cost include the concrete slab? I
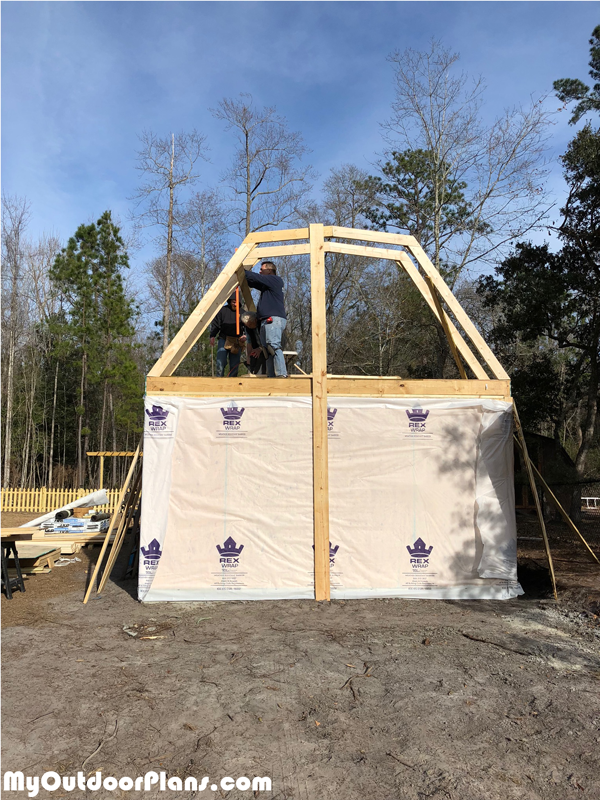
Is it just me, or is the lay of that roof quite a bit uneven? The left & right eaves don’t line up & the top angles aren’t the same left & right.
Is this an artifact of the angle you took the pics from? Or a result of the mod you made to the roof plan?