DIY Miter Saw Stand
From Bren,
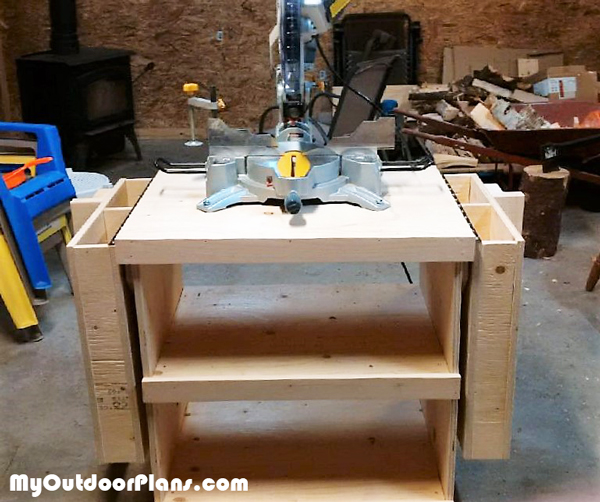
I was eyeballing the miter saw stand project on this site for a while and it seemed like an excellent project to complete over the Christmas break. I have recently been starting to get my woodworking/carpentry area better organized with a new bench and peg wall, this miter saw stand seemed like an excellent compliment. I also noticed there were no other sample projects up so I figured I could be the first.
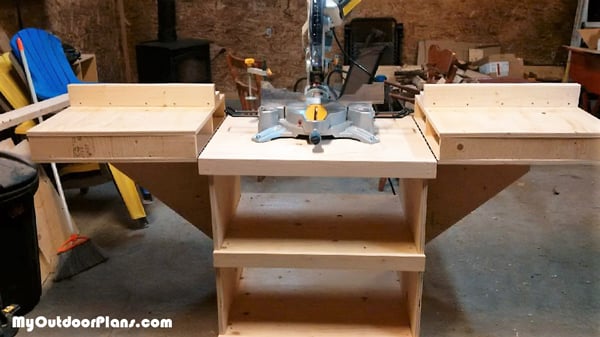
The materials for this project cost me about $150 (without wheels), you’ll notice I don’t have wheels on my stand, since I have plenty of space in my garage and the wheels were about $25 each so it just didn’t seem worth it if I didn’t really need them. I also only used 2 sheets of plywood instead of 3. I did this by reducing the leaves to 24” instead of 30”, since a sheet of 3/4” plywood here is about $50 a pop. I had the local building center (Home Depot) cut each plywood sheet into quarters to save me a lot of cutting as well, and they do it for free. I also cut my leaf supports to 24” as opposed to 26” for the same reason.
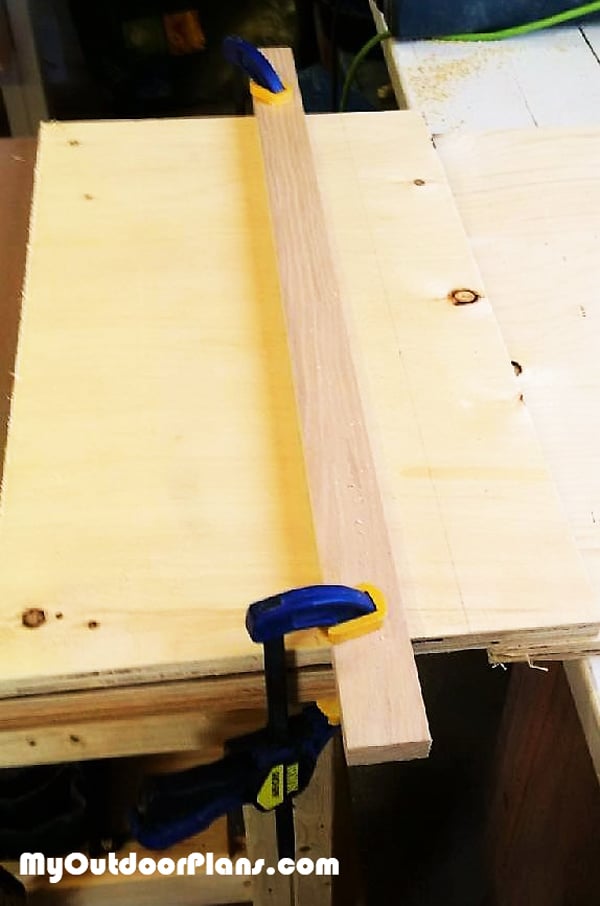
I managed to figure out an excellent way to cut the plywood to the lengths I needed. There are a lot of options of course but I really like working with my Bosch jigsaw so I rigged up a simple clamp stop as can be seen in one of the pictures, this is how I did all my plywood cuts, even for the leaf support.
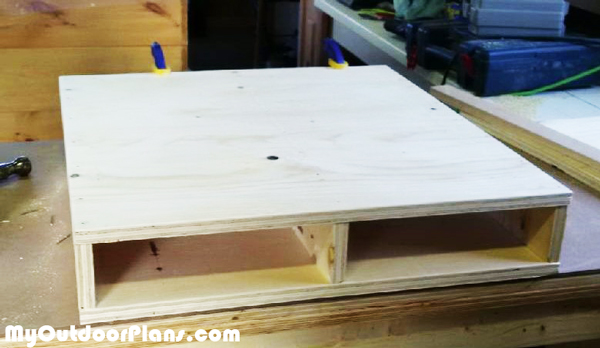
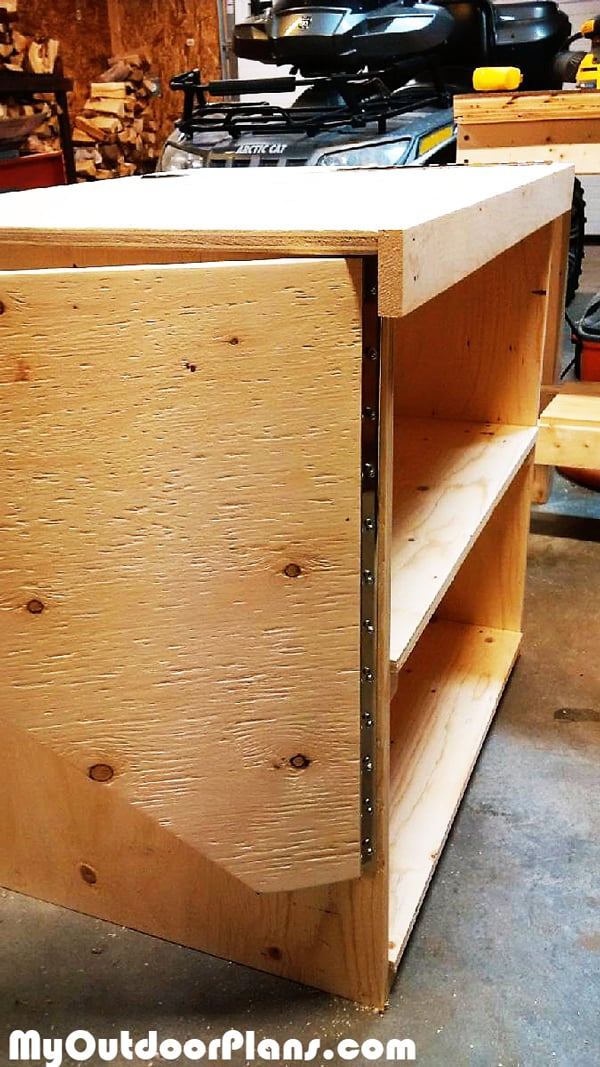
I did a couple of other variations from the plan other than the 24” cuts noted above. Instead of 2” brad nails on the trim I used 1 ½” finishing nails, I also used 1 ½” finishing nails to construct the leaves. My mitre saw deck was 4” high so I had to cut my leaf supports to 3 ¼” high as opposed to 2 ¾”. This is a very important step to ensure your leaf height is the same as your miter saw deck. The thing I couldn’t understand in the instructions was that the link for the hinges led to 30” hinges. For me, 24” hinges were the way to go since the leaf was 24” and the support was 26” (which I altered to 24” as well).
The hinge installation was by far the trickiest part of this build. You need to make absolutely sure that everything is square before installing then hinges. I used 1 ¼” screws to install them except for the support hinge that attached to the side of the stand, I used ½” self tapping screws into the plywood side. Now here’s the tricky part…. The piano hinge for the leaf will protrude a little bit under the leaf, so if the support is flush to the leaf you will not be able to get it open. You need to leave about 1/8” under the leaf for the support. Maybe there is a way around this or I had something done incorrectly but I don’t think I did.
I was very satisfied with the finished product which I completed in one weekend.


1 comment
Brilliant job, Bren! You really do add a lot of value to the community with your insights and great step by step pics. I wish you a fantastic year with lots of great DIY projects and thank for being part of the community!