12×14 Pavilion – DIY Project

From Jon Brooks,
First and foremost, thanks for MyOutdoorplans.com for the designs and confidence to build this.
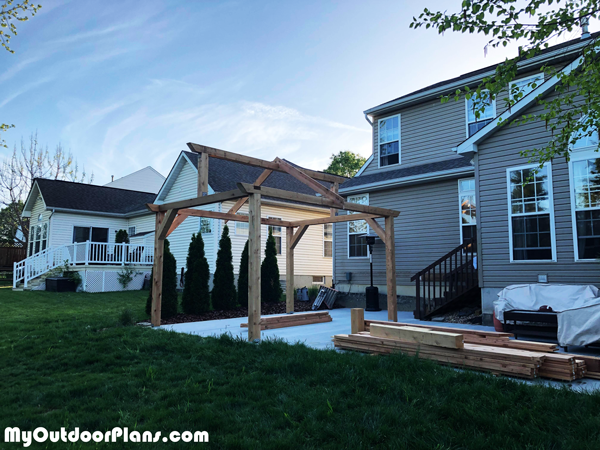
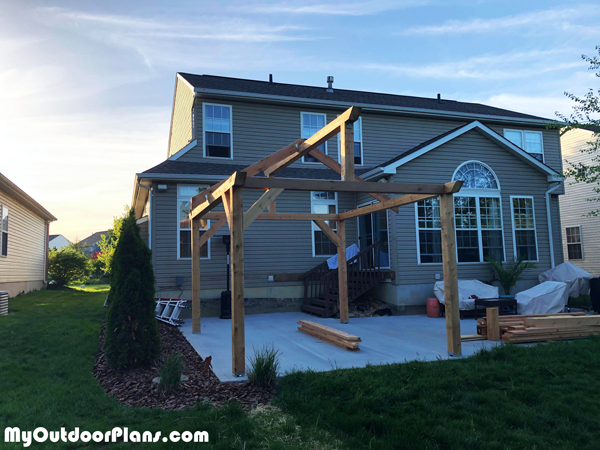
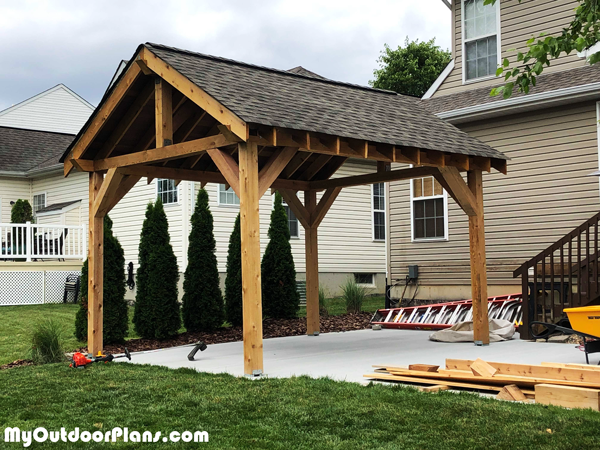
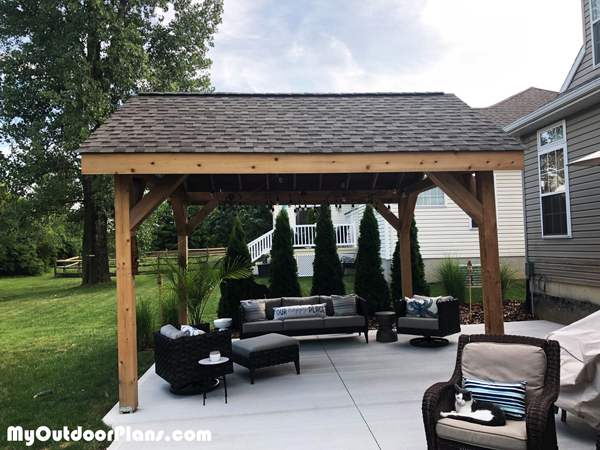
I started out with my overall footprint to build and decided on a hybrid between the 12’x16’ and the 14’x 16’. I really like the shorter peak on the 14’ x 16’ so we went with that design.
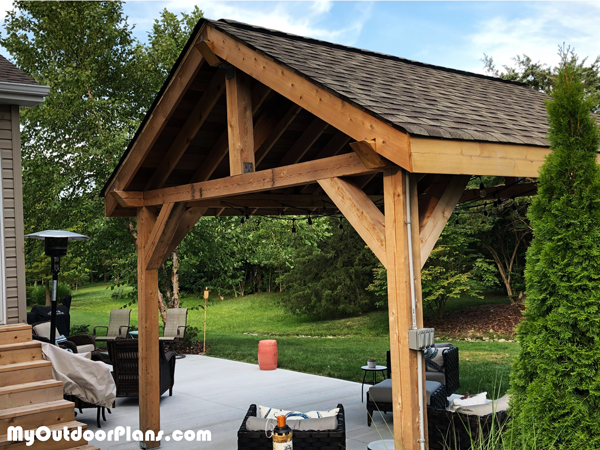
The build utilized all cedar lumber. 6”x6” rough sawn cedar timbers and 2”x8” cedar roof joists. I went with 6” x 6” and the 2” x 8” because of the spans I wanted and the shallow slope in case of snow loads in the winter. If I were to do it again, I would use all timbers and no 2″ x 8″ I think that would be a good looking build.
First step was doing a rough drawing of the pavilion and ordering all of the material. Make sure you take into account the slope of the ground or the concrete pad you are building on top of and get your support timbers the right height.
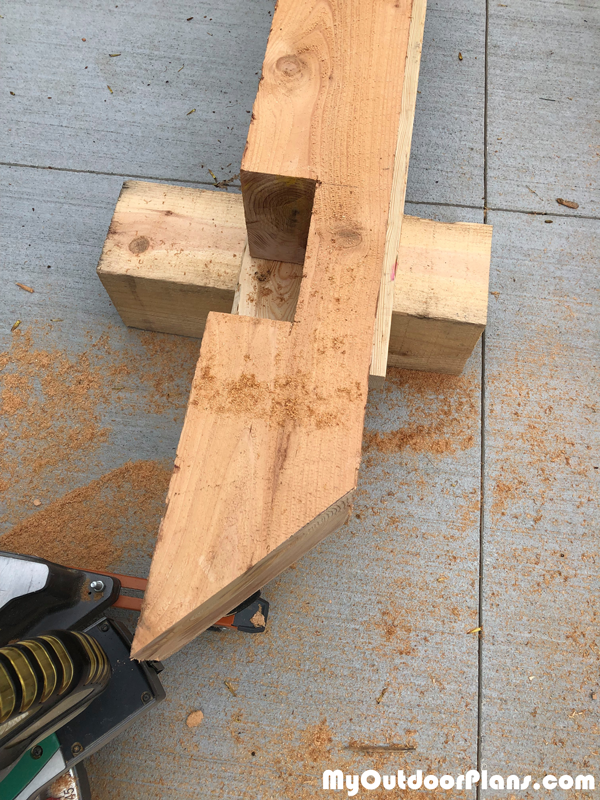
Once all material was bought and delivered, all timbers were cut to correct size and notches were made where needed. I also put all of the 45 degree cuts on the ridge beams as needed. When using rough sawn lumber, make sure you note that it is a true 6” x 6” in dimensions. It is at this time that you should stain or seal all of your wood, it is much easier doing it now then when the structure is erected.
Under each leg of the pavilion is a 12” diameter by 36” deep footing that I anchored my timber supports into with an ½” diameter x 8” long concrete bolt.
This took me about 2 days to get everything marked, cut and notched… ready to be set up.
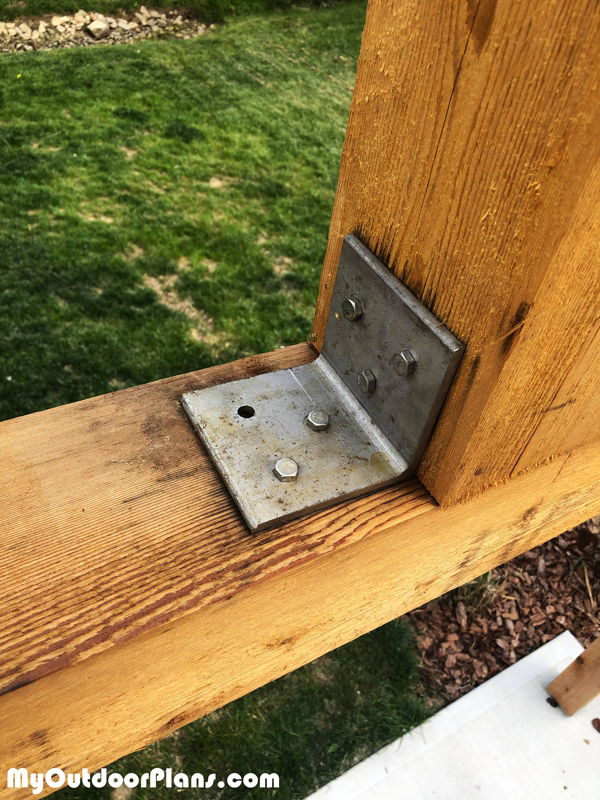
I put all of the timbers together like Lincoln logs, gluing it together and using 8” screws to hold them together. I also use ¼”x 4” x 4” stainless steel angles to support the top ridge braces before setting the ridge beam. This only took a day or so to do. I only put up a couple of the angle supports, I would suggest putting all angle supports up as soon as possible. It will make the structure much more stable.
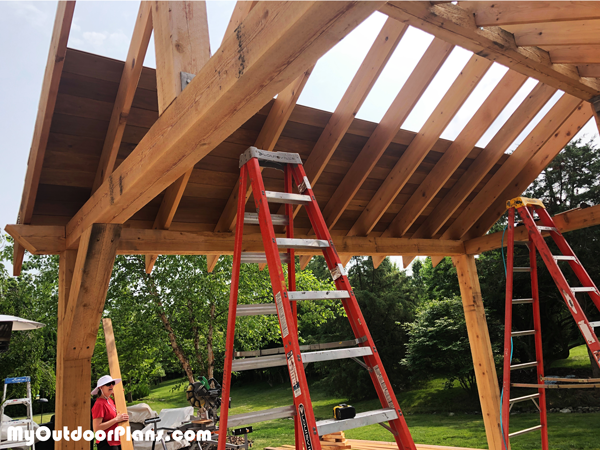
Setting the top ridge beam was a little tricky and heavy as it sits 11’ off the ground and we were lifting up a sixteen foot 6” x 6” timber.
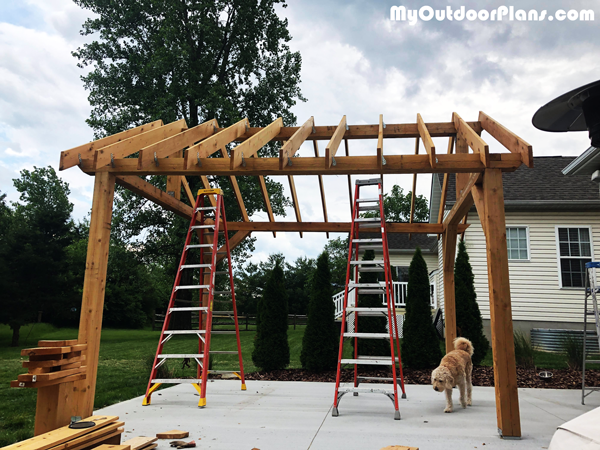
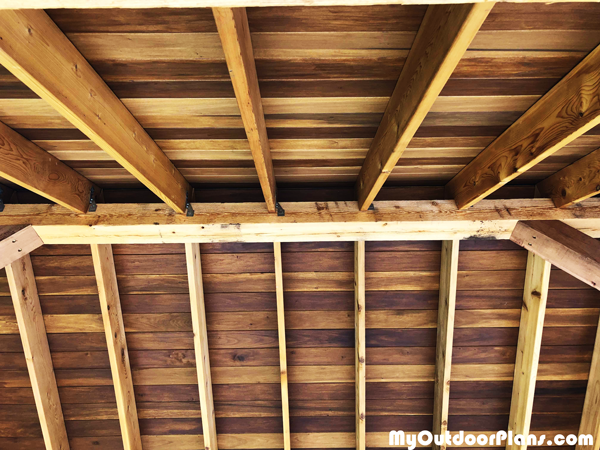
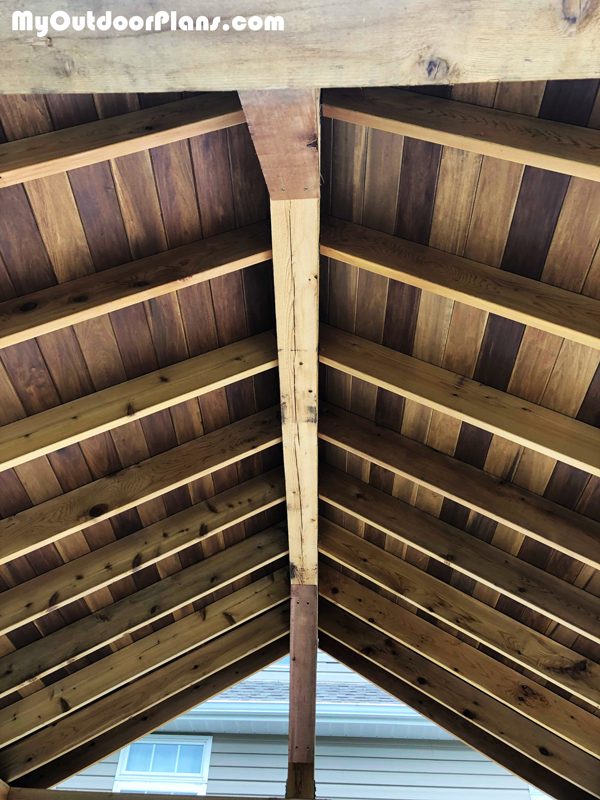
Once the structure was up, I had to figure out the notches for all of the joists, this was the hardest part of the job and took the longest by far. I used Simpson twist ties at the ridge beam and the bottom supports to hold them in place.
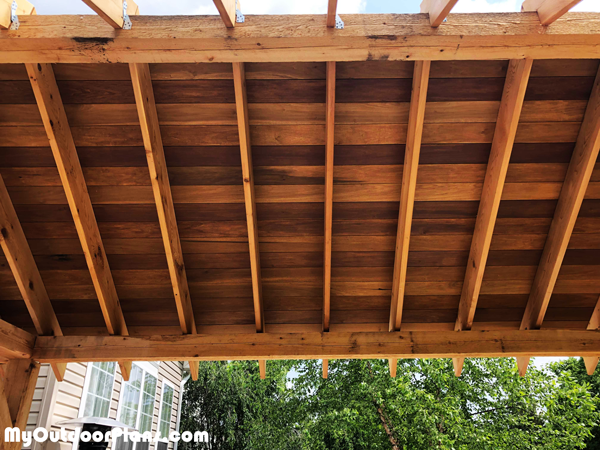
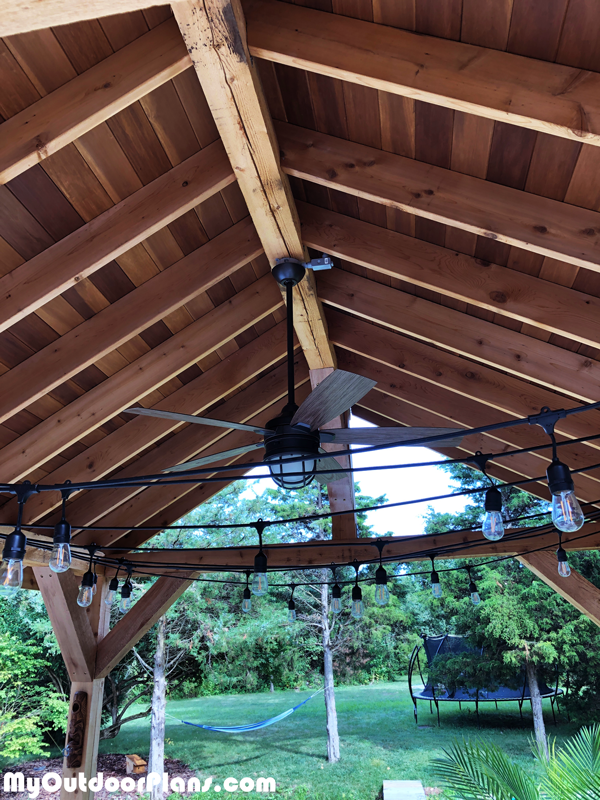
The design we did had us using 6” tongue and groove flooring material for a decorative look in the ceiling. This was a significant add to the price of the pavilion, but worth every penny. This took some time to stain all of the boards and get them up on top of the rafters. It probably took a full week of nights to stain all of the boards. We put the roofing down in a weekend.
In order to not have the roofing nails penetrate the decorative ceiling, we still put down OSB board on top of the tongue and groove before we put the roofing material on and still get proper penetration on the roofing nails. For a more decorative look, we put flashing under the roof material and put a trim board up over the rafter ends to box in the pavilion.
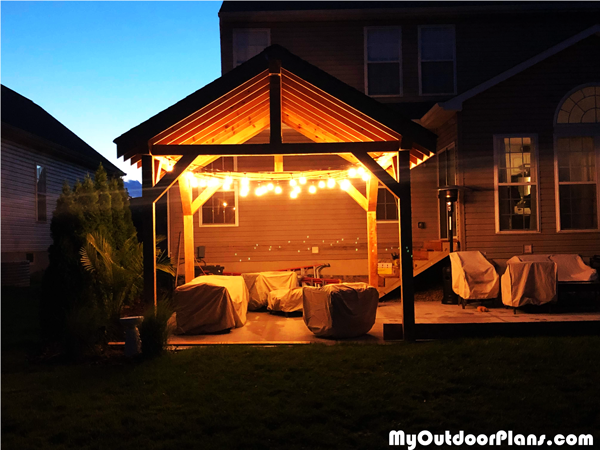
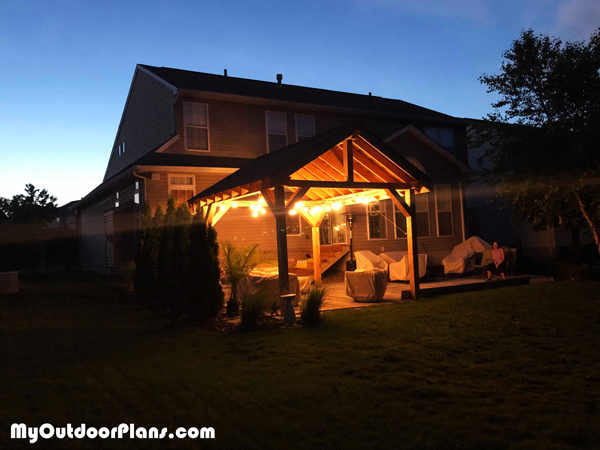
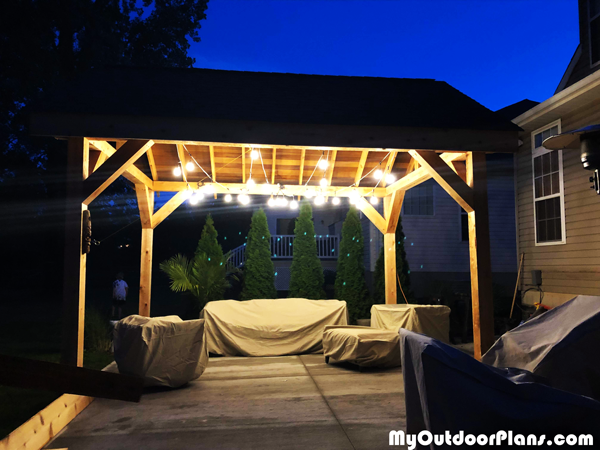
The pavilion is in a place where there was a hot tub so we had outlets there for us to run electric from for the fan and the lights. We tried to hide all of the conduit runs on the back side of the pavilion.


