DIY 4 Drawer Dresser


From Bren,
I was looking for a new project, and since my oldest son had moved out we had an entire room to fill up with furniture. I had never made a dresser before so I decided to give that a shot, how hard could it be? After some internet searching I found these plans for a 7 drawer dresser: http://build-basic.com/build-a-diy-7-drawer-dresser/#.W42Bp-hKiCj.
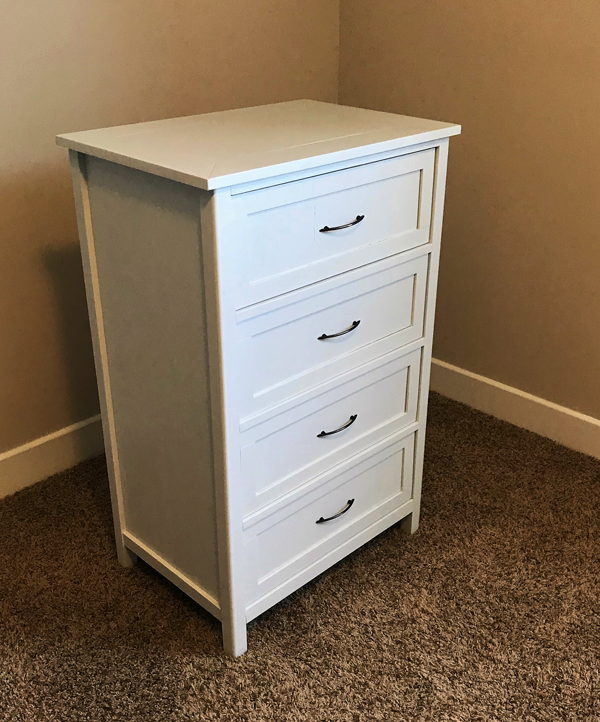
I wasn’t really feeling those exact plans since that dresser would be really low but thought I could work with it for a nice simple four drawer dresser. I could work with the same side dimensions but all the front dimensions would have to be changed. I drew up some plans of a four drawer dresser roughly based on the seven drawer dresser.
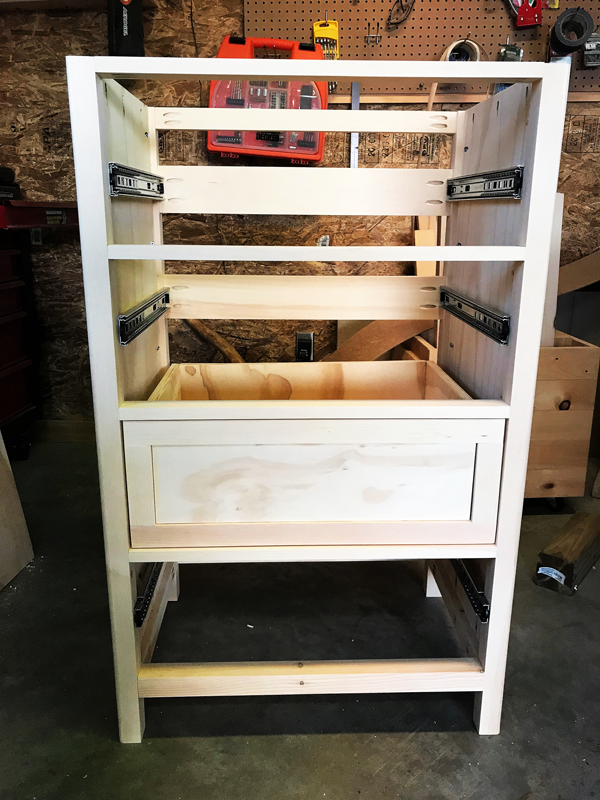
The major lesson learned here is that there is no tolerance for fitting the drawers into the dresser. In order for it all to work you need to have exact measurements on the width of the dresser, the drawers and install the drawer slides perfectly.
I learned this the hard way when I had to remove the rails from the drawers and pad them with 1/8” backerboard to make them fit smoothly onto the dresser rails. There needs to be exactly ½’ of clearance between the drawer and the dresser frame for the drawer to fit. This is THE MOST IMPORTANT part of the entire build by far. All the rest of it is relatively straight forward, I used pine and pine plywood for the entire construction.
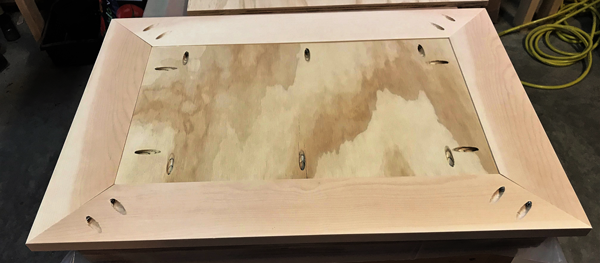
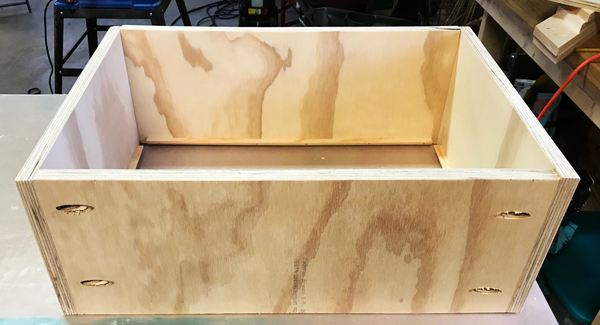
The website used pocket screws for all the construction which I really like working with so the overall build went fine, I never used any glue on the project because it can cause blemishes in the finish and once you glue there is no turning back. The materials probably cost about $300 and I spent about 20 hours on the entire project from beginning to end. For the finish I used 2 costs of melamine furniture paint (on top of a good primer) to provide a more durable finish. If you use a high-grade paint it will even out well. I was so relieved when the four drawers fit in the end!


