This step by step diy project is about how to build a wine caddy. I built this wine caddy for a close friend and I thought this is an opportunity to share a new tutorial with you. This is a gift idea that doesn’t require a lot of money and time. You can make this in a few hours and the best part is that you can customize it. Take a look over the rest of my woodworking plans, if you want to get more building inspiration.
When buying the lumber, you should select the planks with great care, making sure they are straight and without any visible flaws (cracks, knots, twists, decay). Investing in cedar or other weather resistant lumber is a good idea, as it will pay off on the long run. Use a spirit level to plumb and align the components, before inserting the galvanized screws, otherwise the project won’t have a symmetrical look. If you have all the materials and tools required for the project, you could get the job done in about a day.
Tools
Materials
How to Build a Wine Caddy
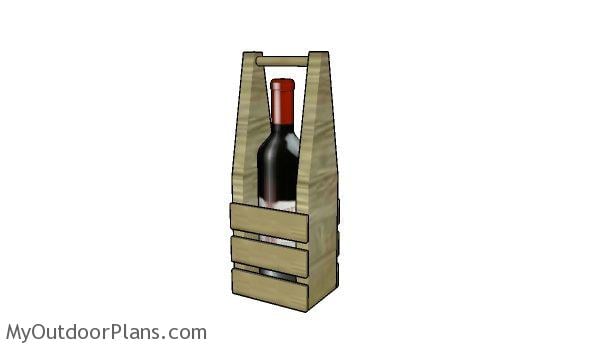
Wine Caddy Plans
I used my own plans as guidelines, but I made a few tweaks this time.
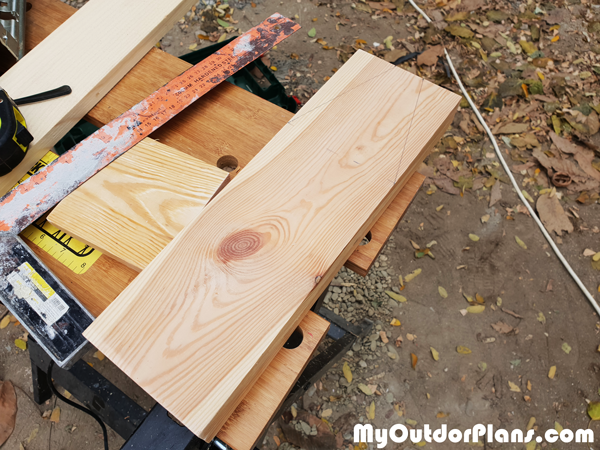
First of all, you need to mark the cut lines on the slats. Use a pencil and square to make the lines.
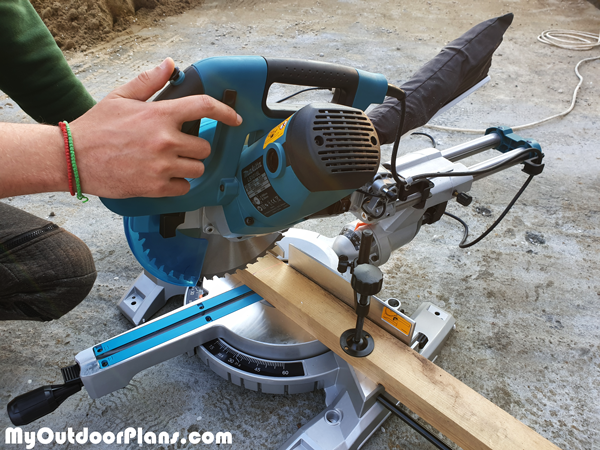
I used my miter saw to make the cuts. This makes the angle cuts really easy.
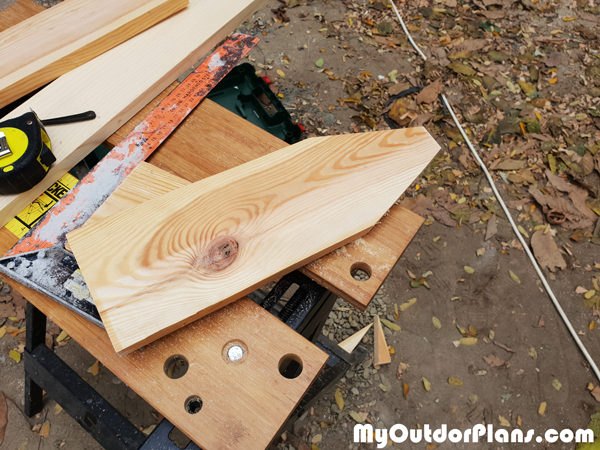
You need two side pieces for the wine caddy.
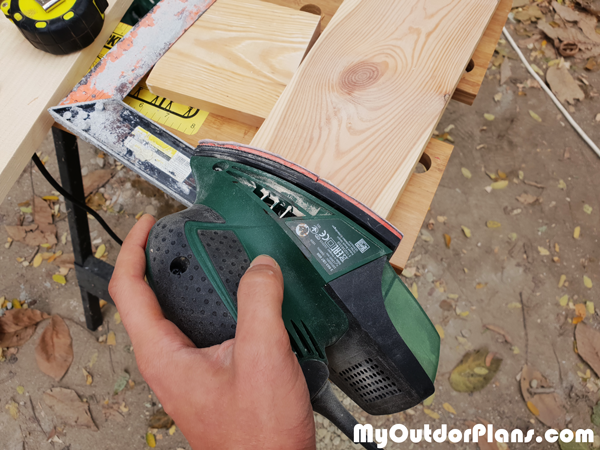
I used a sander to smooth the edges for a proper finishing.
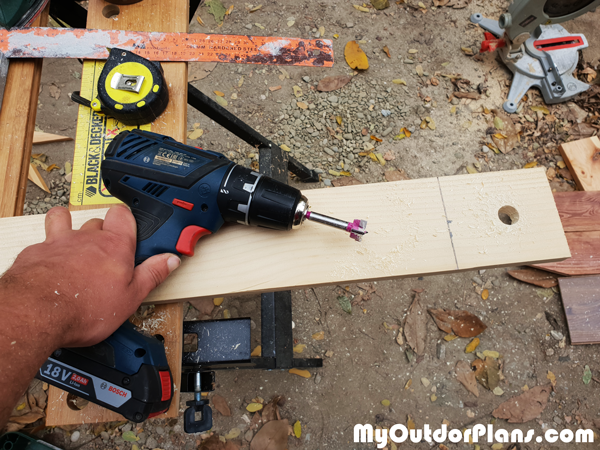
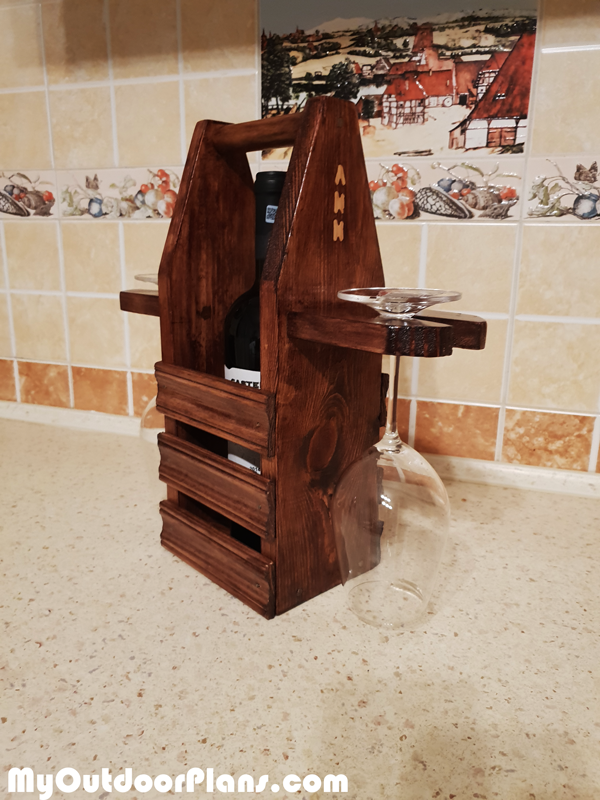
Now, it is time to make the wine glass supports. I started with a forstner bit and a drill machinery to make the holes for the glasses.
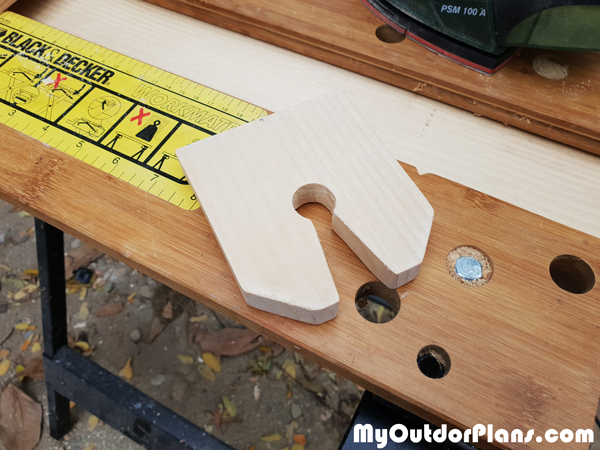
Next, I made the cuts as shown in the image. I used the sander to smooth the edges thoroughly. If you use pine you will get lots of splits and a rough surface. Using a hardwood would help you with that.

A little stain change the look of the pine boards. Now, time to attach the glass supports to the sides of the caddy. I drill pilot holes thorough the sides and then inserted screws into the glass supports. I added glue to the joint for a stronger bond.
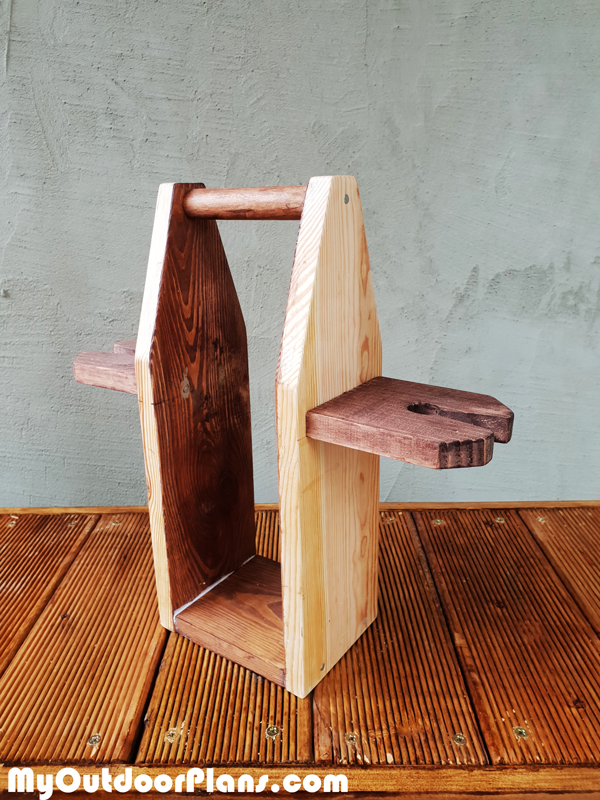
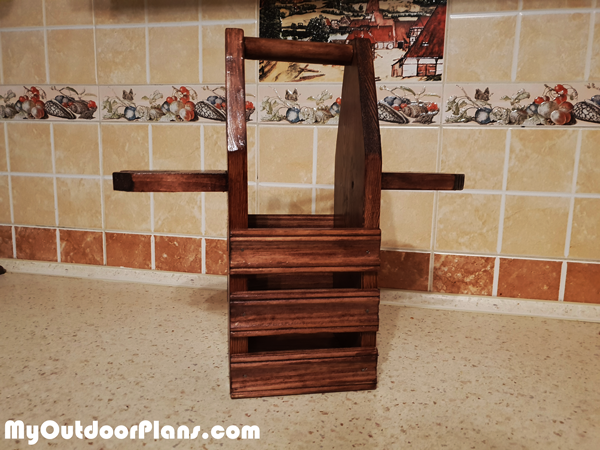
Next, I assembled the wine caddy by adding the sides to the bottom components. I also installed the handle to the caddy.
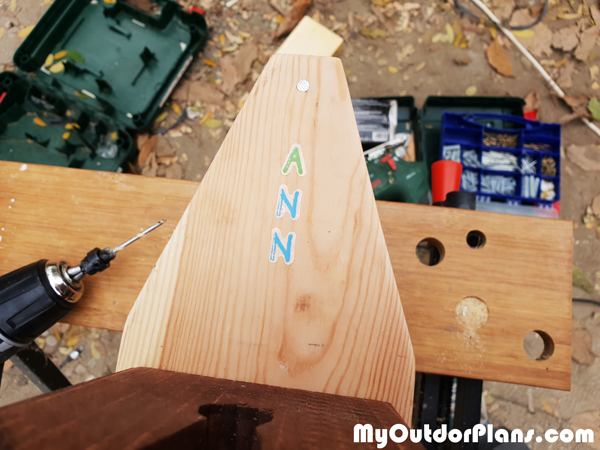
If you want to customize the wine caddy and offer it as a gift to a special person, you can use some sticker letters. I stained the caddy then removed the stickers and applied a few coats of spray lacquer.
I added the slats to the sides of the caddy. I used routed slats to save time and to add more character to the project. You can use fine sandpaper between the coats of lacquer for a perfect finish.
I really enjoyed building this wine caddy and I think this makes for a great gift idea.

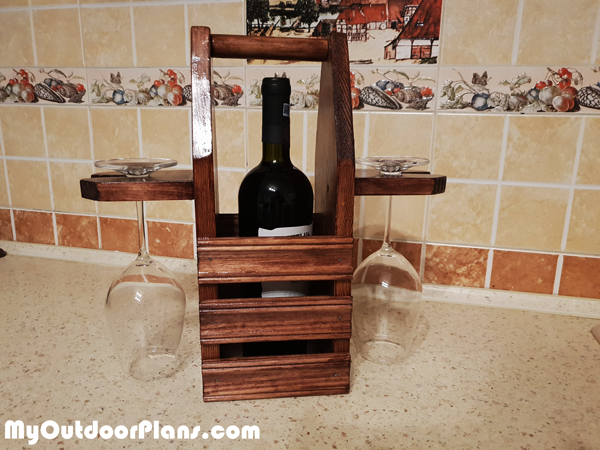
This was a quick one day project. This took a few hours to make and you only need some basic tools to get the job done. You can easily customize the project and adjust the dimensions to suit your needs.
This woodworking project was about how to build a wine caddy. If you want to see more outdoor plans, check out the rest of our step by step projects and follow the instructions to obtain a professional result.
EXPLORE MORE IDEAS FOR:
 |
 |
 |
 |