DIY Modern Angle Kitchen Chairs

From Bren,
Last Christmas I made a new kitchen table for my mother (which you can find in my brag section) so this year she was looking for some matching chairs. I made a nice shaker chair last year for my wife but I needed a different plan for some kitchen chairs. Since I would have to make four I needed a fairly straight forward plan so I started scouring the internet. After some time searching I came across “modern angle chair” plans on the Ana White site. This was just what I was looking for, mainly straight cuts with only one angle cut required for the back support piece. There was an option to cut the entire leg on an angle as well but I found that when I did that with the shaker chair it made everything 10 times harder because every piece that joined into the angled leg needed to be cut at an angle.
It was fine when making one chair but trying to make four identical chairs meant I needed to keep the complexity down and since it was an open back design I didn’t think it would make much difference (turns out I was right). Due to the price of hardwoods around here the only real option for four chairs is to use pine. I was a bit concerned about stability since the plan didn’t have any bottom rail supports so I decided to add some in which really helped. I would definitely recommend the extra support if you are going to try to make these from softwood, even with hardwood it would be a good idea.
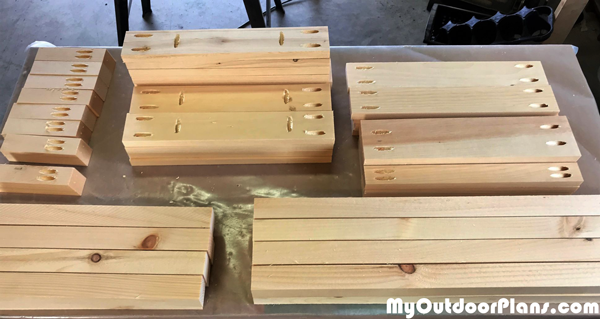
The main joinery used in these chairs is pocket screws which I love to work with and one of the reasons why I went with this plan. If you have the Kreg pocket hole kit using pocket screws is a snap. The only minor downside is that you end up with the pocket holes which you can either fill or leave. I will normally fill in the obvious ones but others (like under chair seats) I will just leave. Since I was working with softwood I used glue to compliment the pocket screws for extra strength. I stay away from using glue wherever possible because no matter how well I clean up the extra glue it always seems to have some effect on the stain absorption in over glued areas.
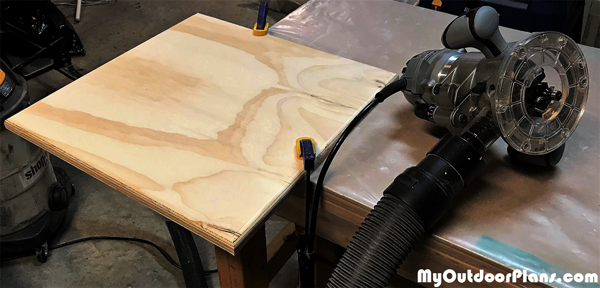
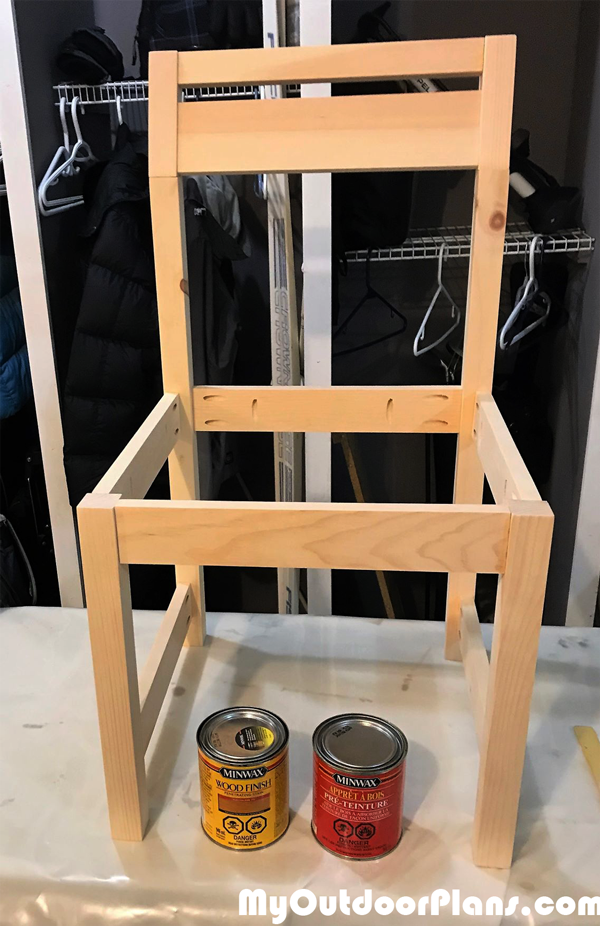
Overall the plan is fairly straight forward, I had to adjust the seat height down ½” since the skirt on the kitchen table is a bit low. I used ¾” sanded pine plywood for the seat, I really like working with that stuff because it has the durability of plywood but also a very nice pine finish so it blends in nicely with pine furniture. There was nothing notable about the construction, the only slightly tricky bit was attaching the back supports ensuring they lined up with the frame properly.
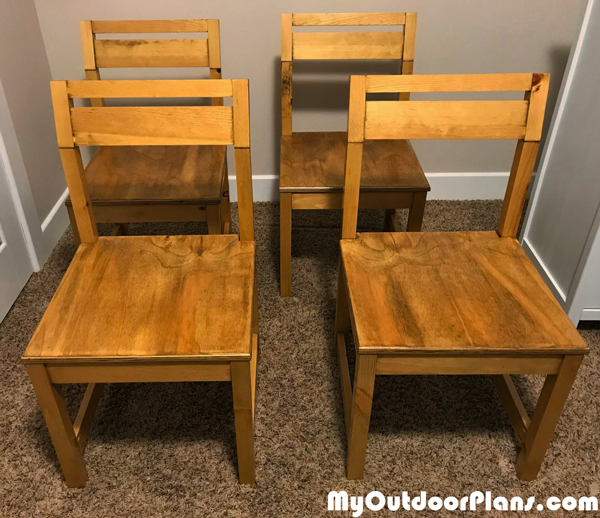
I did all the cuts up front, drilled pocket holes, then the 120/160/220 sanding routine. I routered the edges of the plywood seats with a 3/8” round bit and never bothered to put edging on, I think it looks good without it. For the finish I used Minwax pre-stain conditioner and Minwax Puritan Pine oil based stain. I can’t stress enough the importance of using the pre-stain conditioner to avoid major blotching when working with pine. Three coats of Minwax semi-gloss poly went on top of the stain with light sanding between each coat (also very important for a smooth finish).
I think the chairs turned out pretty good, the design was simple but doesn’t look too boring and they match the table nicely, but won’t be delivered until Christmas. I’d say I spent about 10 hours on these chairs in total and they cost in the ballpark of $200 including all materials and supplies.
EXPLORE MORE IDEAS FOR:
 |
 |
 |
 |
2 comments
It would be nice to see the plans in detail.
I agree it would be nice if the plans were posted.
Thank you